Photo Basics: Understanding the Power of “Auto ISO” and Knowing When to Use It (VIDEO)

Many of the tutorials we share are intended to encourage photographers to move their camera’s mode dial off the Auto setting, and try more advanced techniques. But sometimes a basic mode like Auto ISO can be the right setting to use, and the video below explains why.

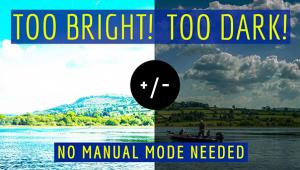
Photographer Radhakrishnan Chakyat is an instructor at Pixel Village, and in this tutorial he demonstrates the advantage of using a camera’s Auto ISO setting, particularly in situations where light levels change rapidly. He begins with a quick review of the Exposure Triangle, different exposure modes, and how a particular ISO setting determines the sensitivity of a camera’s sensor to light.

It’s the interplay between shutter speed, aperture, and ISO that determines a proper exposure, based upon prevailing light levels. Modifying one variable affects the others, and Chakyat illustrates the implications of shooting with either high or low ISO settings. Among those are increased noise levels when shooting hand-held at high ISO settings in low light, and conversely, the necessity of using a tripod with low ISOs.

So given the foregoing, why would you want the camera to select the ISO setting automatically, instead of making that decision yourself? That’s what Chakyat explains clearly in this tutorial. Once you understand the theory, you’ll be able to decide which approach to take.
There is more great information on Chakyat’s YouTube channel, and in his earlier tutorial explaining how the focal length of a lens affects the perspective of your photographs.


