Phase One’s Capture One 4; A Comprehensive Raw Editor/Organizer
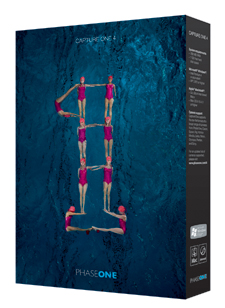 Capture
One 4 (CO4, if you will) is a raw file processor/organizer that shares many
features, albeit with its own nomenclature and workflow, with products such
as Apple's Aperture and Adobe's Lightroom. Competitively priced
at $129 (for a two computer license), owners of Phase One's Capture One
LE can upgrade to 4 free of charge, and Capture One PRO users can use CO4 free
until the next generation of PRO is available. Those curious can try out the
program for free for 30 days by visiting the company's website (www.phaseone.com/4).
I have worked with raw images in most camera company proprietary software
as well as Aperture, Lightroom, and an earlier version of Phase One's
Capture One PRO, so was curious how this more popularly-priced program might
compare.
After installing the software I imported images from cards holding images from
a Nikon D300 and Canon EOS 5D, as well as pulled in a folder from my hard drive.
Loading was lightning fast, and the software seems to cover the waterfront in
terms of the latest D-SLRs, at least as of this writing. The import process
is quick, intuitive, and easy, especially for anyone who has worked with a rival
program or, for that matter, ever downloaded images. You can do all sorts of
naming and coding as you import, but one really nice feature is the ability
to simultaneously download to the program's Library and a backup of your
choice, which for me was my Western Digital My Book external drive. That was
certainly comforting, especially since it was the first time I used the program.
Be aware that there is an "erase images after copying" box at the
base of the Import screen; I wish they would erase that option, though I guess
someone might actually want to do that someday.
Working Space |
|
 |
|
|
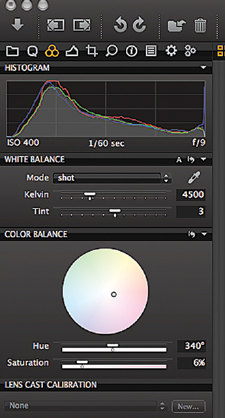
The CO4 work screen is a quick study, with tools laid out in what Phase One considers a logical workflow. That includes a Q for Quick Tab that seems to hold all the controls one might need in one column. You can of course customize all sorts of parameters to your liking, including color temperature and balance, sharpness, noise reduction, etc. You can work on images individually or create "recipes" that are essentially instructions for batch processing. These are not mysterious in any way and make common corrections to similar shots a breeze. For example, you might want to sharpen all your 5D shots and add a bit of warmth to just half of them. This is fairly easy to accomplish with this program by working with the Copy and Apply buttons. This can also be done for creating aspect ratios of prints for output, with a nice read-out when choosing the Composition tool (which looks very much like a Crop tool). All you need do is set the aspect ratio (say 4:5 for an 8x10) and then drag the tool over the image and it will hold the ratio for you. You can move the crop frames around as desired.
Basic Color Controls |
Exposure & Contrast Controls |
|
 |
 |
|
|
||
The editing part is with the use of Variants and Clones, which ensures that you do work on thumbnail copies and not the original raw files. Yes, you can work on the raw but then you would have to essentially undo it if you went down the wrong alley. You can even stack these variations and put your favorite, known as the Pick, on top. When you work with Variants you probably want to work with the original and the Variant side by side, easily done by using the multi-viewer option. This way you can watch the changes as you work and refine or go back as needed. One thing I did discover when sharpening was to use the Shift key to enable simultaneous movement of areas within images using the Navigator.
Move The Image Over |
|
 |
|
|


