- REVIEWS
Camera Reviews 
More Reviews Mobile Reviews Photography Reviews - GALLERIES
- VIDEOS
- BUYER'S GUIDES
Lightroom's Basic Tab Explained: Complete Guide for Beginners (VIDEO)
Lightroom Classic is a powerful image-editing tool, with a myriad of tools for photographers of all skill levels. New users, however, may initially be bewildered by the wide array of features, but we'll solve that today in less than 10 minutes.
The Behind the Tripod YouTube channel is designed to help inexperienced photographers shoot and edit better photographs, and the beginners guide below is a great example. This straightforward tutorial explains everything you need to know to get started by demystifying LRC's Basic tab.
Instructor Steve Mills demonstrates a step-by-step process for enhancing your photos so you can make the most of the tools necessary and establish a simple workflow today. As he says, "If you shoot in Raw, it's in my humble opinion that Lightroom Classic is perhaps the best option for editing your photos."
Mills says LRC is far easier to learn than Photoshop, and everything begins in the Basic tab. Once you feel comfortable with the preliminary tools you can then move on to more advanced features. He kicks off the episode by opening an image in the Library, navigates to the Develop module on the top right of the screen, and quickly gets to work.
You'll then see a panel on the left that includes presets and the important History option. There's also a panel on the right with straightforward sliders for adjusting a variety of image attributes. LRC works in a non-destructive way, meaning you always go back for a do-over, and Mills explains how the History tool enables you to easily do that.
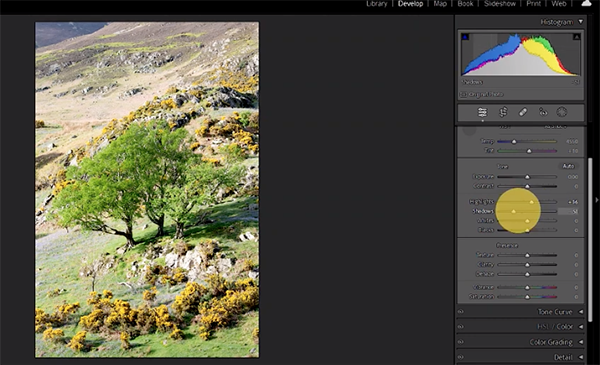
Once you click on the Basic tab you'll see "all the bits" Mills discusses today. He says that his workflow typically begins with careful cropping when that can help improve the composition of a shot. He then explains how the adjustment tools in this tab work, including a quick method for converting color images to b&w.
When it comes to enhancing color photos Mills prefers the default Adobe Color profile because "I like to start with a blank canvas." He then demonstrates how to use simple sliders in the Basic tab to adjust parameters like White Balance, Tint, Exposure, Contrast, Highlights and Shadows.
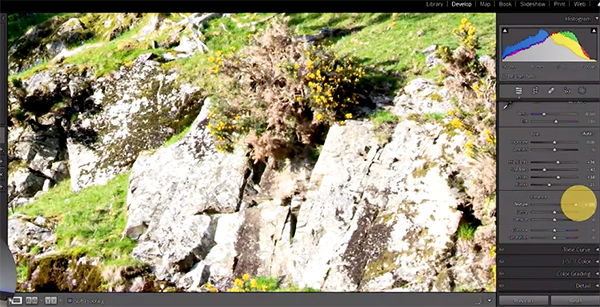
Other simple sliders provide adjustments to Texture, Clarity, Dehaze, Saturation, Vibrance and more, and you'll see how all of these work. Mills is a firm believer in taking a subtle approach with all of these enhancements and says "overcooking" adjustments can easily spoil an otherwise nice shot.
Everything you learn is so easy to accomplish that you'll no longer feel like an LRC beginner by the time you've finished watching the lesson. There's much more to learn on Mills' instructional YouTube channel, so be sure to take a look.
We also recommend watching the tutorial we posted earlier, explaining why Lightroom's AI Denoise feature may let you down unless you understand a few tricks.


![]()
Get the Latest Photo Tips, News & Reviews from Shutterbug!
| Camera Reviews Other Reviews | Mobile Reviews Photography Reviews Columns | News | Features | How-To | Resources |
 © 2025 Shutterbug
AVTech Media Americas Inc., USA
All rights reserved