How to Use Sharpening & Noise Reduction In Lightroom (VIDEO)

For the past few weeks we’ve been bringing you installments of an ongoing free Lightroom Masterclass from the PHLOG Photography YouTube channel. The lessons cover everything the basics to more involved tasks, and we have a new one for you today.
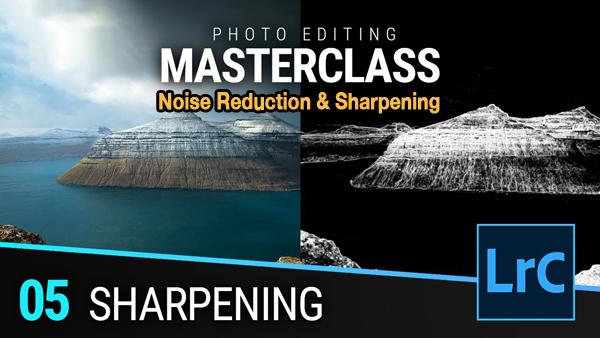
The episode in the video below is Part 5 in the series, demonstrating the most effective way to sharpen photos and reduce noise. The goal of instructor Christian Mohrle is to make these adjustments in the proper sequence of your workflow and obtain natural looking results.
As with all Mohrle tutorials, we urge you download his example Raw file using the link in the description beneath the video so you follow along and make the adjustments yourself in real time. Mohrle explains why sharpening is usually the last thing he does.

The sharpening process begins in Lightroom’s Details panel that includes three different sections. One displays a preview image that can be adjusted for a specific portion of the shot, ideally one with clearly defined edges. Next is the sharpening section that provides several options, and finally there are the important noise reduction tools.
The lesson begins with sharpening and Mohrle walks you through the straightforward method he prefers. As you’ll see, is easy to change the amount, radius, details, and masking as you proceed. Mohrle suggests the best settings to use and explains how each of the sliders work to precisely regulate the adjustments you make.
Mohrle takes the same step-by-step approach to explaining noise reduction techniques. Here you’ll learn the basics of the process, as well as how Luminance Noise reduction and Color Noise reduction interact for a great final result

You can find earlier episode of this series on Mohrle’s YouTube channel, along with a wide variety of other tips and tricks.
We also suggest you watch a video tutorial we posted earlier, explaining how to use the powerful Color Calibration tool in Lightroom and Adobe Camera Raw.


