Graphic Authority Software; A Pro Photographer’s Best Friend
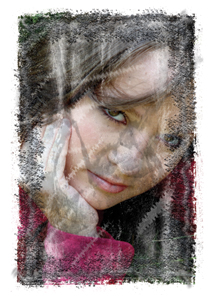
I've got to confess that when I received the software from Graphic Authority it took me a while to look at it. Why? Because I'm not the most technical guy. I use Photoshop daily but that doesn't mean I'm an expert. I pretty much just do the same thing all the time. If they had sent me one CD with a few things to look at, no problem. But what I received was a mind-boggling (to me, anyway) eight CDs, with an amazing array of photographic frames, brushes, edges, papers, shapes, and even images to use as overlays. So I set it aside until I had time to look it over.
 |
 |
||
|
|
But now that I've tried out the software I can tell you that it is very
easy to use and offers an incredible amount of creative tools. I'm going
to be brief about the specs because the best way to show you what you can do
is to show you some of the images I created with it. And I can assure you, even
if you're a Photoshop novice, each CD comes complete with a QuickTime
movie tutorial that will quickly get you up to speed.
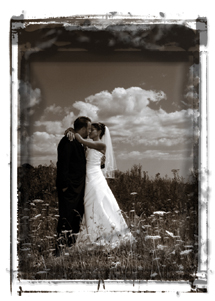
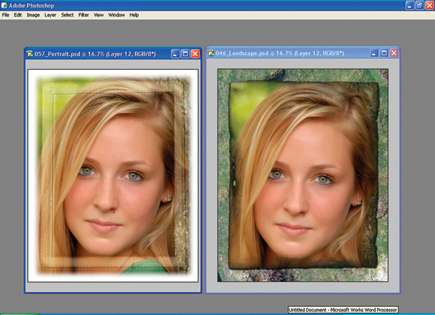
Let's look at frames first. With Frames Volume 1 and 2 plus the CD "Ornaments
and Frames," you have well over 100 frames to choose from. Let's
take a quick look at some of the basic frames first. These are very simple to
use. Pick a frame. Or two. Or three. The printed guide with the samples comes
in very handy here. All the files are layered PSD files, so either grab them
off the CD or load the files onto your hard drive for future use.
 |
|
|
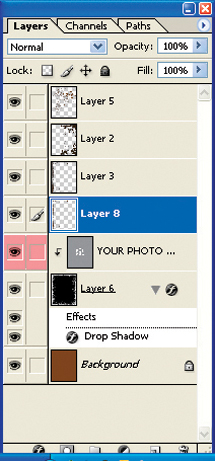
Open your image file. Open the frame. Drag the image onto the frame. You'll see a layer in the Layers box that says "Your Photo Here." Drag your image to that layer, then discard the instruction layer, and the basic frame is done! The frames come sized at 8x10 at 300dpi. If this isn't what you want, just re-size the frame or image. When re-sizing the frame you don't need to constrain proportions so you can do any size you want.
 |
|
|
Edges is also pretty simple. Open your image. Pick one of the many edges included. Drag the edge over your image, using the Free Transform tool to shape it the way you'd like. Then put your image on top of the edge and click the "Create Clipping Mask" in the Layers menu, and Voilà!, you're done, but only if you want to be...you could add brush strokes or a frame! The combinations are limitless.


