- REVIEWS
Camera Reviews 
More Reviews Mobile Reviews Photography Reviews - GALLERIES
- VIDEOS
- BUYER'S GUIDES
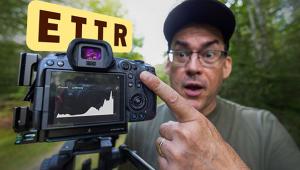
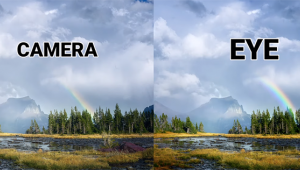
Enhance Landscape Photos with "Lightroom's BEST Color Grading Tool" (VIDEO)
There are enumerable methods for processing landscape photos to create just about any effect you can imagine. When intense colors are what you're after, the tutorial below from the PHLOG Photography YouTube channel explains how to get the job using the favorite method of a top German pro.
The topic of today's editing tutorial is the easy-to-use Split Toning tool, and instructor Christian Mohrle demonstrates how effective it is for boosting the impact of outdoor photos. He also explains why he calls it "Lightroom's best color grading tool" when eye-popping tones are the goal.
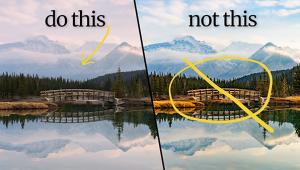
Mohrle's intent is to give his photo a vibrant sunset effect, and we recommend downloading the file in the description beneath the video so you can follow along and making the changes yourself. Mohrle says, "Before working with Split Toning it's important to set up the base image" and he begins by dropping highlights and raising the shadows for a more balanced exposure.
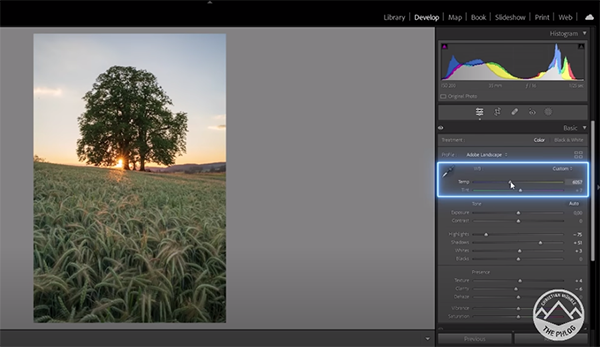
Preliminary adjustments also include increasing the whites, bumping up Texture, lowering Clarity, and modifying White Balance for a much warmer look. Mohrle then uses a Linear Gradient to darken the sky while accentuating blue tones. He adds another Linear Gradient to give the foreground more detail and a very subtle vignetting effect.
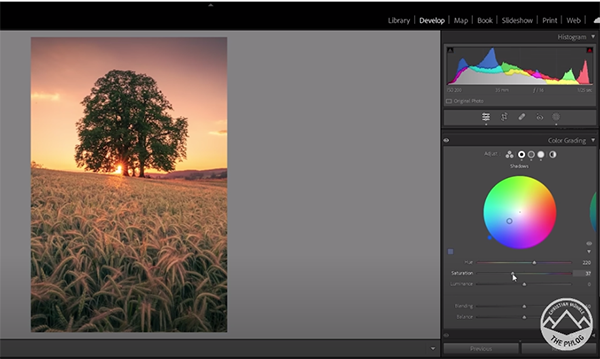
Now it's time for Mohrle's Split Toning method that works in tandem with White Balance enhancements to create the magic. Keep in mind that he goes all in for a very intense look that that may be too strong for your taste. But you'll see how to moderate the effect if you don't want such a hefty change.
Mohrle adds a warm hue to the highlights and pushes saturation to the max. He then adds a warm hue to the mid-tones while significantly cranking up saturation here as well. The next step completes the color grading by applying cold tones to the shadows with a low amount of saturation.
The final step is using Photoshop to clean up the image, add a bit of glow to the top with the Gaussian Blur filter, and lighten the blending mode. The transformation is quite impressive, as you'll see by comparing the before/after images.
Mohrle's YouTube channel has a bunch more great tips and tricks for processing landscape and nature photos, so be sure to take a look.
We also recommend that you check out the tutorial we posted earlier from another pro, explaining a timesaving Photoshop trick to batch-edit photos for consistent color.
- Log in or register to post comments


![]()
Get the Latest Photo Tips, News & Reviews from Shutterbug!
| Camera Reviews Other Reviews | Mobile Reviews Photography Reviews Columns | News | Features | How-To | Resources |
 © 2025 Shutterbug
AVTech Media Americas Inc., USA
All rights reserved