- REVIEWS
Camera Reviews 
More Reviews Mobile Reviews Photography Reviews - GALLERIES
- VIDEOS
- BUYER'S GUIDES
BEGINNERS GUIDE: Edit Raw Photos for Light, Color & Detail (VIDEO)
Are you one of those photographers who always shoots Jpegs because you think editing Raw files is beyond your skills? If so you're not alone, even though there are significant image-quality benefits to shooting in Raw.
This beginners Lightroom post-processing guide will change your mind by demonstrating how easy it is to edit Raw files for light, color, and detail. The comprehensive lesson runs about 15 minutes so we suggest taking a few notes, but by the time the video concludes you'll no longer be a beginner.
Instructor Pablo Garcia was trained as an engineer, but these days he says, "photography is my creative outlet." He posts tutorials in both English and Spanish that are designed to help inexperienced photographers improve their shooting and post-processing skills. Unlike other lessons for novices, however, Pablo typically takes a deeper dive into powerful techniques that are very easy to achieve.
He kicks off today's video like this: "If we capture our photos in Raw format we have a lot of latitude in Lightroom or other editing tools to create a complete image with the WOW factor." He demonstrates a straightforward workflow from beginning to end by transforming a boring photo into a superb attention-grabbing image. Then you'll be well equipped to do the same.
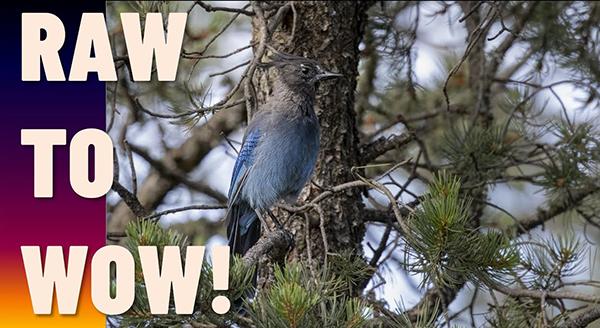
Pablo says he chose enhancements to light, color, and detail for this primer because these simple adjustments are easy to make and will greatly improve just about any image captured in the field—like with his sample photograph of a Stellar's jay perched on a tree in the mountains just outside Albuquerque, NM.
The goal for this Raw edit is simple: bringing this beautiful bird to life and making it stand out from the background, with a few Raw edits that anyone can accomplish. Pablo's subject is rather small in the original photograph, even though it was captured at the long end of a 100-500mm telephoto zoom—equivalent to 800mm on his crop-sensor camera. Thus, he begins with a bit of cropping to make the bird more prominent by eliminating part of the surrounding scene.
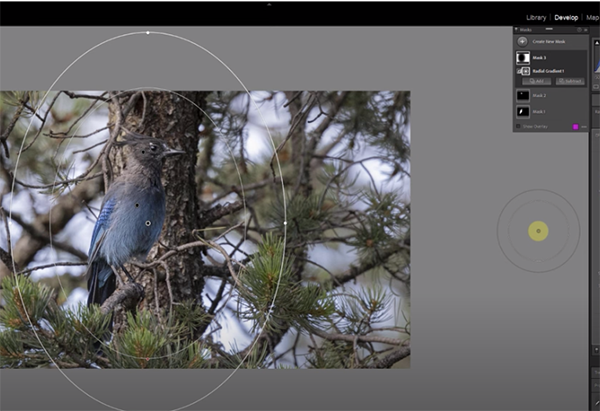
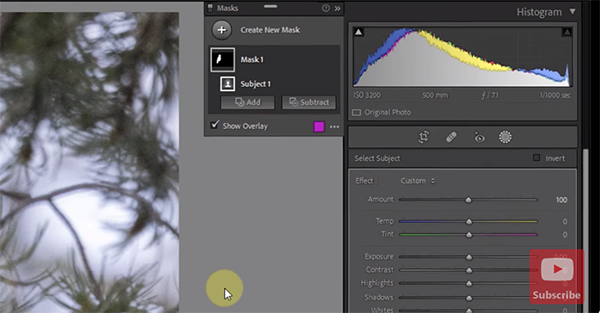
Then Pablo up his sleeves and walks you through the fun part of the video, which is make the Stellar's jay jump off the screen. The method he uses and the difference between the before/after images will inspire you try shooting and editing Raw files in the future.
Pablo's instructional YouTube channel is a great place to learn how to simplify seemingly complicated tasks, so be sure to take a close look when you have time.
And don't miss another game-changing tutorial we posted earlier, describing three Photoshop settings that another expert says "you should definitely disable now" for a faster and more efficient workflow.


![]()
Get the Latest Photo Tips, News & Reviews from Shutterbug!
| Camera Reviews Other Reviews | Mobile Reviews Photography Reviews Columns | News | Features | How-To | Resources |
 © 2025 Shutterbug
AVTech Media Americas Inc., USA
All rights reserved