- REVIEWS
Camera Reviews 
More Reviews Mobile Reviews Photography Reviews - GALLERIES
- VIDEOS
- BUYER'S GUIDES
This Auto Bracketing Technique Delivers Perfectly Exposed Photos Every Time (VIDEO)

One way to make sure you nail a perfectly exposed image under difficult lighting conditions is to bracket shots by making what you think is a “correct” exposure, followed by a few more that are incrementally lighter and darker. As you’ll see in the four-minute video below, there’s a bit more to precise bracketing than you may think.
This tutorial by photographer Anthony Morganti, not only guarantees that you’ll get a properly exposed image, but provides a systematic bracket of shots you can later merge in Photoshop to create an HDR image. Morganti discusses methods for bracketing when shooting hand-held, as well as with the camera mounted on a tripod.
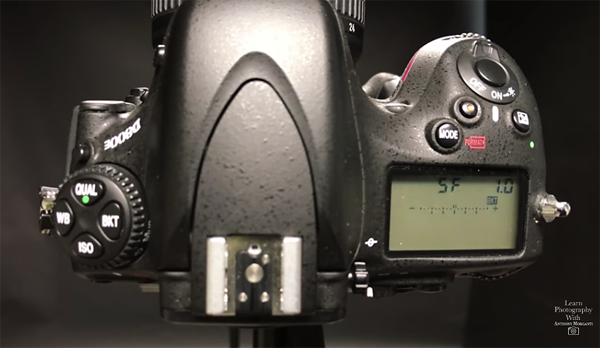
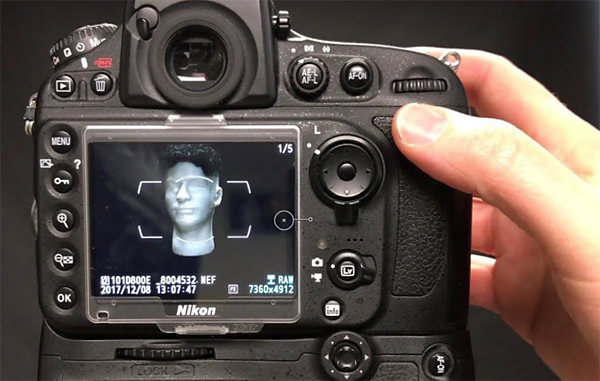
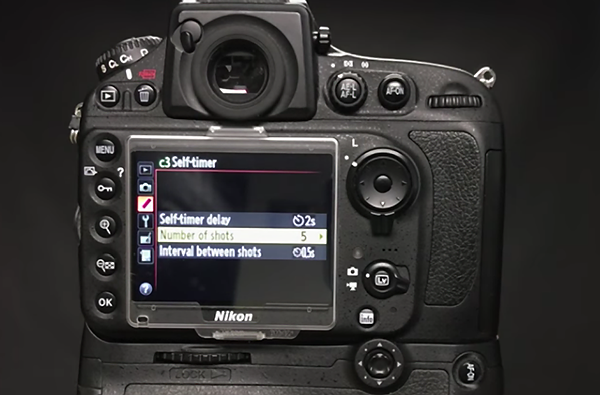
While Morganti demonstrates how to set up a Nikon DSLR for bracketing, the process is pretty much the same with any camera you use. What makes this method a bit different, is that he uses the camera’s self-timer to create a delay between each of the bracketed exposures. Morganti says he typically uses a five-exposure bracket in one-stop increments, and he illustrates how to set up specific intervals between shots.
You can find more helpful tips on Morganti’s YouTube channel. And for another basic camera primer, check out our earlier story on using White Balance settings for photos with more accurate color.
- Log in or register to post comments


![]()
Get the Latest Photo Tips, News & Reviews from Shutterbug!
| Camera Reviews Other Reviews | Mobile Reviews Photography Reviews Columns | News | Features | How-To | Resources |
 © 2025 Shutterbug
AVTech Media Americas Inc., USA
All rights reserved