- REVIEWS
Camera Reviews 
More Reviews Mobile Reviews Photography Reviews - GALLERIES
- VIDEOS
- BUYER'S GUIDES
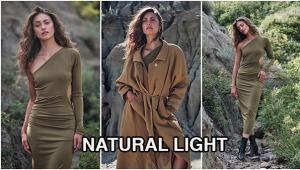
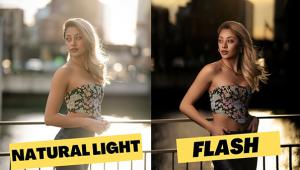
5 Tips that Will Help You Shoot Stunning Natural-Light Portraits

It's no secret that professional photographers are less concerned with cameras and lenses than they are with understanding and controlling the light that allows their images to be made.
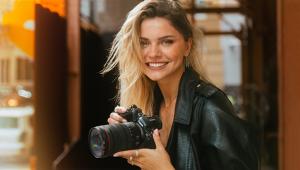
Before Hernan Rodriguez was a photographer, he was painter who spent countless hours studying the nuances of light. Couple that with his years of experience as a Los Angeles-based commercial and fashion photographer, and it's easy to see why his understanding and command of light is as formidable as his arsenal of gear.
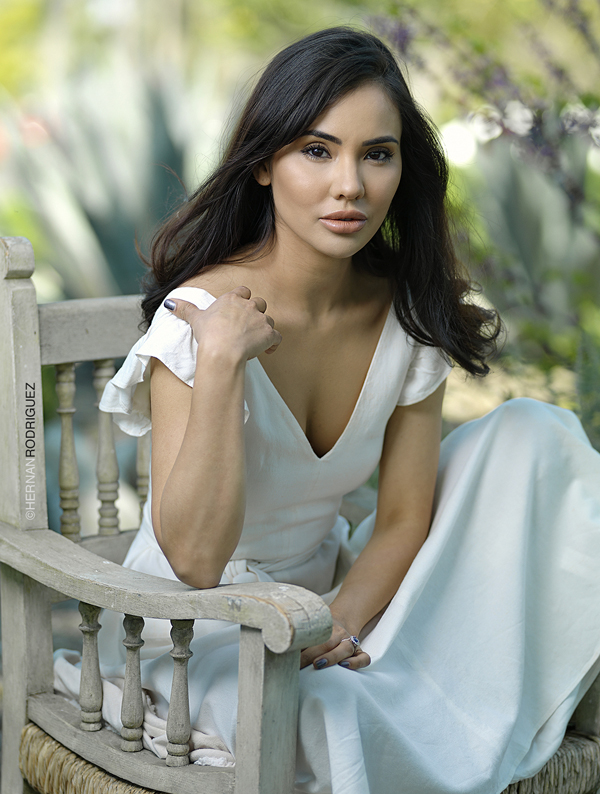
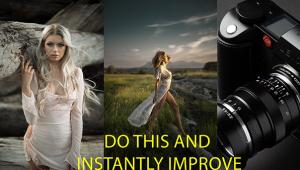
While much of his photography is accomplished indoors using professional lighting equipment, it's control of the natural light of the great outdoors that forms the basis of his expertise—and often serves as his inspiration. "This morning as I walked out to my car I saw this beautiful lavender light coming through the flowers," he says, "and I know that's what I want to emulate with my lights when I'm taking a portrait in the studio."
Here's what we learned about the basics and the nuances of light control when we asked Rodriguez to share some of his tips and techniques for using natural light to create memorable portraits.
1. Change the Game
The first step is to realize that to get control over light you're likely to be in the re-direct business 90 percent of the time. The origin of natural light is the sun, and you're not going to be able to change its position (only Pete Turner could do that; see Rolling Ball). What you're going to have to do is direct, diffuse or block that light using reflectors and bounce cards. Think of it as origin-becomes-source alchemy.

2. Consider Contrast
"What I’m looking for first is contrast in the image," Rodriguez says, and he's talking not only about the range of light and dark, highlight and shadow, but also how to handle the light so he can expose the image for a sharp subject and a subdued background. Exposure, after all, means control of light. "I don't often have the advantage of the golden hour or the blue hour—I'm in Hollywood—who works that way? I've got a celebrity who has to be photographed at high noon with the sun blazing overhead, and contrast dictates what I have to do, and I've got three elements to deal with: where's the light coming from? Where does the subject have to be? What's the background?"
3. Face Facts
"The subject's face is the most important thing—that's what I want to light—but I have to have a balance between foreground and background; without balance, which really means the proper contrast, it won't work. The light on the face is going to dominate the photograph, and I want the background to be a stop or a stop-and-a-half under that in order to be balanced." It's simply following the old adage that the viewer's eye goes first to the brightest spot.
4. The Role of Tones
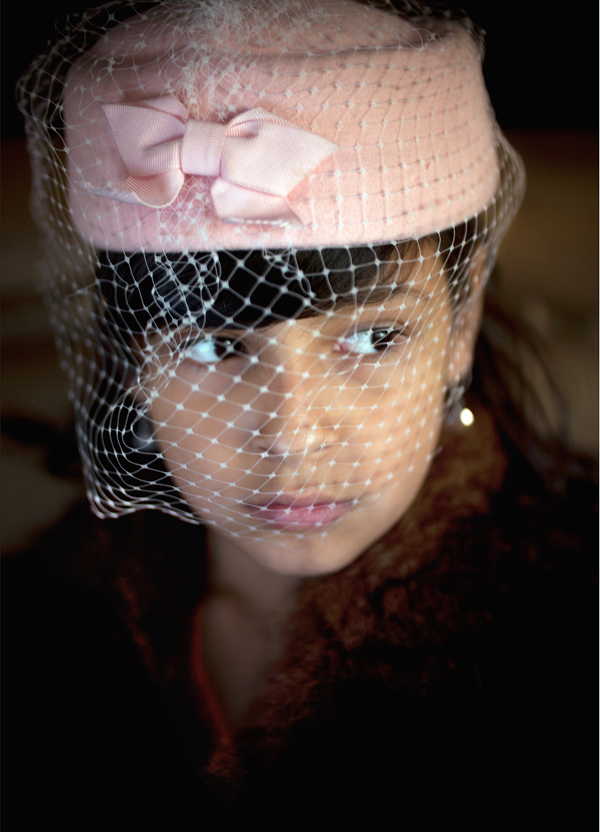
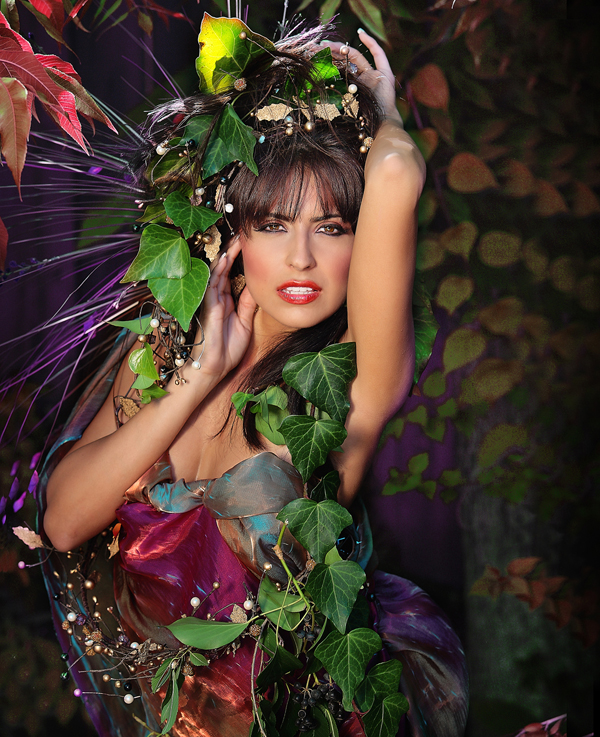
We're talking about skin tones and color tones—they are the complements to and one of the nuances of light that can set the mood of the portrait. "Color doesn't always have to be bold—it can be subtle," Rodriguez says, "and there are photographs that rely on the subtle quality of tones rather than the boldness of color."

5. Plan for Plan B
"You'll always know if it's not working," Rodriguez says. As an experienced pro, he always has backup techniques in mind and extra bounce cards, diffusers, or reflectors close at hand. What he's really pointing out here is that you shouldn't be locked into a single idea, a preconceived notion or a previsualized picture that's probably based on something that worked for you before. The ability to Improvise, to go off script, comes with the territory. In fact, you have to bring it with you if you want to be in the territory in the first place.
Visit hernanphotography.com for a look at additional outdoor images as well as photographs that result from Hernan Rodriguez's studio lighting techniques. You should also check out this story by Rodriquez with eight tips on how to shoot powerful portraits with prime lenses.
- Log in or register to post comments


![]()
Get the Latest Photo Tips, News & Reviews from Shutterbug!
| Camera Reviews Other Reviews | Mobile Reviews Photography Reviews Columns | News | Features | How-To | Resources |
 © 2025 Shutterbug
AVTech Media Americas Inc., USA
All rights reserved