- REVIEWS
Camera Reviews 
More Reviews Mobile Reviews Photography Reviews - GALLERIES
- VIDEOS
- BUYER'S GUIDES
3 MUST-KNOW Tricks: Using SELECTIONS in Photoshop (VIDEO)
The first thing that often comes to mind when using Selections during the editing process is removing, and then replacing, a background. It's true that Photoshop's powerful Section tools work great for this purpose, but there's a lot more they can do as you'll see in the tutorial below.
Instructor Brendan Williams regularly posts tutorials on making the most of Lightroom, Photoshop, and Lightroom Mobile—designed to help photographers level up their skills in less time. In today's eye-opening episode he puts aside background removal and reveals "three must-know ways to use Selections in Photoshop."
The first technique Williams describes is used for selectively changing colors in a photo when it's difficult to isolate a color range. This method works really well, for example, if you want to change the color of an object within the frame or the clothing of a portrait subject. As Williams says, "there's an issue you may run into when modifying colors without selections."

Williams demonstrates the conventional method for switching the color of a dog's beanie to illustrate potential shortcomings of the common approach. He then illustrates how employing a Selection in Photoshop will deliver far superior results. It's super simple to do, and any minor refinements are also a breeze.
The second example involves two photos; one is an environmental family portrait and the other is an empty frame. Williams' goal is to place the first image into the matted frame. Each image has a different aspect ratio, and the trick here is to use a Selection to crop a layer so that the portrait is a perfect fit.
Most folks would simply grab Photoshop's Crop tool, but you'll see why this isn't the best way to get the job done. Williams employs the Rectangular Marquee tool instead and demonstrates the step-by-step process while providing the necessary settings for Feathering and other key attributes.
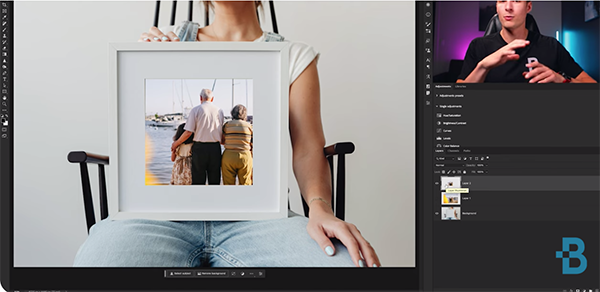
You'll also learn a non-destructive method that enables you to move the portrait within the selection area until you're happy with what you see. Like with the other two methods described in this lesson, Williams includes keyboard shortcuts to speed up the process.
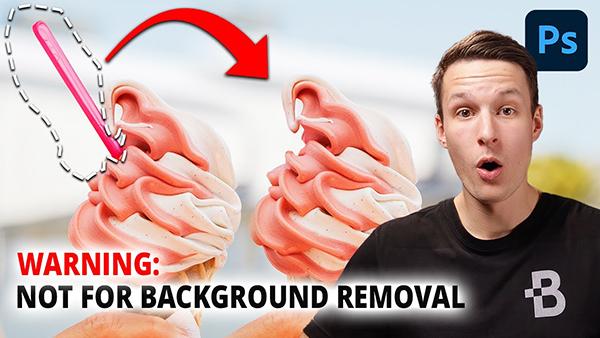
The lesson wraps up with an effective method of employing a Selection for precise object removal. This technique is especially helpful when the object you want to remove is partially covered by an edge that you want to retain. As you'll see, this task can be extremely difficult to achieve with a manual approach.
There's much more to learn about post processing on William's instructional YouTube channel, so make it a point to take a look.
We also suggested watching a tutorial we posted with another image-editing expert who explains how to use Lens Corrections in Photoshop to eliminate distortion and chromatic aberration that can ruin a photo.


![]()
Get the Latest Photo Tips, News & Reviews from Shutterbug!
| Camera Reviews Other Reviews | Mobile Reviews Photography Reviews Columns | News | Features | How-To | Resources |
 © 2025 Shutterbug
AVTech Media Americas Inc., USA
All rights reserved