- REVIEWS
Camera Reviews 
More Reviews Mobile Reviews Photography Reviews - GALLERIES
- VIDEOS
- BUYER'S GUIDES
How to Shoot 3 Classic Film Types with One Mirrorless Camera

Shooting three film types at the same time was an impossible dream back in the days of film photography. But today with my Fujifilm X100F mirrorless camera it becomes standard operating procedure.
If you’re old enough to remember how to fish a film leader out of a 35mm canister using a moistened strip of scrap film, you remember that the only way to shoot Kodachrome and Plus-X at the same time was to use two cameras. In fact, many photographers purchased “second bodies” within their SLR family specifically for that purpose. Owning both a Nikon F and a Nikkormat, or a Canon F1 and an FTb was common. The fancier camera was filled with one film while its lesser sibling chomped on another.
And if you wanted to shoot three film types? Yup—you needed three cameras.
In fact, it was nigh unto impossible to even change film types in mid roll without losing a few frames—and risking losing everything. Minolta had some cameras with mid-roll rewind—the film automatically rewound leaving the film leader exposed.
But even that solution was impractical because a) you had to remember how many frames had been exposed when reloading, and b) it was necessary to leave a couple frames as a buffer to avoid accidental double exposure. Phooey. It was easier to tote both an XE-7 and an SR-T101 than it was to fool around switching film types halfway through a roll.
So many of us circumvented the problem by rewinding the film before every frame had been exposed—which was a wasteful option—or “shooting up” the last few frames on a roll on nonsense subjects just so that we felt like we hadn’t lost anything.
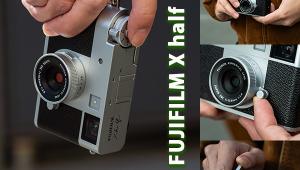
I didn’t buy my first Fujifilm camera for this reason primarily, but now that I’ve been using their Film Simulation Bracketing feature in my Fujifilm X100F mirrorless camera I never want to give it up. To begin with, Fujifilm is the undisputed master of in-camera film simulation in my opinion. The results are consistently accurate and generally useable as-is without much tweaking.
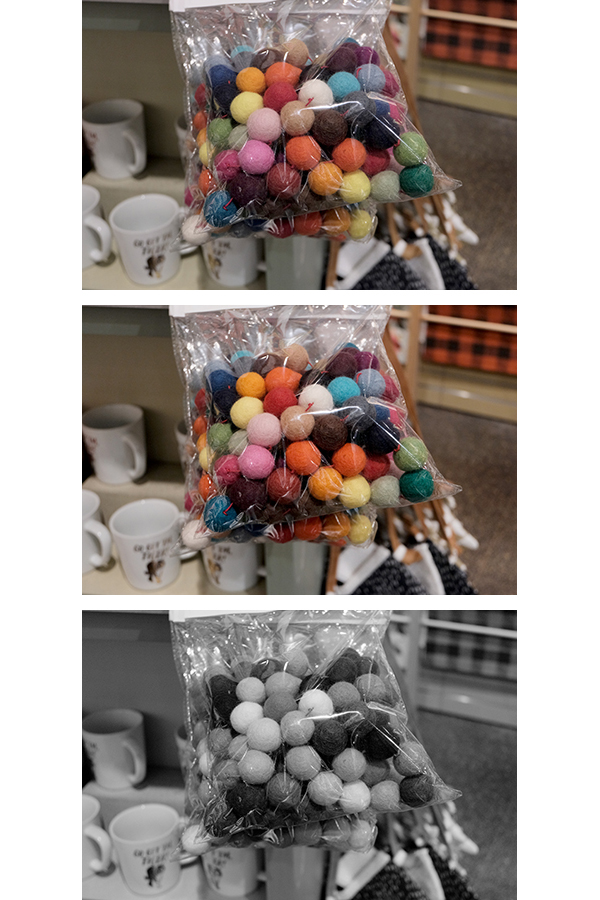
By bracketing Film Simulation I can shoot Provia, Classic Chrome and Acros black & white with one single press of the shutter. Other combinations are possible, too. One image is captured and processed three different ways automatically.
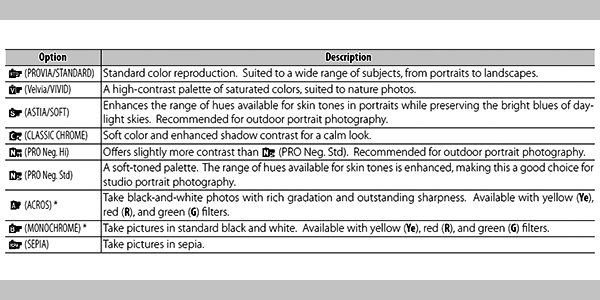
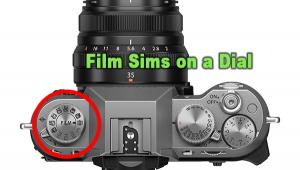
My Fujifilm X100F camera displays all three versions simultaneously on the LCD immediately after the shot is made. The accompanying chart shows the Film Simulations that are available.
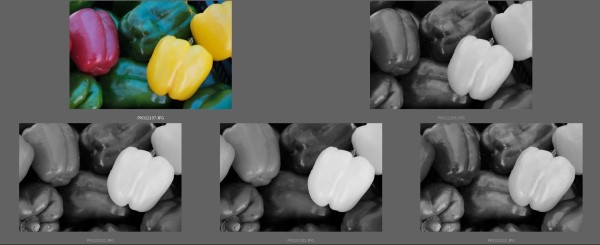
Going one step further, I can shoot either of the two black & white modes, Acros and Monochrome, with my choice of Yellow, Red or Green filter simulations, in addition to filter-free. I’ve tested this option fairly extensively and plan to give the subject its own story in the near future.
I can give you this much of a preview: the simulated results are extraordinarily accurate. Solid color filters make their own color lighter and their complement darker. So imagine the result if you were to bracket Ye, R and G filters when making monochrome images of yellow, red and green peppers, for example.
Now of course I realize that one can shoot Raw files and process them however their little heart desires. One of the many things that makes photography such a rewarding pursuit is the fact that there are many ways to get to the same place—just like some chefs leave the skins on when making mashed potatoes and others wouldn’t dream of it.
Some of you have you film simulation Lightroom presets and that’s great. But that takes skill and time, and just isn’t the same as being able to see simulated color print film, color slide film and black & white film all at the same time in a browser—for every shot—without going through the calisthenics of Raw processing.
—Jon Sienkiewicz


![]()
Get the Latest Photo Tips, News & Reviews from Shutterbug!
| Camera Reviews Other Reviews | Mobile Reviews Photography Reviews Columns | News | Features | How-To | Resources |
 © 2025 Shutterbug
AVTech Media Americas Inc., USA
All rights reserved