Problem Restorations Solved; Dealing With Lines And Paper Surface
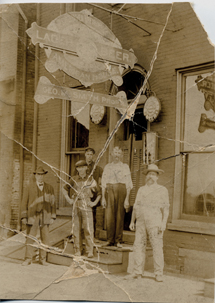
I'm sure you all know how to do cloning with the Rubber Stamp tool in Photoshop. The tool picks up color from one place and lays it down in another place. It's a great tool for a lot of restoration repair jobs. However, when you have a restoration repair job that involves repairing areas of the picture that has a lot of straight lines, the Rubber Stamp tool doesn't do quite as good of a job. The Rubber Stamp tool tends to leave blurry, telltale traces around the edges of where you laid down the color, making it almost impossible to repair a portion of the image that contains straight lines.
 |
|
|
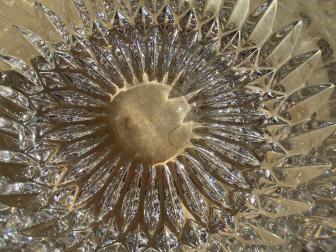
A similar problem exists when you have scanned in an old photograph that was printed on the famous Kodak "Y" finish paper. The old "Y" finish was also known as a "silk" finish and was popular for use with wedding pictures and some portraits. The problem is that the textured surface of the paper is impossible to drop out during the scanning process. So, you wind up with a great scan that faithfully contains all the surface texture that was in the original wet-darkroom print.
 |
|
|
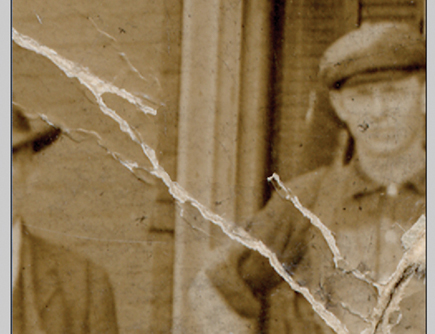
Image #1 is an example of a restoration job that contains a lot of straight lines. Image #5 is an example of a restoration job that contains the surface texture from a "Y" finish print. If you look carefully at #2, you'll see some of the straight lines that I was talking about which need to be repaired. And, in #6 you'll see a close-up of the textured surface in the paper that needs to be repaired.
 |
|
|
Here's how both problems are solved:
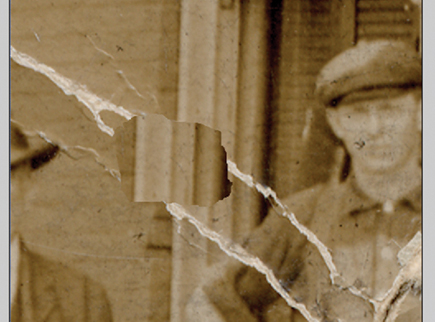
In #2 and #7 you can see where I used the Magic Lasso tool and made a small
selection of a good area of the image. Next, I copied the selection to the clipboard
and then pasted it back into the picture.
 |
|
|
Notice in #3 and #8, I have deliberately placed the pasted-in section in an area where you can clearly see just what the pasted-in piece looks like.
 |
|
|
- Log in or register to post comments
