- REVIEWS
Camera Reviews 
More Reviews Mobile Reviews Photography Reviews - GALLERIES
- VIDEOS
- BUYER'S GUIDES
Photoshop's Super Zoom Filter: For Wildlife, Nature Photos & More (VIDEO)
The Super Zoom tutorial below doesn't involve shooting with long telephoto lenses; rather, it's all about how to use Photoshop's oft-ignored Super Zoom neural filter. This powerful tool enables you alter the appearance of a photo by zooming in and cropping a portion of the image before Photoshop takes over and adds extra pixels to compensate for the subsequent loss of resolution and detail.
Instructor Len Erickson is a wildlife photographer and author dedicated to sharing his love of photography, and in this episode he demonstrates how this easy-to-use feature works in barely four minutes. This technique works wonders for all sorts of photos you make in the great outdoors.
Like with other neural filters, Super Zoom transformations occur without much intervention on your part because Photoshop does all the heavy lifting. As Erickson says, "you can never get too close and your lens is never long enough." And that's where this neural filter comes to the rescue.
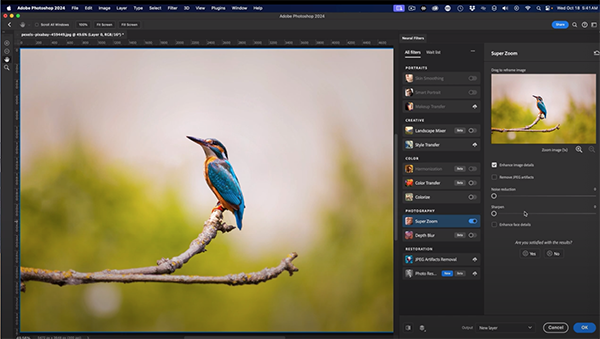
Erickson pulls up a nice photo of a colorful bird perched on a tree limb. He determines a tighter shot would be far more effective and quickly gets to work. Conventional cropping merely removes pixels, losing resolution in the process. To rectify that Erickson first clicks on the Filters tab atop the screen, and then chooses Neural Filters from a dropdown menu that appears.
The next step is to select the Super Zoom option within the Photography section in the panel to the right of your photo. As Ericson explains, "this is going to let you zoom in like you used a longer lens without losing the resolution of the photo." Be forewarned that while you'll like the results you achieve; it takes Photoshop longer than you might expect to make the transformation.
Erickson says, "I'm not talking seconds, I'm taking minutes"—noting that he has a very fast computer. That said, the interface is very simple, with your image on the left and a small button beneath the thumbnail on the right that lets you specify how closely you want to zoom in. There are also sliders for enhancing details, removing Jpeg artifacts, adding sharpening, and removing noise.
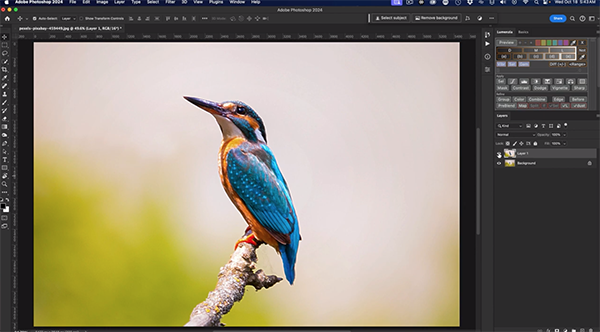
Another nice feature is that you can drag the thumbnail around to refine cropping before choosing the degree of zoom and letting Photoshop get the job done. Take a look at the before/after images and you'll be quite impressed with the results. After watching the lesson head over to Ericksen's popular YouTube channel where there's much more to learn.
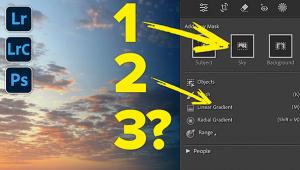
We also suggest watching the tutorial we posted recently from another post-processing expert who explains how to easily straighten converging or crooked lines in Photoshop and Adobe Camera Raw.
- Log in or register to post comments


![]()
Get the Latest Photo Tips, News & Reviews from Shutterbug!
| Camera Reviews Other Reviews | Mobile Reviews Photography Reviews Columns | News | Features | How-To | Resources |
 © 2025 Shutterbug
AVTech Media Americas Inc., USA
All rights reserved