- REVIEWS
Camera Reviews 
More Reviews Mobile Reviews Photography Reviews - GALLERIES
- VIDEOS
- BUYER'S GUIDES
Luminosity Masks Provide “Insane Control” for Better Looking Photos (VIDEO)
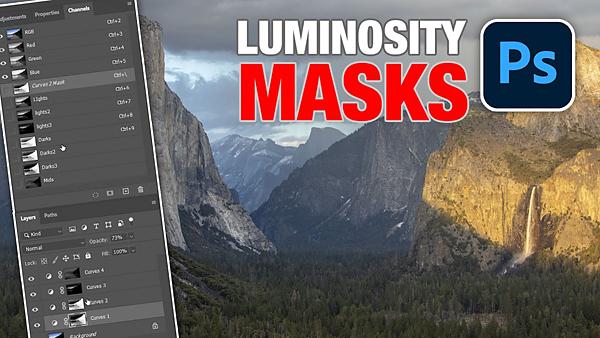
If there’s one underutilized technique for achieving superior results when editing images in Photoshop, it’s the use of Luminosity Masks to balance out the tones and create truly captivating photographs. Best yet, this powerful method is very easy to master.
In the video below from Photoshop Café, you’ll see how easy it is to split an image into two or more tonal regions and use Luminosity Masks to make a huge difference in the shot. In barely 11 minutes instructor Colin Smith walks you through the simple process from beginning to end.

Smith insists that, “This powerful technique enables us to bring out detail exactly where we want it in an image.” For his example, Smith divides a photo into three separate zones; one for highlights and two others for shadows and midtones.
Smith begins in Photoshop’s Channels Panel and loads Luminosity. He then turns his attention to the highlights zone that is immediately visible with the shortcut he provides. From there he quickly creates a new channel based upon that selection. Once that’s done, the necessary adjustments are straightforward.
The same approach is employed for both shadows and midtones zones, and Smith demonstrates everything you need to do. And more keyboard shortcuts greatly speed up the process. You’ll see how simply inverting the highlights selection provides what you need for working on the dark portions of the scene.

Once you’ve accomplished the foregoing, it’s a simple matter to switch back and forth between the highlights, shadows, and midtones selections. At this point you’re well along the way toward rehabilitating the problem photo for a perfectly balanced final image.
You can find more tips and tricks on Smith’s YouTube channel, so be sure and take a look. Then check out the recent tutorial we posted from another image-editing pro, explaining how to use Photoshop to enhance natural light portraits that need a bit of work.


![]()
Get the Latest Photo Tips, News & Reviews from Shutterbug!
| Camera Reviews Other Reviews | Mobile Reviews Photography Reviews Columns | News | Features | How-To | Resources |
 © 2025 Shutterbug
AVTech Media Americas Inc., USA
All rights reserved