- REVIEWS
Camera Reviews 
More Reviews Mobile Reviews Photography Reviews - GALLERIES
- VIDEOS
- BUYER'S GUIDES
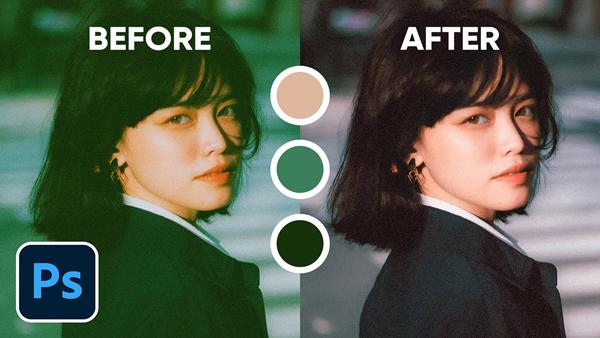
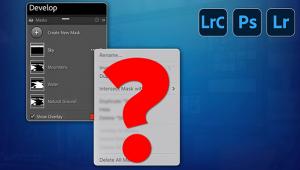
Fix Colors FAST with a “SECRET” Photoshop Trick (VIDEO)
Let’s say you open an image on the computer, the focus is perfect, you nailed the exposure, and composition is fine. But wait: the colors look awful. So you trash it, right? Not so fast.
Precise color correction can be a difficult task, depending upon your editing skills, which is why many photographers reshoot a photo if possible, or simply move on to something else. But in the straightforward tutorial below, you’ll learn a “four-point” technique for fixing skewed colors that’s easy enough for anyone to handle.

Unmesh Dinda is an internationally acclaimed image-editing instructor, with almost four million subscribers to his instructional YouTube channel. In the episode below he demonstrates how to precisely rehabilitate any image with bad colors, by locating the white, black, and gray points—along with what he calls a “mysterious” fourth point.
Dinda covers a lot of ground in just 16 minutes, and takes a rapid-fire approach, so you’ll want to have paper and pen handy to jot down a few notes. He demonstrates both manual and one-click methods to instantly harness the power of Curves to auto-correct colors, and you’ll definitely want to add these methods to your editing bag of tricks.
As Dinda explains, understanding how to employ the first three points (white, black, and gray) is a prerequisite for decoding the fourth-point twist he introduces later in the video. So grab a cup of coffee, clear your head, click the Play button, and prepare for some magic.
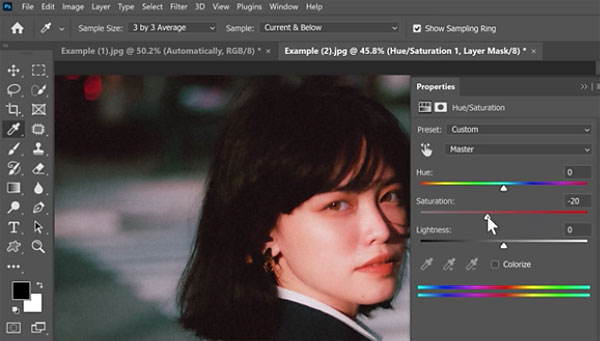
The technique begins by creating a Curves layer that enables you to precisely locate the correct white and black points in an image. The next step in is “determining which areas of the image the would have appeared gray in real life.” Then it’s time to apply the initial three-point fix. The tutorial concludes with the “mysterious” fourth point. Once you learn how it’s done, you’ll never have to worry about inaccurate colors again.
There are many more editing tips and tricks on Dinda’s YouTube channel, so be sure and take a look. Then check out the tutorial we posted recently, explaining another pro’s editing workflow for better landscape images,
- Log in or register to post comments


![]()
Get the Latest Photo Tips, News & Reviews from Shutterbug!
| Camera Reviews Other Reviews | Mobile Reviews Photography Reviews Columns | News | Features | How-To | Resources |
 © 2025 Shutterbug
AVTech Media Americas Inc., USA
All rights reserved