- REVIEWS
Camera Reviews 
More Reviews Mobile Reviews Photography Reviews - GALLERIES
- VIDEOS
- BUYER'S GUIDES
Transform Your Blown-Out Photographs Into High-Key Masterpieces (VIDEO)

Overexposed images are the bane of outdoor photographers when shooting in complicated, mixed light, and even professional shooters like today's instructor gets thing wrong on occasion. You'll learn how to correct this common problem in the Lightroom tutorial below from the Photo Feaver YouTube channel.
James, namesake of the channel, is an accomplished British freelancer who shares twice weekly shooting and post-processing lessons designed to help beginners boost theirs skills. Here 's the point of the episode: "Just because you have an overexposed or blown-out photo doesn’t mean you can't edit your way to a good image."
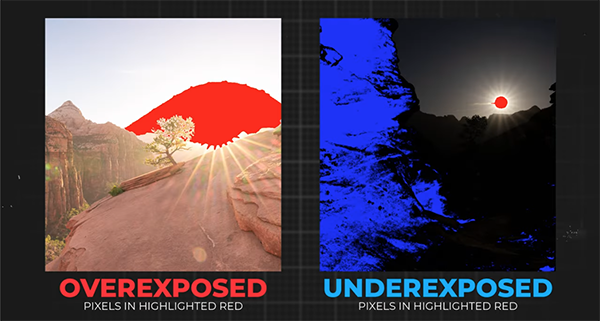
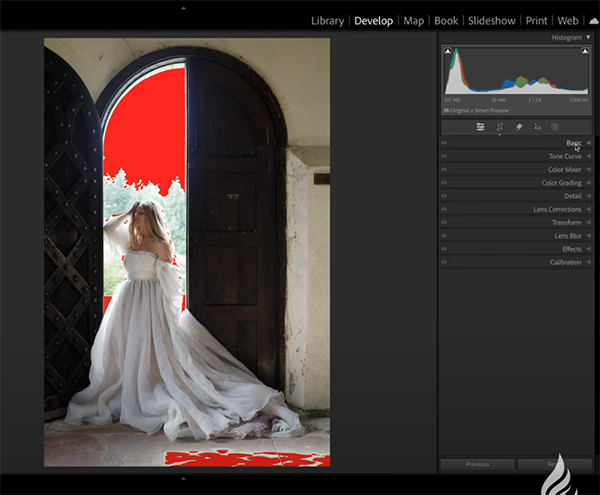
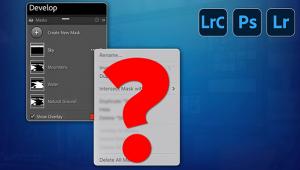
In the next eight minutes James shares his Lightroom workflow for rehabilitating blown-out shots by applying a beautiful high-key effect. The first step in determining if and by how much your image is overexposed. James does this by opening Lightroom's Clipping tool to reveal any pixels that are completely devoid of information.
Next you'll want to open the Basic panel and "nudge the photo in the right direction." Intuition may tell you that this is a simple matter of shifting a couple sliders to darken the image. To the contrary, James explains why the right approach for creating a bright and airy high-key look is to actually affect the shadows instead."
To this end James boosts contrast and slightly increases exposure and drops the overpowering highlights. He then opens opens up the shadows and whites, while dropping the blacks in the increments he recommends. James also reveals the appropriate settings for Texture, Clarity and Dehaze, Vibrance, and Saturation.
The photo now looks better, but there's still an issue with White Balance that needs to be corrected and James explains how to employ Lightroom's Temperature slider to slightly warm up the shot.
Now it's time to open Lightroom's Tone Curve panel and create what's known as a modified "S-Curve" that will brighten highlights and darken the shadows. As you'll see, the more points you add to the curve the more of a targeted impact you can make.
At this point you're barely halfway through the straightforward process, and James walks you through all the remaining steps. So follow his instructions and create a few high-key masterpieces of your own. Then pay a visit the Photo Feaver YouTube channel and check out all the other how-to videos at your disposal.
And don't miss another helpful tutorial we featured recently with Feaver, demonstrating what he says are five hidden Lightroom tools that are essential for every photographer to understand.
- Log in or register to post comments


![]()
Get the Latest Photo Tips, News & Reviews from Shutterbug!
| Camera Reviews Other Reviews | Mobile Reviews Photography Reviews Columns | News | Features | How-To | Resources |
 © 2025 Shutterbug
AVTech Media Americas Inc., USA
All rights reserved