- REVIEWS
Camera Reviews 
More Reviews Mobile Reviews Photography Reviews - GALLERIES
- VIDEOS
- BUYER'S GUIDES
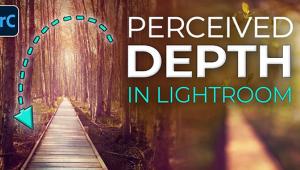
Capture the Magic of BLUE HOUR with These Shooting & Editing Tips (VIDEO)

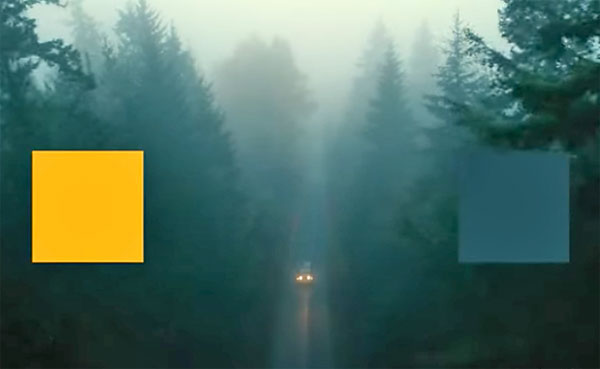
Blue Hour is that magical time right before sunrise and immediately after sunset, that provides an extra-special opportunity for making spectacular images Getting the job done right requires more than good timing, and that’s what the following tutorial is all about.
Outdoor photographers (and filmmakers) love shooting at Blue Hour because the entire tableau is painted with soft, cool tones. Otherwise known as dawn and dusk, Blue Hour really isn’t an “hour” at all, but rather a fleeting 15 or 20 minutes in time.
One advantage of shooting at Blue Hour is that you can convey the moody and mysterious feeling of nighttime, without having to work in total darkness. This type of photography also enables you to give photos an enchanting range of emotions, from danger and unease, to uncertainty, sadness, and melancholy.

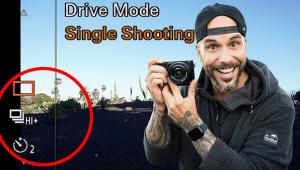
As filmmaker Aiden Robbins says, in this episode from Adorama TV, the “why” of shooting at blue hour is obvious, but things get dicey when it comes to how to shoot these types of images. And the editing process can be different from processing other sorts of photos.
Robbins has a bunch of helpful tips, ranging from preparation, gear, techniques, and camera settings, to properly processing images when you return. You’ll also learn the equipment he prefers, by looking at the list in the description beneath video.
Don’t worry too much about gear, because you can emulate Robbins’ technique with just about any camera and wide-angle lens you own. Of course a solid tripod is a must due to the low light levels and correspondingly slow shutter speeds involved.
Be sure to pay close attention to Robbins’ suggestions for preparation, because they are a very important part of the equation.
You can find more great imaging advice on the Adorama TV YouTube channel, and view Robbins’ impressive work on his Instagram page.
- Log in or register to post comments


![]()
Get the Latest Photo Tips, News & Reviews from Shutterbug!
| Camera Reviews Other Reviews | Mobile Reviews Photography Reviews Columns | News | Features | How-To | Resources |
 © 2025 Shutterbug
AVTech Media Americas Inc., USA
All rights reserved