On The Beach
How To Tame Those Tough Lighting Conditions
I live on the East Coast, and I mean right on it. My studio is located about 8 miles from the Atlantic Ocean. People who live here love the beach, and of course the tourists who descend like swarming flies on a slain wildebeest every summer love it, too. So it stands to reason that when asked where they'd like to have a portrait taken, the beach is always high on the list. But just throwing some equipment into the car and heading toward the ocean won't guarantee great results. Because even though you've got the background, there are several obstacles to overcome or your client won't be very happy with the high contrast, squinty-eyed results. As an experienced beach shooter, I'm going to offer you some suggestions on how to create people photos that will satisfy both you and your subject. I know not everybody has access to the beach, especially those living in Kansas. For those readers, try to relate to any area you are in where it's very open, has no trees, and no escape from the sun. And when I talk about the time of day I like shooting, West Coast shooters can just reverse morning and night. You can handle it--left-handed golfers have to all the time while watching those right-handed videos. |
|||
Plan A: Don't Fight The
Light Plan B: Gimme Shelter |
|||
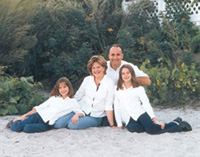
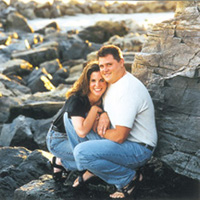
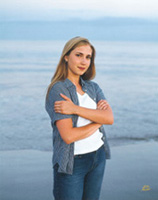
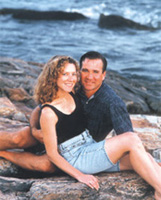
Here's the pattern I usually follow. First, do the rocks part of the session, using open shade and backlighting. By the time you're done there, the sun should be below the horizon and you can venture out onto the beach. (Note: An added benefit of shooting at this time of day, usually 8-8:30pm in the summer, is that the beach is practically deserted except for romantic couples and people walking their Labrador Retrievers. Maybe I should hand out business cards--to the people, not the dogs!) Now that we're on the beach, what do we do? Here's a hint--not the same poses I do in the studio! I want the poses to be very natural and flowing. I like to give suggestions and see what my subjects can do. My favorite line, after I'm done with a nice pose, is, "Do something else." You'd be surprised at the great things people come up with all by themselves, especially couples and individuals. With families, I like to set up about three different groupings and shoot for expressions. When we have the clothing consultation, I encourage them to wear clothes that they can get dirty and even wet. Bare feet are made for the beach sand. Without having to worry about getting dirty, your subjects will be much looser in their posing. Now I'm going to let you in on a big secret that is at first not very noticeable but that happens all the time. Light Reading Tip |
|||
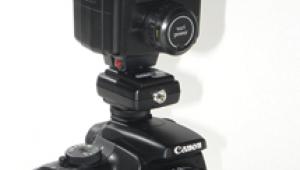
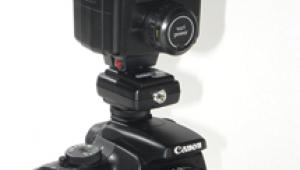
What to do about it? It's my experience that a silver reflector won't add enough light to change the exposure enough, so flash is the answer. The perfect way to do it would be a portable flash with umbrella, but with rapidly changing light conditions and the speed I like to work at, I opt for a small direct flash. What it lacks in finesse it makes up for in speed. Keep in mind that we're talking about shooting when the sun goes down, so you've got a very limited time window, plus the light changes in a hurry. Many times at the beach I'm not working with an assistant either, and unless you're a pro you certainly won't be, so I'd strongly suggest that this is one case where a little "pop" of the flash can make a big difference in your final result. Last Call I hope these tips will give you some insight into shooting at the beach or any open area where there is no cover. There are other methods also, like the ones Monte Zucker has shown in some of his previous articles, where he gets outstanding results in bright sunlight. Try them both so that you'll be prepared to conquer any lighting situation you may encounter. And you'll never be afraid of the water again. Be Prepared |
|||
First, put all your camera gear into a bag you can close. Take what you're using out and then zip up the bag. Make sure you have a shoulder strap so you can shoot with the bag on your shoulder if necessary. Don't ever set the bag down in the beach sand, you'll never get rid of it. I can usually find a high rock with no sand on it and walk back and forth as needed. I also keep plastic trash bags in the trunk. Use one to set your bag on and throw it away when you're done with it. You probably won't be so big on sand in your car either. Try to keep sand only on the bottom legs of the tripod by extending them instead of some of the higher sections first. Then wipe them down with a rag in the parking lot before tossing it in the car. Be careful with film. I don't unwrap roll film until I'm ready to use it. As for your own clothing, you also must wear something you don't mind getting wet or dirty and I recommend sneakers for the slippery rocks you'll no doubt be walking on. I like working in jeans, anyway, but never do because of the image I must portray to my clients. This is one time where I get the chance. Beach Bag |
- Log in or register to post comments
