Foreground Framing
Wide Angle Lenses, Deep Depth Of Field And Point Of View Can Yield Some Great Travel Shots
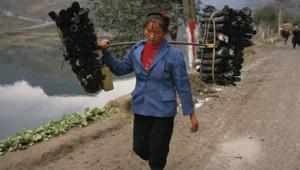
Foreground frames show a subject in its environment and, at the same time, lead the eye through the picture. Done effectively, this "sense of place" approach can produce a three-dimensional effect, with the scene sweeping away from front to back and giving viewers the feeling that they can stroll right into the photograph. A frame, however, doesn't have to encircle a subject, and many successful frames don't. For a near-to-far composition, look for a border that is interesting and that also complements its surroundings. For example, I once photographed a country church equipped with great color--red--and great character--a free-standing bell tower that worked as an eye-catching frame. Another time, a natural arch made a perfect border for distant snow-capped peaks. While the foreground and backdrop in many scenes generally share a contextual link, other times youmay wish to show subject contrast, such as an historic building backed by a modern skyscraper. |
|||
Lens Lowdown Don't overlook other lens options. On a California Gold Country tour, I wanted a gold miner statue to dominate the foreground with an historic courthouse beyond. But streets and sidewalks kept intruding into my wide angle composition. To crop out the clutter, I employed a close-by camera position with a "normal" (55mm) focal length. |
|||
Creative Design Keep in mind that the wide angle's strong point--an exploded look that exaggerates the size of foreground objects--can be a drawback as well. The tendency is to back up to get more into the picture, which commonly leads to a vast empty space in front that overwhelms everything behind. The key is to move in tight and take advantage of the lens' wide-ranging perspective. For my own work, I'm often within 2-3 ft from the nearest point. This close-up positioning, though, has its hazards: Even a subtle shift in camera position can alter the near-far relationship. Such a need for preciseness is one reason I use a tripod on every non-action shot. |
|||
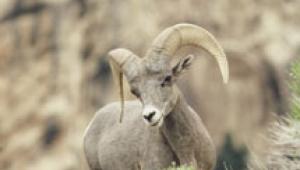
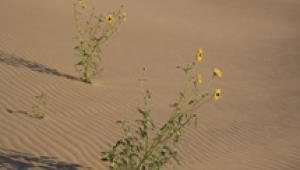
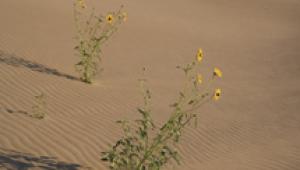
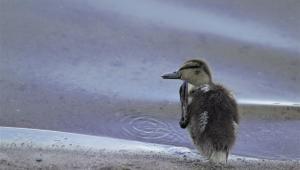
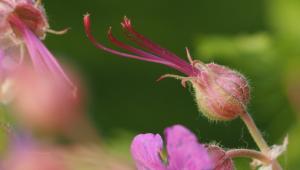
Depth Of Field To determine the exact depth of field, use the preview mode or program found on many SLRs, check the scale markings on some lenses, consult the lens manufacturer's table, or obtain a hyperfocal chart. Although foreground frames frequently demand that everything be sharply rendered (another good reason for a tripod, since small f/stops require longer shutter speeds), occasionally you'll want a blurred frame to direct attention to a crisp-and-clear subject. With an outdoor portrait, a short telephoto zoom set at a large aperture (say, f/2.8 or f/4) obscures the frame and plays up your star attraction. Every wildflower season, I get down and dirty, set my 55mm or 105mm macro lens at its widest opening, and move in very close and very personal (a few flowers almost touch the lens). I then zero in on a single blossom, leaving a soft splash of color as the border. |
|||
Exposure Factors Occasionally, you can make contrast work for you--say, to create a dramatic light-and-shadow show. For silhouette frames, look for a distinctive yet shaded form, and base your exposure only on the sunlit subject beyond, so the frame turns out as a striking black shape. Final Frame Kerry Drager is the author of "Scenic Photography 101: A Crash Course to Shooting Better Pictures Outdoors" (Amphoto Books). His work has also appeared in magazines, Hallmark cards, Sierra Club calendars, and in his previous photo-essay book, "The Golden Dream: California from Gold Rush to Statehood" (Graphic Arts Center Publishing). Drager lives in the country near Sacramento, California. Equipment List |
- Log in or register to post comments


