Rafting The Grand Canyon With A Camera: Taking The Big Plunge
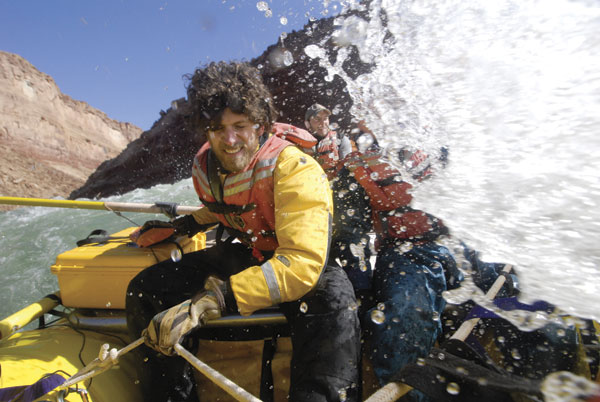
All Photos © Josh Miller Photography
When we set off on March 2, we were committed to running the entire 240+ mile section we had chosen without resupplying our food or other necessities. While this commitment created many unique photographic opportunities, it also created several photographic challenges. The main challenge was how to protect and charge equipment in such a harsh river environment. Over the course of one day, equipment could be subjected to subfreezing temperatures, submersion in water, the impacts of rafts hitting rocks, blowing sand, and scorching sun. This was not going to be your typical walk in the park with a camera thrown over your shoulder.
I decided to split my photo gear between two hard-sided waterproof Pelican cases. I loaded a Pelican 1550 case and Lowepro Omni Trekker with the Nikon D300; 12-24mm, 24-70mm, and 70-200mm lenses; an SB-800 flash; a 1.4x extender; and a Nikon MB-D10 vertical grip. I chose this case because once the Omni Trekker is removed from the Pelican case it functions well as a mid-sized backpack for short day hikes along the river. I loaded my backup gear, solar charger, and portable card storage devices into a 1610 Pelican case that would only be accessible each night in camp. Not only would this allow me to use the smaller case during the day, but it also allowed me to store my backup gear away from my primary gear in case of a catastrophe where one case was lost. Most days on the river, I sent the larger case in a separate boat for even more “accident insurance.”
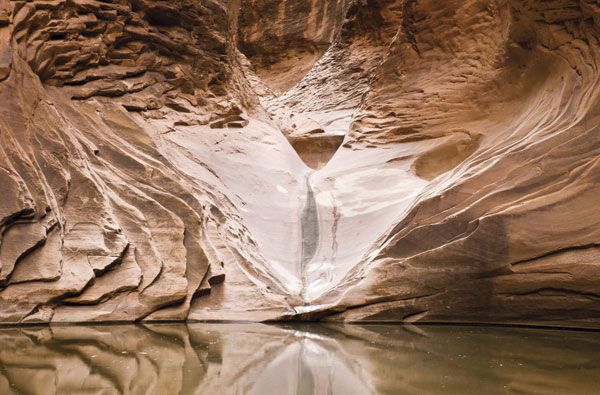
While on the river I permanently mounted the 1550 case right alongside myself on the raft frame. This allowed for easy access to equipment, yet ultra-safe storage as the waves grew larger. The key with rafting photography is to get your camera out fast when an opportunity presents itself and pack it away again before it gets wet, and this setup allowed me to take full advantage of my camera while protecting it from the elements. A few times I even stood on the case in order to gain a little higher vantage point when scouting upcoming rapids (yes, I rowed the boat sometimes).
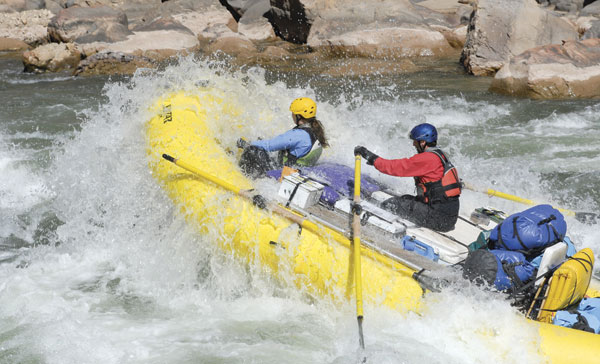
The advantage to having a backpack that fits inside a Pelican case was that on several occasions I waded ashore above a rapid and was picked up below the rapid. While the boats fought their way through the torrent of whitewater, I was on shore firing away at 8 frames per second (fps). The ability to quickly pull my bag from the waterproof case and hike allowed me to adapt to both the light and the terrain, creating dramatic images.
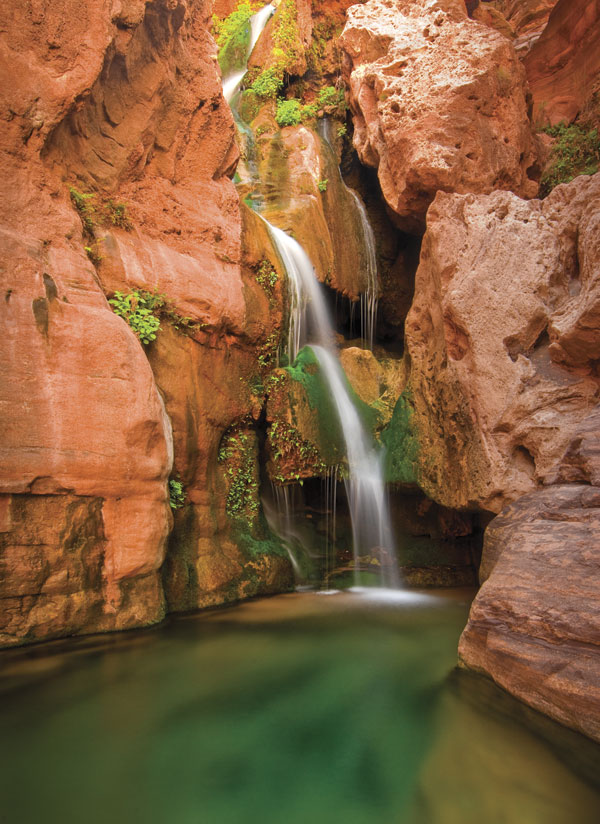
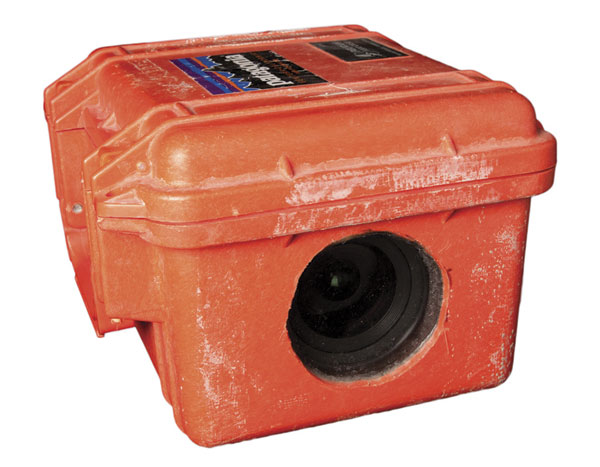
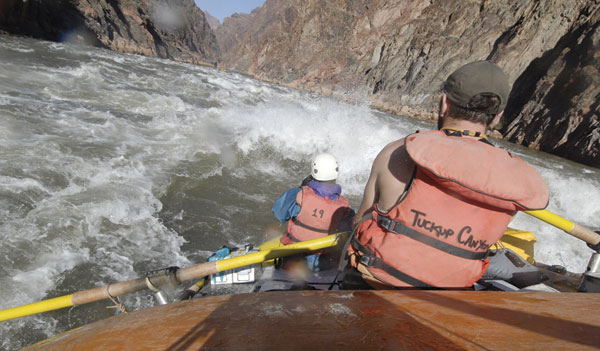
In planning my shots for the trip, I wanted to find a way to give viewers a feeling of actually riding through the rapids themselves. In order to do this, I needed a waterproof camera permanently mounted to the boat. After being scared away by the high price for a commercial camera housing, I decided it was time for “Josh’s chop shop.” With a little trial and error, I developed my own waterproof camera housing by cutting a “lens port” in the side of a Pelican 1300 case and having a local glass shop cut a polycarbonate cover for the hole. I drilled a hole for a 30-foot cable release, and went to town with the silicone aquarium sealant. Just to be sure it would all work, I sunk my creation overnight in my in-law’s koi pond, and was delighted to discover no leaks in the morning. The grand total—less than $100.
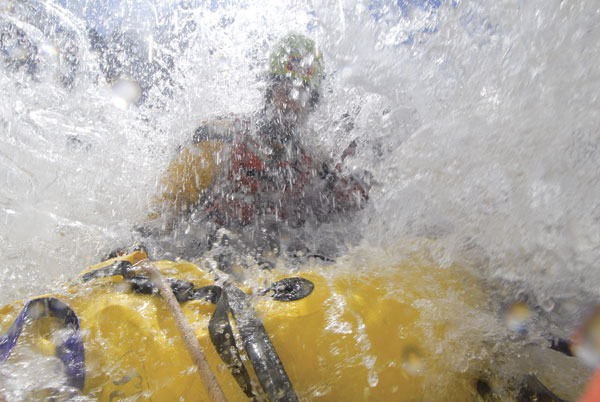
Sure, my homemade case has no viewfinder, but with the D300 and the 12-24mm lens set at 12mm, I just aimed and strapped the case down to a different location every day on the raft. The unique angles of the images shot from this case are by far the strongest and most compelling from the entire trip. Of course, afterward, I had to wade through a lot of missed shots, but it only took a few killer images to make the entire experience worth the effort.
Even if 21 days away from civilization seems like a bit much, you can still have a great time shooting photos this summer on a shorter rafting trip. In many ways, rafting is one of the most exciting photographic subjects you can tackle, because as an active participant, you are able to give your viewer a front-row seat to the thrill of adventure. Along with packing your gear in hard-sided waterproof Pelican cases as discussed earlier, the key to good rafting photos is choosing the appropriate camera andlens combination.
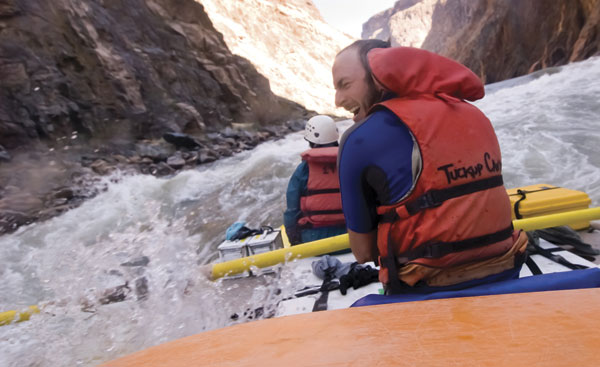
Because you are shooting action, it helps to have a camera with a reasonably high frame rate of at least 5 fps. I prefer to use high-quality zooms rather than fixed focal length lenses in order to adapt to changing scenes faster. If I am planning on shooting from my raft toward another boat, I keep the AF-S Nikkor 70-200mm f/2.8 VR II mounted and ready in the waterproof case. I can pull it out at a moment’s notice, fire off a quick burst, and have it back in the case before we hit the next rapid. When shooting on a raft, you must always be aware of what is coming downriver, and have someone else in the boat keeping an eye out for you as well. More than once, I have been saved by a friend telling me to put the camera away fast, because I was so focused on a shot that I had not noticed an upcoming rapid.
While rivers like the Colorado offer long periods of flat water between rapids, other rivers are action-packed all day long. When planning a trip of your own, talk to the rafting company beforehand to find out if there will even be time between rapids to have your camera out. Ask if there are places they can drop you before a rapid and pick you up afterward so you can shoot the boats blasting through the whitewater. On action-packed rivers where there is not time to shoot between rapids, some form of waterproof camera is definitely the way to go. While an AquaTech housing for a D300 runs about $2400, there are several “inexpensive” waterproof point-and-shoots as well as housings for your existing point-and-shoot. Or, like me, you can build your own contraption.
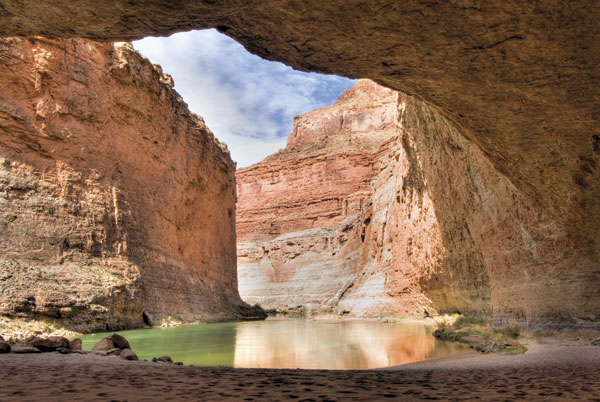
So what are you waiting for? Call a few rafting companies, find a river that suits your photographic and adventurous needs, and get going. Just make sure to pack your gear safely and pay your insurance bill before leaving.
To see more of Josh Millers’s work, order prints, or to sign up for photographic workshops, please visit his website at: www.joshmillerphotography.com.
