- REVIEWS
Camera Reviews 
More Reviews Mobile Reviews Photography Reviews - GALLERIES
- VIDEOS
- BUYER'S GUIDES
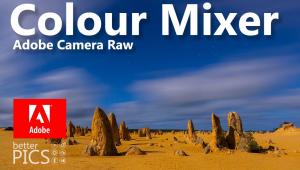
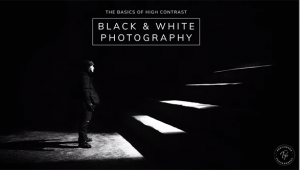
Why and How to Easily Modify Colors in a Photo (VIDEO)
There are countess reasons you may want to modify certain colors in a photo whether it was captured indoors or out. Perhaps a landscape image looks really great, except for a dull or lifeless sky. Or maybe you want to change the background used for a macro photo to make it more complementary to the tones in the subject.
This technique is often used to enhance portrait photos for more pleasing skin tones or to accentuate the color of a model's eyes. In all cases the goal is to make these adjustments without biasing tones elsewhere within the frame. Hence, you need to understand why selective coloring is the best way to accomplish your goals.
Photographer Julieanne Kost is a highly acclaimed educator, author, and expert at all things Adobe—posting straightforward tutorials that create impressive transformations with a minimum of fuss. In this seven-minute episode she demonstrates several methods for accomplishing "selective coloring" in Lightroom that are appropriate for users of all skill levels.
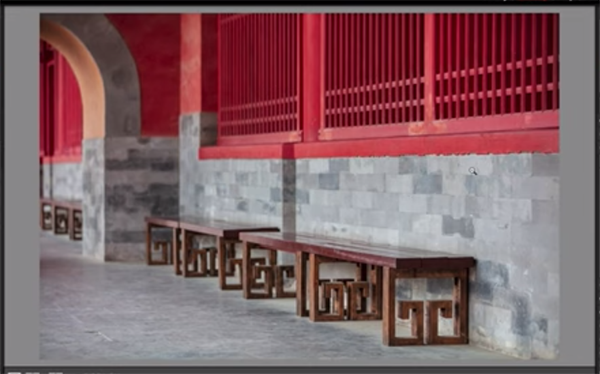
Kost begins with an interesting photo shot on the street and demonstrates several quick ways to use Lightroom's masking tools to make localized color adjustments for a significantly more impactful image. Her goal for the first example is to retain the red tones on the front of a wall and enhance brown benches in the foreground while deemphasizing distracting colors on the back side of the wall.
She begins in Lightroom's Color Mixer Panel with the adjustment set to HSL. She then clicks on the left side of the Saturation slider to desaturate all of the colors within the scene. You'll also learn how to use the Luminance slider when you want to modify how the colors were converted to grayscale.
Now it's a simple matter to select the Targeted Adjustment tool, click and drag in the image, and uses a Brush mask to bring back some of the reds and oranges exactly where Kost wants them to appear. She walks you through the simple procedure and explains a variety of settings and options for getting the job done with precision.
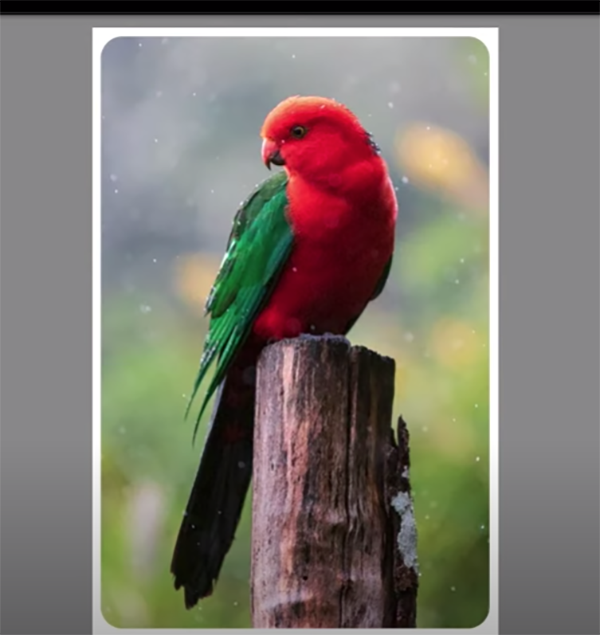
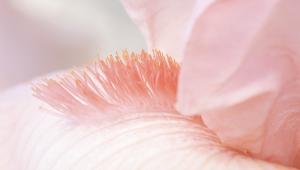
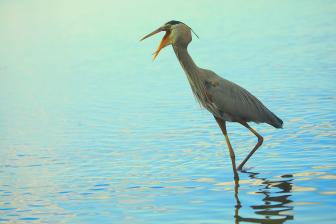
Kost repeats the process with three bird photos and a landscape shot, each of which present different challenges with regard to enhancing color using masks for selective enhancements, just so you'll understand the versatility of this useful Lightroom technique. And in all cases her transformations are quite impressive.
Kost's popular YouTube channel has almost 60K avid subscribers and we suggest that you join the club and elevate your post-processing skills.
And don't miss last week's video tutorial in which another image-editing expert demonstrate why Versions is a vastly underrated Lightroom tool and a "must-have" for your everyday workflow.


![]()
Get the Latest Photo Tips, News & Reviews from Shutterbug!
| Camera Reviews Other Reviews | Mobile Reviews Photography Reviews Columns | News | Features | How-To | Resources |
 © 2025 Shutterbug
AVTech Media Americas Inc., USA
All rights reserved