- REVIEWS
Camera Reviews 
More Reviews Mobile Reviews Photography Reviews - GALLERIES
- VIDEOS
- BUYER'S GUIDES
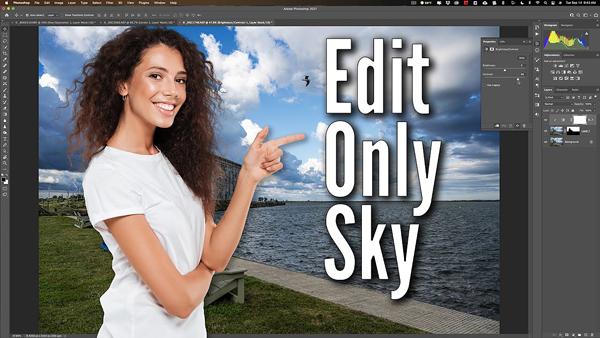
Use a Hidden Photoshop Tool to Enhance a Sky & Leave the Rest of an Image Alone (VIDEO)
Photoshop recently added a Sky Replacement Tool for processing images with boring skies. If you’re one of those photographers who rebel against such drastic measures, this tutorial is for you.
At the same time Adobe added the Sky Replacement Tool they also included a much easier to use Sky Selection Tool that didn’t get a lot of attention. And that’s unfortunate, because it enables you to quickly enhance a sky without affecting the rest of the image

The beauty of this approach is that you can process a sky the way you want, and then separately edit the rest of your shot for a unified, balanced look. In the straightforward tutorial below from image-editing expert Anthony Morganti, you’ll learn exactly how it’s done in just six minutes.
Morganti begins with a seaside image, and the sky isn’t bad—it’s just a bit washed out. In other words, the existing sky needn’t be replaced, it just needs to be pumped up a bit—which a perfect application for Photoshop’s Sky Selection Tool.
As usual, Morganti provides keyboard shortcuts for speeding up the process, and he gets started by duplicating the background layer of the image. All the enhancements are accomplished on this new layer. Then once you invoke the Sky Selection Tool, Photoshop automatically finds the sky,

There are trees intruding into the sky, so Morganti adds a mask to the previous selection, to limit all the enhancements to the sky. As you’ll see, once you click on the masked portion of the layer, the adjustments themselves are very simple to accomplish.
There are more helpful tips on Morganti’s YouTube channel, so be sure and take a look. And don’t miss our earlier tutorial, explaining how to use Lightroom’s Targeted Adjustment Tool to enhance specific parts of an image,


![]()
Get the Latest Photo Tips, News & Reviews from Shutterbug!
| Camera Reviews Other Reviews | Mobile Reviews Photography Reviews Columns | News | Features | How-To | Resources |
 © 2025 Shutterbug
AVTech Media Americas Inc., USA
All rights reserved