- REVIEWS
Camera Reviews 
More Reviews Mobile Reviews Photography Reviews - GALLERIES
- VIDEOS
- BUYER'S GUIDES
Unleash DRAMA in Dull Nature & Wildlife Photos with an Easy Photoshop Technique (VIDEO)
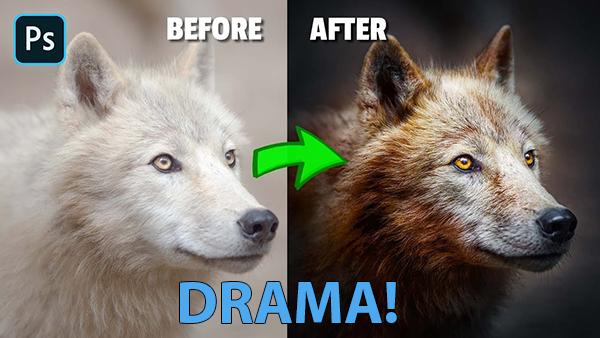
Have you ever photographed an amazing subject and did a great job of composition, only to discover that the image is far less compelling than you had hoped? Well, join the club. There are several potential reasons for your shot missing the mark, and today's Photoshop tutorial demonstrates why you should consider enhancing the image to unleash its full potential, rather dumping it in the trash.
Maybe you captured the photo under flat, dull lighting conditions, or you didn't quite nail focus. Or perhaps you used the wrong camera settings for the specific task at hand. Whatever the cause, Instructor Nemanja Sekulic demonstrates a straightforward editing technique for achieving the drama your scene deserved.
Sekulic describes himself as a photographer and digital artist with "a child-like ability to be amazed by creative photo manipulation"—a powerful attribute we should all be willing to embrace. In today's 13-minute he demonstrates his favorite workflow for transforming a ho-hum photo into one that really demands attention.
Starting with a Raw file provides the best opportunity for harnessing the power of this easy method. In this case, however, Sekulic is working with a Jpeg file and he still delivers the goods. He provides a link for downloading the image in the description beneath the video so you make the changes yourself as they're explained.
Sekulic converts the image into a Smart Object (after making a copy for safekeeping), using a helpful keyboard shortcut to speed things up. He then applies a Camera Raw filter to expand the dynamic range. Next he employs simple sliders to drop exposure, highlights and blacks, while increasing contrast, and whites. The noticeable result of these basic adjustments is just the starting point for everything that follows.
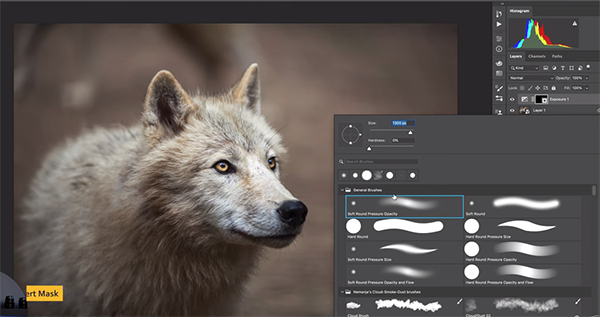
Now Sekulic selects a soft brush with 50% opacity to dodge and burn the background and add a nice vignette. These quick enhancements effectively separate his main subject, a wolf, from the rest of the scene. After slightly desaturating the background he adds what he calls "human saturation" to the calm-looking wolf.
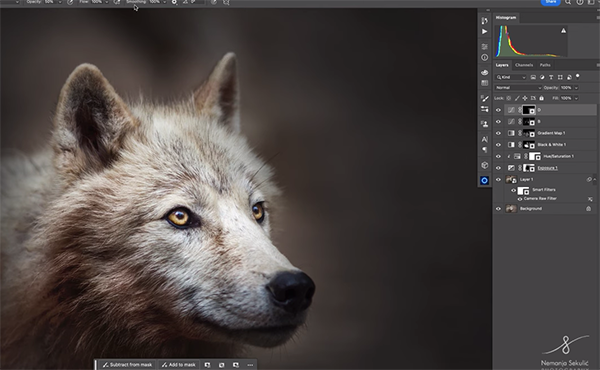
At this point the image is significantly improved, but you're less than halfway through the transformation. What follows include Luminosity Blending, a bit of shading, and a few adjustments that significantly add much-needed detail to the wolf's face, eyes, and fur. He further modifies saturation to finish the job. The before/after images are a testament to the effectiveness of this simple method.
After watching the video pay a visit to Sekulic's instructional YouTube channel where you'll pick up more post-processing tips and tricks.
We also suggest watching a tutorial we posted recently from another expert, explaining a unique way to sharpen outdoor photographs without the drawbacks of a standard approach.


![]()
Get the Latest Photo Tips, News & Reviews from Shutterbug!
| Camera Reviews Other Reviews | Mobile Reviews Photography Reviews Columns | News | Features | How-To | Resources |
 © 2025 Shutterbug
AVTech Media Americas Inc., USA
All rights reserved