Output Options; Printing And Mounting Canvas; An Attractive And Lucrative Print Surface Option
Canvas prints are becoming extremely popular these days and there are a tremendous number of options available to you, both traditionally mounted with a frame and with a gallery wrap, where the image wraps around the side of the mount and no frame is used. Good options for online printing include Canvas On Demand (www.canvasondemand.com) and Mpix (www.mpix.com). If your printer can handle canvas, doing it yourself is a viable option and a good way to improve your presentation skills at the same time.
If you have a recent model photo printer, such as the Epson R2880 or R1900, HP B9180 or 8850, Canon Pro9000 or Pro9500, you can print to canvas. The important consideration is the maximum thickness your printer can handle. Most canvas products are over 350 gsm and 20 mil, so check your manual before you jump in and buy any media. All of the manufacturers offer at least one type of canvas, and most of the independent companies, like Inkpress, Hahnemühle, Premier, and others, offer canvas in multiple sizes and finishes, so you have a wide range of options here. Another thing to check is whether there are profiles available for your printer. You can often get away with printing using a similar profile, such as Luster, but you’ll get the best results and color accuracy when using a profile designed for the paper/printer/ink combination.
Preparing The Image
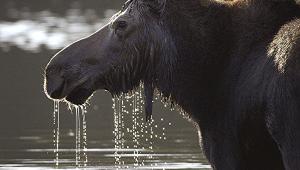
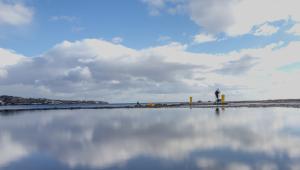
Canvas has quite a bit of texture to it. That’s one of the appealing elements of printing to this medium—it doesn’t look like a traditional photograph. That said, some types of images are better suited to canvas printing than others. For example, the image shown in #1 works great on canvas. I printed this at 22x70” on HP’s Collector Satin Canvas. While it’s impossible to tell in reproduction here, the actual print has a very natural look to it that is impossible to reproduce on traditional photo paper.
 |
|
|
Because of the texture, subjects with fine detail don’t do as well, so I suggest staying away from that type of image. Portraits, as you might expect, are excellent choices for canvas, and if you’re doing portrait photography as a profession you’ll find that canvas prints not only sell well, they sell for significantly higher profit margins than the typical print.
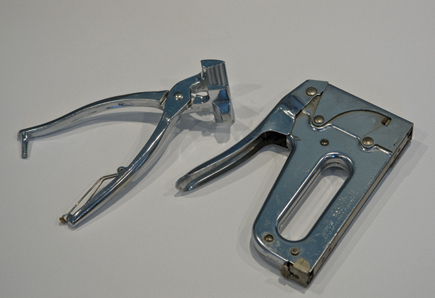
Before printing your image, decide on how you’ll mount it. You can purchase ready-made kits in standard sizes, or you can buy stretcher bars in a number of different sizes to suit the image. I find this gives me the most flexibility, so I usually build my own and have a number of different sized bars on hand. Stretcher bars are available at most art stores and online at places like Blick Art Materials (www.dickblick.com). You’ll also need a stapler and it helps to have some canvas pliers that have a wider grip that won’t deform the canvas (#2).
 |
|
|
For the examples here, I used a senior portrait, printing it to fit a 16x20” frame. Because I wanted to do this image as a gallery wrap with no frame, I needed to print larger than my stretcher bars. I added 2” to the height and width to compensate for the 1” all the way round that the bars would add to the size. You also need to have enough extra to wrap around the back of the frame to staple the canvas to the stretcher bars—about an inch extra on each side is fine, so the total dimensions to fit the 16x20” are 20x24”.
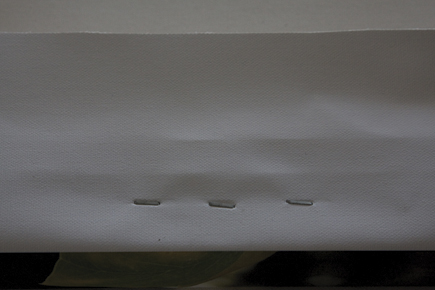
After printing your image, be sure to let it dry sufficiently. I’d recommend overnight if possible, just to be safe. Pigment prints usually feel dry to the touch almost immediately after printing, but because you’ll be manipulating the canvas more than a traditional print, it’s best to be conservative. Once you’re ready to begin, lay the canvas print side down on a soft and clean surface. Now lay the assembled stretcher bars and align the bars so that the printed edge of your image comes to the back edge of the bars
 |
|
|
- Log in or register to post comments

