Nik Software Silver Efex Pro
|
All Photos © 2008, George Schaub, All Rights Reserved |
I have already chosen a style for the image, which can be selected from numerous options in the left side nav bar. The amazing thing is that the "filter gallery", if you will, shows the actual effect on the image in real time, and not some simulation of the effect on a stock image. You can have numerous screen views, such as split or top and bottom, but I like to have the whole image showing and don't worry too much about how it looked in color. On the right side begins a long scrolling bar of options, beginning with global adjustments to brightness, contrast and "structure", a kind of sharpening but more a definition enhancement. It's hard to describe until you work with it, but some might call it Clarity.
The button directly beneath the global adjustments is the Control Point.
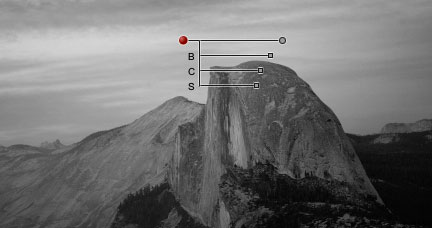 |
This is Nik's trump card in selective image control. You place the Control Point (known as U Point technology) in the image and then define how much of the image you want to adjust. This is defined by the top slider which moves a circle within the image to show coverage. This can be applied selectively to the tone you pick or to an area, though I found it tended to be a bit too universal in some cases and to cause vignetting of the effect in others, and felt I'd have better selective tonal control inside Photoshop, but that might be a matter of gaining experience with this tool. The three changes you can make are in brightness, contrast and that structure tool again, and you can go plus or minus on each. I think given some more practice this could be a good start for local contrast control.
There are also numerous options in the right side Nav bar, some of which I'll show here. There's the color filter option bar (for emulating the effect of shooting panchromatic film through a color filter):
 |
As well as the emulation of various film types:
 |
And a wide variety of very nice toning options:
 |
You can also apply split tones in a fashion that emulates true darkroom split toning, where the density and paper will show different toning effects. This is one of the most versatile of toning option setups I have seen on any software, as you can work with as many tones as you desire and tilt the balance between the two to the nth degree. Kudos on that control!
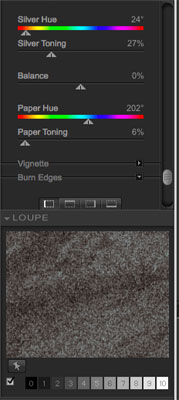 |
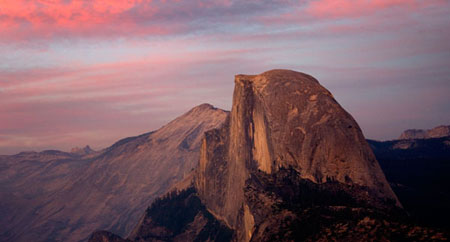
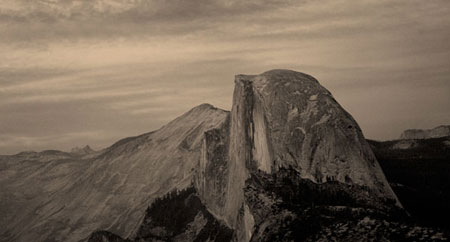
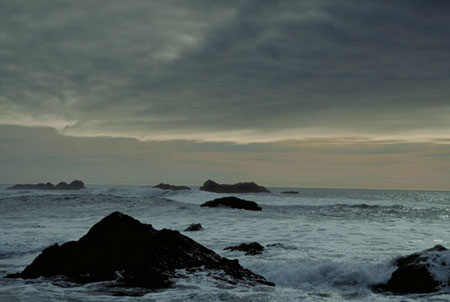
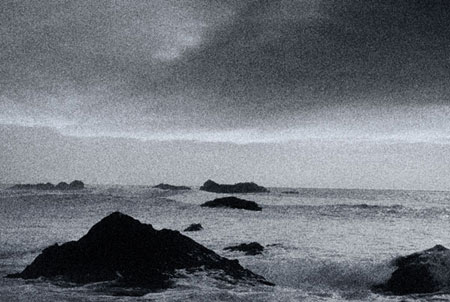
Just for fun I have included two before and after images to show you some of the easy variations available in this very comprehensive program. While there are still tasks that Photoshop and Aperture can do for you this plug-in certainly expands the monochrome options for all. As I said, we'll have a full review coming in a future issue of Shutterbug; just thought I'd give you a taste.
 |
|
|
|
 |
|
|
 |
|
|
|
 |
|
|
- Log in or register to post comments


