- REVIEWS
Camera Reviews 
More Reviews Mobile Reviews Photography Reviews - GALLERIES
- VIDEOS
- BUYER'S GUIDES
Lightroom Basics: Edit in the Proper Order for BEST Results (VIDEO)
Hopefully you’ve become proficient in Lightroom by following the tutorials we post regularly. But proficiency with various tools only gets you so far if you’re not making adjustments in the correct order.
In the tutorial below, image-editing expert Anthony Morganti demonstrates the “sequence of events” he follows when processing images in Lightroom, being quick to admit that his preference is a subjective one. He also says, “As far as Lightroom is concerned, it really doesn’t matter what order you do things in.”
So if Lightroom “doesn’t care,” what’s the big deal? As Morganti explains, it’s important to pick a “sequence of events” and stick with it, if you want consistent results from image to image.

The sequence you choose depends upon the tools you use most and the level of your skills. But there’s no better starting point than by taking a look at Morganti’s preferred approach and then modifying it, if necessary, to suit your specific needs.
Morganti edits two images to illustrate his method; one is very simple, while the second integrates a bit of masking into the order of events. He begins with the former and explains why he always starts by cropping and/or straightening the photo if necessary.
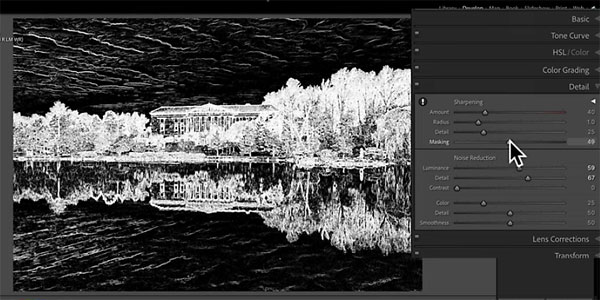
The next step is to navigate to Lightroom’s Basic tab and select the appropriate profile for the image at hand. Morganti says picking a profile early in the workflow is important because “the profile is your base and you want to make the remaining edits on top of that.” Only then does he moves on to tonal values and other adjustments in the order you’ll see.
In the final portion of the episode Morganti demonstrates how he alters the sequence when masks are required. So watch the video and see if Morganti’s approach works for you. Just make sure that you do things in the same order as often as possible.
You can find more editing tips and tricks on Morganti’s instructional YouTube channel, so pay a visit and subscribe.
And if you missed the tutorial we posted with a bunch of fun hacks for shooting spooky Halloween photos, be sure to take a look.


![]()
Get the Latest Photo Tips, News & Reviews from Shutterbug!
| Camera Reviews Other Reviews | Mobile Reviews Photography Reviews Columns | News | Features | How-To | Resources |
 © 2025 Shutterbug
AVTech Media Americas Inc., USA
All rights reserved