How to Use EV-Compensation to Get the Light Right in the Camera (VIDEO)

EV-Compensation is an important concept to understand if you want to consistently capture properly exposed images in the camera. Also known as Exposure Compensation, this setting is a feature in just about any camera you own, and when used properly it often eliminates the necessity of balancing tones during the editing process.
In basic terms this helpful tool enables you to easily override the exposure setting chosen by your camera. It’s particularly useful when photographing scenes with uneven light, or those with overly bright highlights or dark shadows. In other words, you can take control by manually adjusting tones in an image.
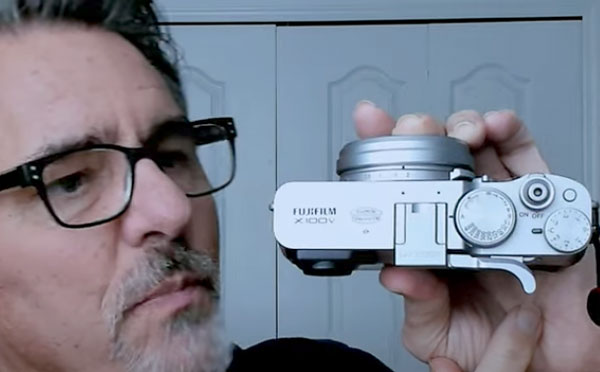
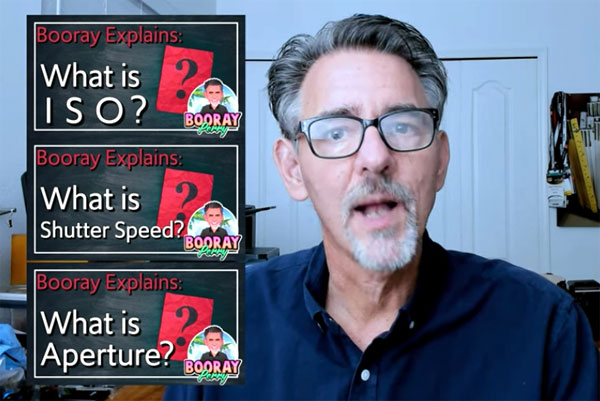
As you’ll see in the tutorial below from instructor Booray Perry, EV-Compensation works differently depending upon the camera exposure mode you’re using. Perry notes that some cameras have a dedicated physical dial on the top for making necessary adjustments, while others require a button press or the rotation of a wheel for selecting the value you want.

In either case, most cameras enable you to modify exposure from -3EV to +3V and some offer an even greater range. In either case, making the adjustments is easy and effective, and you can view the result on the rear LCD or in the viewfinder in real time before snapping the shutter.
When shooting in Aperture Priority mode, for example, you choose an f/stop and the camera provides what is “thinks” is the appropriate shutter speed, but depending upon the scene at hand, that combination may fail to deliver a good result. Perry says that in this case EV-compensation works it’s magic “by changing your shutter speed or ISO—but it won’t change your aperture setting.”
When using other modes, let’s say Shutter Priority, EV-Compensation has different ramifications, but in basic terms you choose the parameter of most importance (like a fast shutter speed for action shots) and the camera does the rest. In other works, accurate photos with “less thinking.”

If you’re looking for more simple explainers like this one, head over to Perry’s YouTube channel and take a look.
We also suggest you check out another helpful tutorial we posted recently, explaining how to use Selective Color to fix hot spots and highlight blowouts in Photoshop.


