- REVIEWS
Camera Reviews 
More Reviews Mobile Reviews Photography Reviews - GALLERIES
- VIDEOS
- BUYER'S GUIDES
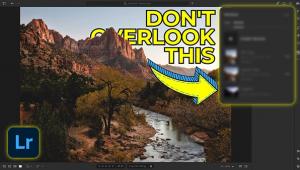
How to Use Color Dodge Tools for More Intense Photo Edits (VIDEO)
There's a frequently overlooked post-processing technique for accentuating colors in photographs captured in the field, and you'll learn why, why, and how to use it in today's seven-minute tutorial from the popular Sandra D Imagery YouTube Channel.
Sandra is a very accomplished photographer, educator, and Adobe expert whose quick videos are all about inspiring other creatives with easy-to-follow tutorials, tips, and behind-the scenes peeks into the image-editing workflow she prefers. The topic of today's episode is Color Dodging in Photoshop.
Here's a summary of what you'll learn: "In this video I share a technique for selective coloring to add a more intense pop to key areas within a photo." Sandra explains the importance of applying enhancements in a specific sequence, and why she tends to apply Color Dodging in the middle of her workflow or at the end for a final finishing touch.
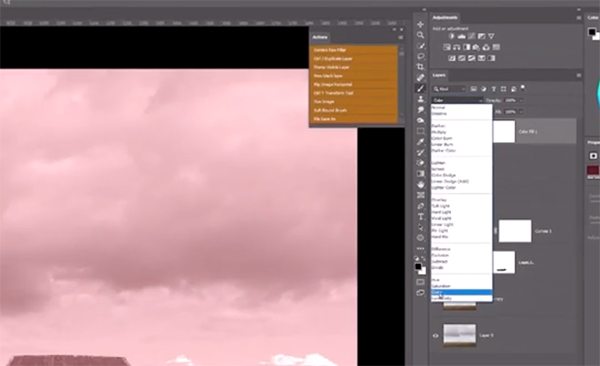
Sandra's first method involves using a "solid color fill." Her multi-layered image is quite pixelated in layer three. The first step is choosing the Solid Color option from a dropdown menu in the panel. She selects red "because "I really want to POP that roof." You'll see why it's important to change the Blend mode to Color before inverting the mask.
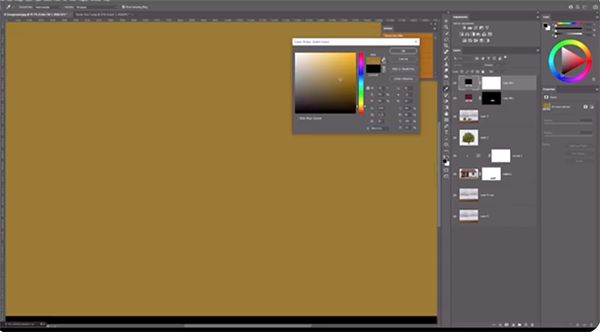
The next step is brushing her chosen color into the roof of the building on the horizon. She drops Opacity so that this effect appears realistic. She takes a similar approach to embellish a couch on the porch by adding another color layer—this time a yellowish, mustard tone that's brushed over this small element while experimenting with Opacity as before.
You'll see why she recommends paying close attention to the various masks in the panel, and why subtlety is often the key for keeping these color enhancements appearing natural. At this point you're only halfway through the tutorial, and Sandra demonstrates other quick methods for achieving a similar result, depending upon the specific look you're after, and Sandra provides timesaving keyboard shorts for streamlining the various adjustments.
Once you done watching, head over to the popular Sandra D Imagery YouTube channel where you'll find other instructional videos for improving your image-editing workflow.
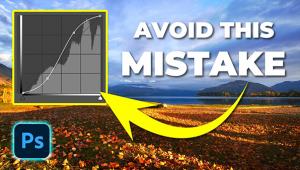
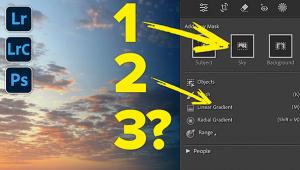
We also suggest checking out a recent tutorial we featured with another Adobe specialist who demonstrates how to avoid ruining photographs by understanding three common post-processing tools that are often applied incorrectly.
- Log in or register to post comments


![]()
Get the Latest Photo Tips, News & Reviews from Shutterbug!
| Camera Reviews Other Reviews | Mobile Reviews Photography Reviews Columns | News | Features | How-To | Resources |
 © 2025 Shutterbug
AVTech Media Americas Inc., USA
All rights reserved