- REVIEWS
Camera Reviews 
More Reviews Mobile Reviews Photography Reviews - GALLERIES
- VIDEOS
- BUYER'S GUIDES
How to Enhance Water Reflections for Epic Outdoor Photos (VIDEO)
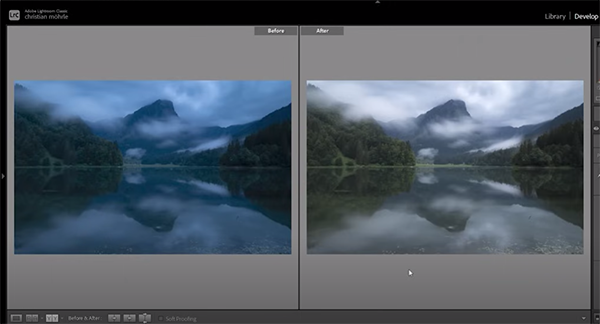
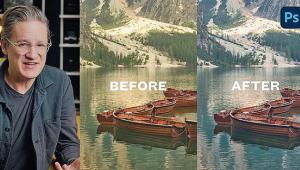
This tutorial from the PHLOG Photography YouTube channel will be really helpful the next time you capture seascapes or landscape photos from the shore of a lake. As instructor Christian Mohrle says, "This Lightroom trick will make water reflections "POP!"
Mohrle is a notable German pro whose shooting and post-processing videos are among the most popular that we post. As always you can follow along and mimic his adjustments by downloading his demonstration image with a link beneath the video. He walks you through the entire step-by step process from basic enhancements and masking to color grading, sharpening and more.
The preliminary global adjustments help create a solid base image for the selective enhancement that follow, and Mohrle begins by changing the profile from Adobe Color to Adobe Standard which provides more a bit more control over contrast with photos like the one you see here.
Next Mohrle turns his attention to White Balance because he's unhappy with the super strong blue cast in the shot. As you'll see, there are several Lightroom techniques for correcting this anomaly and Mohrle explains the approach he prefers to achieve a neutral look. He then gently increases exposure, boosts contrast, and drops highlights to introduce more details in the bright sky.
Other preliminary adjustments include increasing Texture and dropping Clarity and Dehaze. Now it's time to deal with those dull reflections to really boost the impact of water in Mohrle's pretty alpine lake scene.
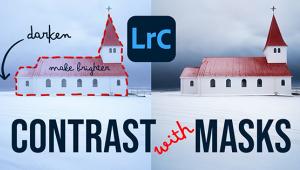
Mohrle begins this transformative stage in Lightroom's Masking panel by adding a rectangular Linear Gradient over the water that fills the lower half of the frame. He then demonstrates a variety of enhancements to dramatically accentuate the reflections. He also explains how to refine the straight line of demarcation between the lake and the top half of his shot.
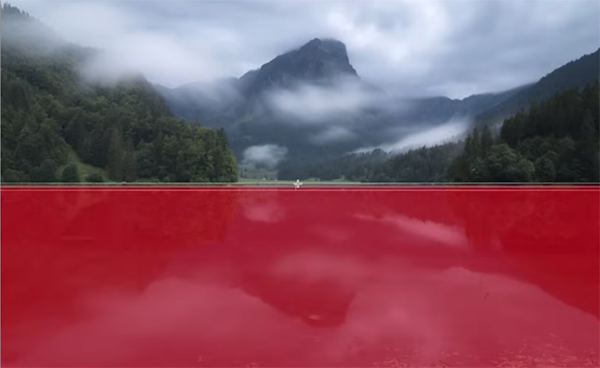
A couple more masks are introduced, including a partial sky selection with Exposure and Texture modifications that further improve the look. He also adds a subtle vignetting effect "to guide the viewer's eyes toward the center of the image."
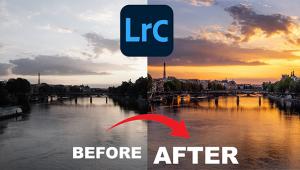
All that remains to complete the eye-catching edit are a few color adjustments and very careful sharpening. Just compare Mohrle's before/after examples and you'll be duly impressed. Then head over to the PHLOG Photography YouTube channel where you'll find a wealth of shooting and editing videos for making the most of every scene you encounter in the field.
We also suggest watching the earlier tutorial we featured with another expert who demonstrates how to add drama to your photographs by emphasizing shadows, silhouettes, and bold shapes.
- Log in or register to post comments


![]()
Get the Latest Photo Tips, News & Reviews from Shutterbug!
| Camera Reviews Other Reviews | Mobile Reviews Photography Reviews Columns | News | Features | How-To | Resources |
 © 2025 Shutterbug
AVTech Media Americas Inc., USA
All rights reserved