Flash Tips
Electronic flash is a versatile photographic tool. From tiny units built into cameras to multi-head studio flash systems with separate power supplies, electronic flash is popular with photographers from snapshooter through pro.
Here are a few handy tips to help you get better photos with flash.
1. Fill-Flash
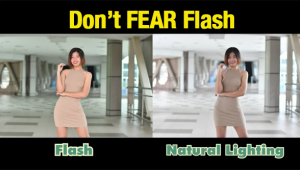
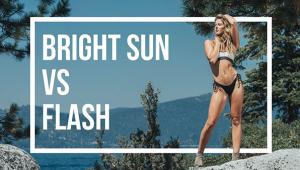
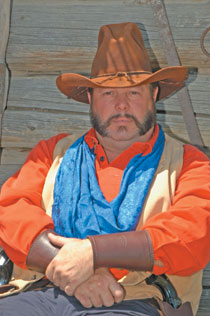
The most popular use for flash is to fill (lighten) harsh shadows in sunlit outdoor portraits. Most cameras with built-in flash units offer both auto-flash and fill-flash modes. In auto-flash, the flash unit automatically fires when needed (i.e., in dim lighting). In fill-flash mode the flash will fire for every shot, regardless of light level. This is the mode to use to fill-in those harsh shadows in sunlit portraits (in auto-flash mode, the flash probably won't fire due the the bright ambient light level).
 |
|
|
Many SLR cameras offer flash exposure compensation, which allows you to adjust the degree of flash fill. If your camera offers this feature, experiment with it to see how much fill works best in the situations you normally encounter. With sunlit portraits, it's generally best for the flash to be one stop less intense than the ambient light. For backlit subjects, it's generally best for the flash to balance the ambient light.
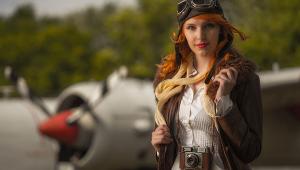
Fill-flash also adds attractive catchlights to subjects' eyes. One caution: While fill-flash will soften the harsh shadows produced by direct sunlight, it won't prevent your subjects from squinting due to the bright light.
2. Key-Flash
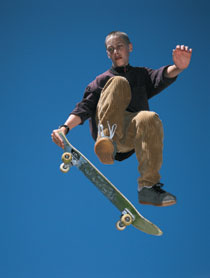
You can make the flash the main light source (key light) by adjusting things so the output from the flash is more intense than the ambient light. This is a great way to get rich blue skies in flash photos, or to play-down a distracting background by darkening it. If your camera offers flash exposure compensation, just dial-in +1. If it doesn't, dial-in --1 stop of exposure compensation for the ambient light, using the camera's normal exposure-compensation feature. Or you can do it manually: Determine the exposure for the ambient light in manual mode, then close the lens down one stop from that exposure. Then, with the flash in manual mode, select the power setting that will produce correct flash exposure at the set aperture. In the resulting photo, the flash-lit nearby subject will be properly exposed, while the ambient-lit background and sky will be underexposed by one stop.
 |
|
|
3. Red-Eye
Anyone who's shot flash photos of people or animals has seen "red-eye," those horrible red spots in the eyes. (With animals, the spots can be other colors, such as yellow or green). Red-eye occurs because the light source (flash unit) is too close to the lens axis: the light goes straight into the eye, and is reflected off the retina right back to the film or image sensor. The only way to eliminate red-eye is to move the flash unit off-camera, away from the lens axis. Obviously you can't do this with built-in flash units, so camera manufacturers generally provide a red-eye-reduction mode that reduces (but doesn't eliminate) red-eye by causing the flash unit to fire several times at low power before the shot is taken, to "stop-down" the subject's eyes and thus lessen the effect.
 |
|
|
There is a drawback to red-eye reduction systems: They cause a noticeable delay between the moment you press the shutter button to make the exposure, and the moment the exposure is actually made. If precise timing is important to a shot, do not use red-eye reduction mode; rather, retouch the red-eye afterward, either via a red-eye pen on the print, or digitally (many consumer-level image-editing programs have red-eye-removal features, or you can do it manually).
