- REVIEWS
Camera Reviews 
More Reviews Mobile Reviews Photography Reviews - GALLERIES
- VIDEOS
- BUYER'S GUIDES
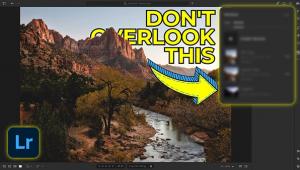
Exposure Blending & HDR in Lightroom & Photoshop 2024 (VIDEO)

Adobe's post-processing tools are in a constant state of evolution, and some features that were a bust in years past have recently become far more useful and effective. Such is the case with Exposure Blending and HDR in Photoshop and Lightroom. This tutorial from Photos on the Bay explains how the process has evolved and why you may want to take another look.
Instructor Neil Medland is an Australian pro specializing in landscape and seascape imagery. He says that "10 years ago HDR was a swear word in photography because the overprocessed and unrealistic images it produced turned a lot of people off—including myself." He's revisiting this approach today to see how much better the function is in 2024.
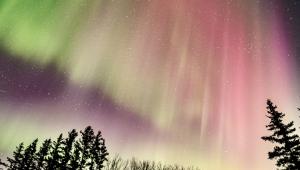
Medland explains why recent improvements to HDR makes Exposure Blending a lot better than in the old days. He illustrates this point with a few seascapes that are particularly challenging because of the broad range of tones in the scenes. And he was very surprised by the beautiful and natural looking results of his edits.
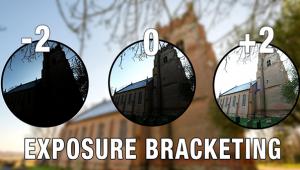
The typical approach involves three shots of the same scene, each exposed differently; one with a "correct" base exposure, another that's overexposed for the shadows, and a third shot that's intentionally underexposed for the highlights. The idea is to blend all three photos together and arrive at one shot with perfectly balanced tones.
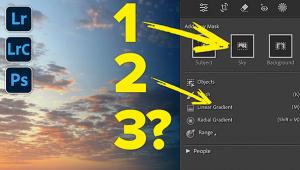
Medland illustrates how to get the job done in both Photoshop and Lightroom—explaining why the latter doesn't have all the same tools. He selects his three images in Lightroom and then walks you through the Exposure Blending technique. The process begins by right-clicking on Photo Merge and then HDR in the sequence of dropdown menus that appear.
He then demonstrates how the method begins differently when working in Photoshop. However, once you get going everything else is pretty much the same. You'll see the specific settings that Medland recommends for different types of images.
Medland explains when the Auto Align setting is warranted, as well as "the bit that makes the biggest difference of all;" namely, how to configure the Deghosting feature. He illustrates why setting this to "None" will often produce "the cleanest the nicest looking blend by far and away."
The foregoing is just a taste of what you'll learn in this comprehensive 14-minute video, and you may want to take a few notes for future reference. We bet that your opinion of HDR will be far more favorable by the time this lesson concludes. Then head over to the Photos on the Bay YouTube channel where you'll find many more easy and helpful tips.
And be sure to watch the tutorial we featured recently in which another pro explains why too much color can ruin outdoor photographs unless you follow his straightforward advice.
- Log in or register to post comments


![]()
Get the Latest Photo Tips, News & Reviews from Shutterbug!
| Camera Reviews Other Reviews | Mobile Reviews Photography Reviews Columns | News | Features | How-To | Resources |
 © 2025 Shutterbug
AVTech Media Americas Inc., USA
All rights reserved