- REVIEWS
Camera Reviews 
More Reviews Mobile Reviews Photography Reviews - GALLERIES
- VIDEOS
- BUYER'S GUIDES
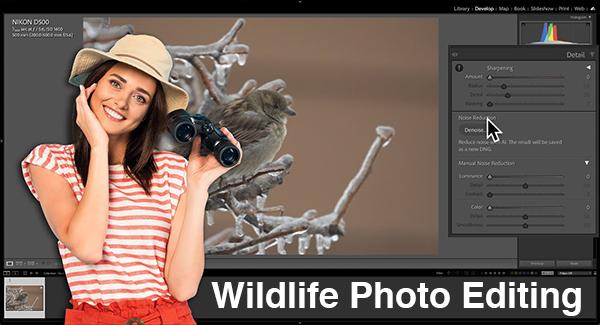
Editing Wildlife Photos for Maximum Impact (VIDEO)
Last week we featured a tutorial explaining how photographers of all skill levels can shoot impressive wildlife photos with whatever cameras they own. Today we're moving on to the next step in the process with a straightforward lesson on enhancing these great images in Lightroom.
Photographer Anthony Morganti is an image-editing impresario with an enthusiastic following on his instructional YouTube channel. In today's 15-minute episode he walks you through his step-by-step workflow for improving photographs of bird and other forms of wildlife.
The video begins with a description and plug for his "Ultimate" Lightroom training course you can purchase via a link beneath the video. If you want to skip straight to today's tutorial, just forward to the two-minute mark and watch the valuable free tips in this helpful lesson.
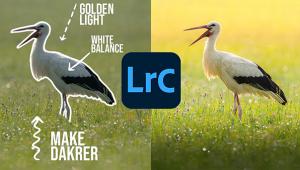
Morganti begins with his unedited Raw file of a bird perched on the branch of an ice-encrusted tree. The composition is great, and the exposure is pretty good, but a few other variables need some work. The first thing he does is to make sure that the Lightroom Profile is correct and White Balance is set properly, and Morganti is pleased with what he sees.
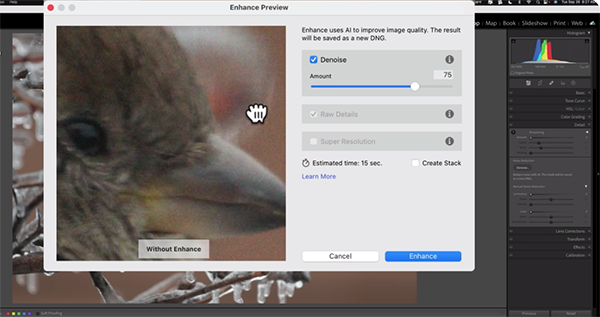
But then he zooms in on the photo shot at ISO 1600 to evaluate the noise situation. While the artifacts aren't exactly horrible they need to be repaired. Before demonstrating how to clean up the mess, Morganti explains why he says, "I suggest you remove noise early in your workflow with just about any type of photo." He opens Lightroom's Details panel and explains how it's done.
It's important to keep in mind that Lightroom is a non-destructive editor, meaning you always have the opportunity for a redo when using Denoise or any of the other tools. Now Morganti moves on to several global adjustments that really enhance his image of a cold house finch.
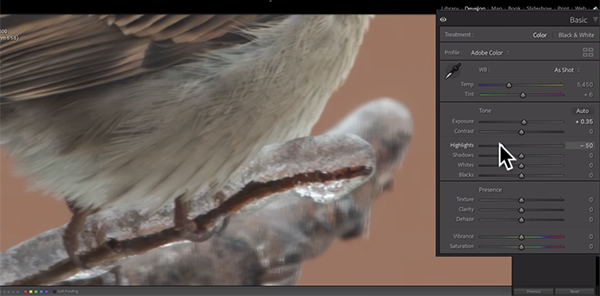
These edits affect every pixel in the shot, and he gets the job done by using the simple sliders in Lightroom's Basic tab. He slightly brightens exposure, leaves contrast alone, and pulls down highlights until a bit more detail appears. Then he opens up the shadows and carefully modifies both the White Points and Black Points.
The image now looks significantly better with these preliminary steps out of the way, but there are a few more adjustments required for optimum results. We don't want to be a buzzkill, so you'll have to watch the video to see how these work. When your done, head over to Morganti's instructional YouTube channel for more tips and tricks.
And don't forget to watch the tutorial mentioned above so you can get the best possible wildlife photos in the camera before processing your shots.


![]()
Get the Latest Photo Tips, News & Reviews from Shutterbug!
| Camera Reviews Other Reviews | Mobile Reviews Photography Reviews Columns | News | Features | How-To | Resources |
 © 2025 Shutterbug
AVTech Media Americas Inc., USA
All rights reserved