- REVIEWS
Camera Reviews 
More Reviews Mobile Reviews Photography Reviews - GALLERIES
- VIDEOS
- BUYER'S GUIDES
Edit Photos with the RADIAL FILTER: A Very Useful Tool (VIDEO)

If the Radial Filter isn't part of your everyday workflow, that's going to change today because you'll learn what it does and how to use it in this tutorial from landscape photographer Abhiskek Mitra. Mitra recently launched an instructional YouTube dedicated to Lightroom and Photoshop hacks for those new to the game.
Mitra insists that "The Radial Filter is one of the most powerful tools available in Lightroom and Photoshop." Even so, it's extremely easy to use which is why it only him takes four minutes to demonstrate a process that you'll likely employ frequently in the future.
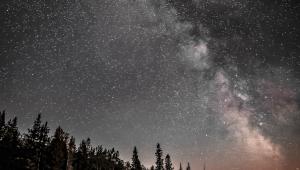
Today's demonstration image was captured by Mitra near Lake Minnewonka in beautiful Banff, Canada. The original shot looks pretty nice but watch what happens when he employs Lightroom's Gradient Filter to transform a good photograph into a great one. Here's the drill: "This tool will help you dial-in the adjustments you need to really focus in on the subject."
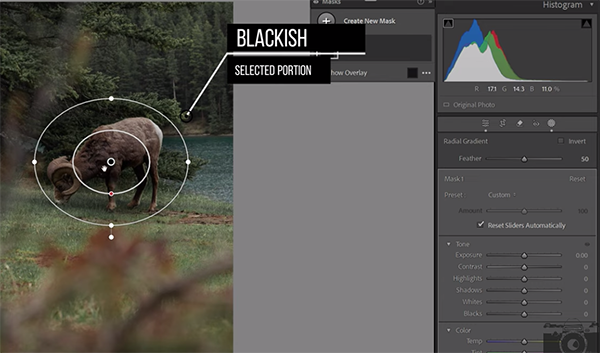
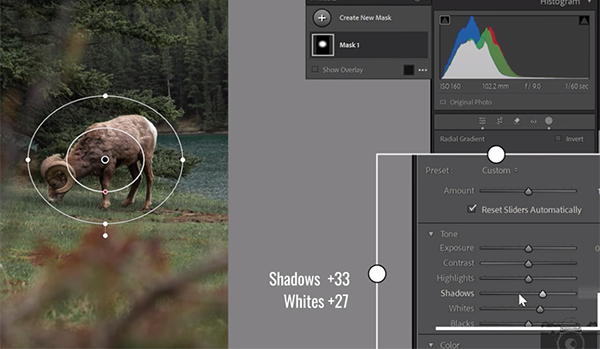
The process begins in the Masking panel by choosing the Radial Gradient option. Then you pull out a round selection covering the main subject; this is the area in which your initial adjustments will occur—leaving the rest of the photo untouched. He increases both shadows and whites, then movies on to the Tone Curve tool to heighten the effect.
Mitra describes the second part of the process like this: "I'm now going to use the Radial Filter to make all the adjustments I need around the radius of the subject." For this step he creates another mask with a Radial Gradient and clicks on Invert. Doing this helps him makes several more enhancements that really make the key subject stand out from the background by sort of reversing the changes made in the first selection.
Now the image is greatly improved, but the edit isn't quite complete. Can you guess why? Once you're done with all the necessary modifications inside and outside the Radial Filter you need to use the Feather slider to blend both adjustments together so that the separation between the two areas isn't visible.
Mitra also illustrates a few easy tweaks to refine the result further until you love what you see. His instructional YouTube channel includes more straightforward post-processing lessons like this one, so be sure to take a look when you have time to explore.
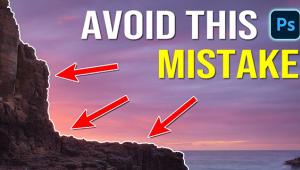
And don't miss the earlier tutorial we featured with another image-editing expert who explains mistakes to avoid when sharpening photographs and a foolproof method for doing it right.
- Log in or register to post comments


![]()
Get the Latest Photo Tips, News & Reviews from Shutterbug!
| Camera Reviews Other Reviews | Mobile Reviews Photography Reviews Columns | News | Features | How-To | Resources |
 © 2024 Shutterbug
AVTech Media Americas Inc., USA
All rights reserved