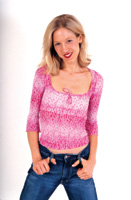
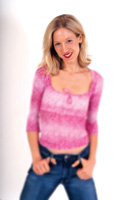
Desktop Depth Of Field; Creating Selective Focus Effects, Digital Style
|
|||
While these steps apply specifically
to Adobe Elements and Photoshop, the tools are quite basic and are available
on most image-editing programs. Here's how to digitally add a cutting
edge look to an existing photo: |
|||
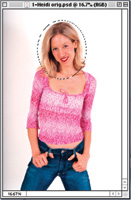
3. Now, to
create a soft and smooth transition between the sharp and unfocused areas
of the image, feather the selection. Choose Select>Feather. For my
14MB image, 6x9" at 300dpi, I chose a radius of 20 pixels. For a
smaller image, you can try a lower amount. |
|||
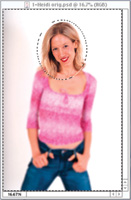
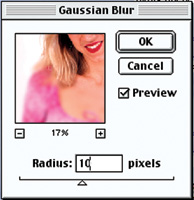
5. To make this new inverse selection out of focus, we'll digitally blur it. Choose Filter>Blur>Gaussian Blur. This will bring up the Gaussian Blur dialog box in which you determine how much blur you want. Check the Preview checkbox so that you can see the degree of blur in your full-sized image. Then, slide the triangle under Radius to the right. The higher the radius, the greater the blur. For my 14MB image, a radius of 10 pixels worked well. Experiment with different settings to choose the one that's most appropriate for your image. Higher settings may look unrealistic, but might be just what you're after for a special effect. Once you've got the look you want, click OK. |
|||
6. Next, deselect
by choosing Select>Deselect. |
- Log in or register to post comments
