Black and White “Conversions”
All Photos © 2007, George Schaub, All Rights Reserved |
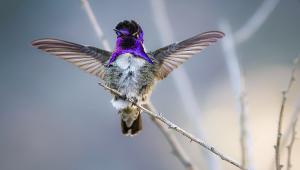
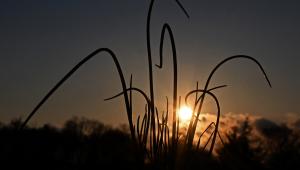
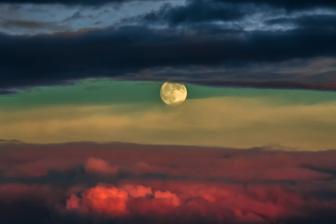
Here's a color shot that begs to be made into a black and white. I sometimes shoot in monochrome mode in the camera to see and review in b&w, but when shooting raw that choice is moot, as it is easy enough to get a monochrome version later. The scene was shot with a Canon 30D and center-weighted metering was made off the right center of the scene and locked. This placed the tones in good order, and the highlights have just a touch of texture and tone. The idea here is to explore the various routes and imaging potential in straight raw conversion to a monochrome image, or at the least to create a great foundation image for further work. And the idea is to always work toward a print--thus, I don't want any "paper white" highlights.
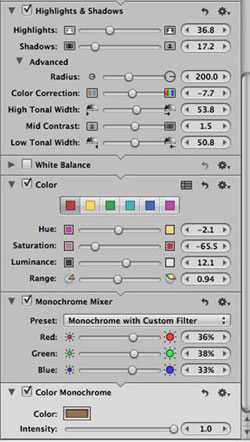 |
When you are browsing images in the Aperture workspace you have an image adjustment bar on the right, which offers a full plate of potential fixes and changes. It's easy to play with these various tools and controls, and just as easy to revert back when needed. Aperture creates "Versions" of the image as you do this, sort of an automatic "Save As." Some of the Aperture controls that I use for b&w are Highlight & Shadow, Monochrome Mixer and Color Monochrome, a contradiction unless you see it as an action rather than a description.
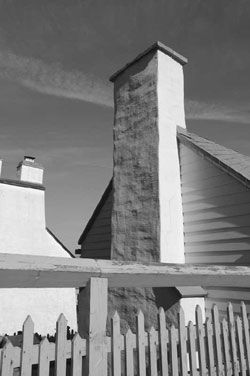 |
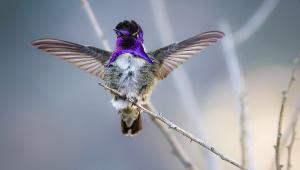
Here's the image I "converted" after working with the Highlight & Shadow tool and the Monochrome Mixer. It retains good mid contrast while controlling the highlights. The print will yield lower than paper white in the highlights while retaining the brightness of the original. I always want to avoid grayed out highlights or flat shadows, and the Aperture toolset lets me get there quickly and efficiently.
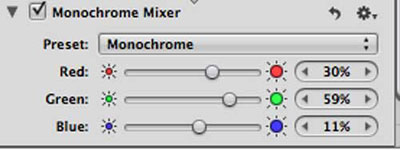 |
Here's the Monochrome Mixer tool, familiar to Photoshop CS+ fans as the Channel Mixer. In Photoshop (after conversion) this can be used as an adjustment layer, but not here. This is more for those who want to use this for "straight" monochrome rather than one where the color is allowed to selectively come through in areas of the image, ala the layer masking/channel mixer procedure. Here you slide around the various channels in a desaturated image to get various contrast results.
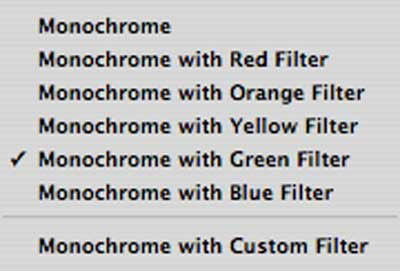 |
If you look at the small dropdown menu on the Monochrome Mixer, where it says presets, and click on the right arrows you will get this box. This allows you to use various "filters" over the image, which emulates using color contrast control filters over your lens when shooting black and white in camera. You will notice that this is the same type of control you have in menus such as Picture Styles or Optimize Image in your digital SLR. Results are quite similar.
|
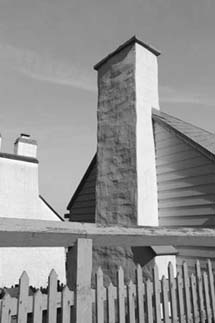 |
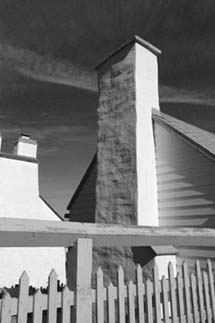
Here's the result when you use the color conversion filter emulation tool. This is the "red filter" effect; (Left) This is the "blue filter" effect (Right). Keep in mind that this is still a b&w image, not a toned one. It is as if you placed those filters over the lens of a camera loaded with black and white film.
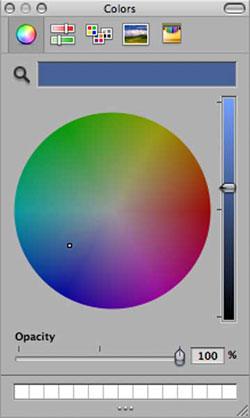 |
If you want to colorize or "tone" an image you can use the Color Monochrome tool. Once you have it available click on the color box and it will evoke the color picker, a wheel from which you can choose any hue you desire.
 |
Toning is a simple matter; here a sepia tone has been applied. You can work with opacity (degree of effect) as well. Note that the whites here have not gone brown with the application of the effect, a look you'd get if you used a sulphide toner properly with a silver halide print. Some software toner tools make the image look as if it was washed in Easter egg coloring.
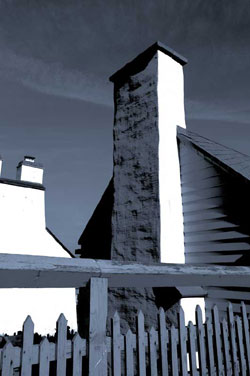 |
Here's an image that was "toned" blue and then had some contrast changes applied in the Aperture curves tool (not shown.) It's fairly easy to make lots of changes on an image in this program. The nice thing about it is that it is designed not to mess with the original image information, as all are "versions" from the "master."
Does Aperture deliver the goods for black and white conversions? The tool sets and controls certainly offer many options for raw conversion. It incorporates the typical tools found in a raw converter with some only found in DSLRs, such as the "shot with" color contrast filtration. It is available only for those who own Macs, with the MacBook Pro being the model used in this test. If you own a Mac you can download a free trial and give the b&w conversion a whirl. While you're there you probably should take the time to check out this comprehensive workflow tool.
Visit http://www.apple.com/aperture/ for the free trail offer.
- Log in or register to post comments


