Add IMPACT to Landscape Photos with Color Contrast in Lightroom (VIDEO)
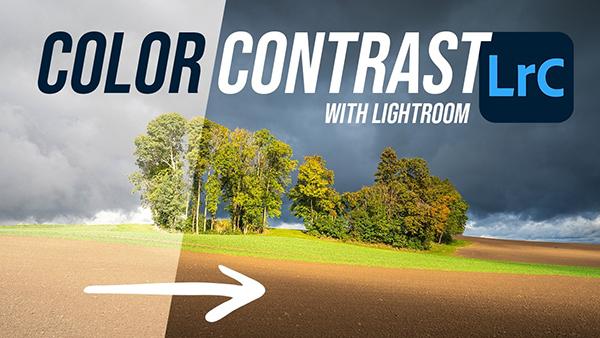
Here's a frustrating and all-too-common dilemma: Your landscape photographs consistently lack punch, and nothing you've tried during the image-editing process seems to resolve the problem. Well, there's one very effective technique you may have missed, and that's what you'll learn in this tutorial from the popular PHLOG Photography YouTube channel.
Instructor Christian Mohrle is a German pro who is just as adept on the computer as he is with his camera in the field. In this 14-minute episode he comes to the rescue by demonstrating how to use Color Contrast in Lightroom to give bland outdoor images significantly more "punch" while retaining a natural and realistic look.
Mohrle pulls up an image that you can download with a link in the description beneath the video, and here are the problems: It's a classic autumn scene with super dark clouds and a very bright foreground that got hit by direct sun. In other words it's a very imbalanced shot.
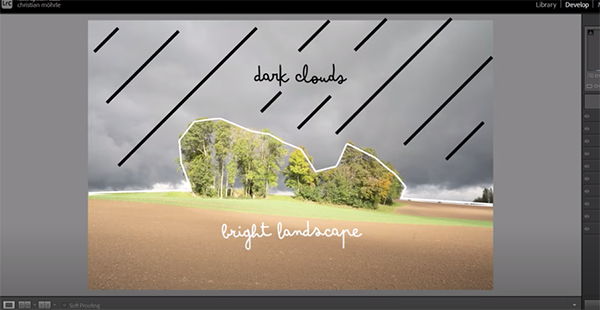
The goal of this powerful transformation is this: "We want to take advantage of the cold colors in the back and the warmer tones of foliage in the foreground." Because this in a contrast-rich scene, the first step is merging an HDR image. Mohrle selects five photo from the filmstrip at the bottom of the workspace and demonstrates how to accomplish this straightforward technique.
Now it's time for a few global adjustments to the overall scene. Mohrle expands Lightroom's Basic panel and changes the profile from Adobe Color to Adobe Landscape which immediately ramps up saturation. He drops both overall exposure and highlights to recover details in the brightest portions of the frame, and then he opens up shadows and blacks
At this point the image looks rather flat but this was Mohrle's intent, because this enables him to employ local enhancements to reintroduce contrast and pump up colors in a thoughtful and selective way.
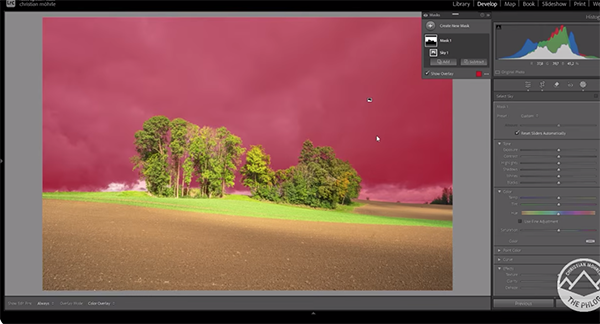
Now it's time for the real magic as Mohrle strategically applies a number of masks that significantly boost the WOW factor of his original image, and he walks you through the simple steps. After that, all that remains to complete the impressive transformation is a bit of color grading, sharpening, and cleanup.
This lesson is a powerful example of others you'll find on Mohrle's instructional YouTube channel, so be sure to take a look.
We also recommend that you watch the tutorial we featured recently with another post-processing expert who demonstrates a timesaving Lightroom technique for automatically batch-editing and synchronizing multiple images shot under similar light.
- Log in or register to post comments

