- REVIEWS
Camera Reviews 
More Reviews Mobile Reviews Photography Reviews - GALLERIES
- VIDEOS
- BUYER'S GUIDES
7 Ways to Beat the Bad Weather Doldrums with Your Photography

I get ’em. You probably get ’em too. Those feelings of photographic futility when the sky and the ground and your car and your imagination are all the same dim shade of dirty, dingy gray, and there’s really no point to stepping outside to take photographs. How do you beat the bad weather doldrums? Here are a few ideas.
If you live in a land where the sun always shines, good for you. Go play outside while the rest of us wear our contempt for the weather like a gray badge of courage. When Mother Nature won’t cooperate by providing a backdrop of blue skies, it’s time to tackle that list of future projects you’ve been building. Mine is titled, “Things I would do had I been born rich instead of just handsome.”
In truth, mine is labeled, “Things to do soon, before you forget how.”
Here are some things that should be on your list, whatever you call it.
1. Master the White Balance Setting
If you still use Auto White Balance on your digital camera, shame on you. Learn to use the Custom setting. I’m not talking about those little icons that look like the sun, clouds and primitive light bulbs. Learn to use the setting that involves you exposing your camera to a solid gray (or sometimes white) surface under the same light that you’re using for a given subject. Canon and Olympus call it Custom White Balance. Nikon calls it Preset Manual. To Pentax it’s Manual White Balance. And to you RAW shooters who are thinking “This doesn’t apply to me,” think again.
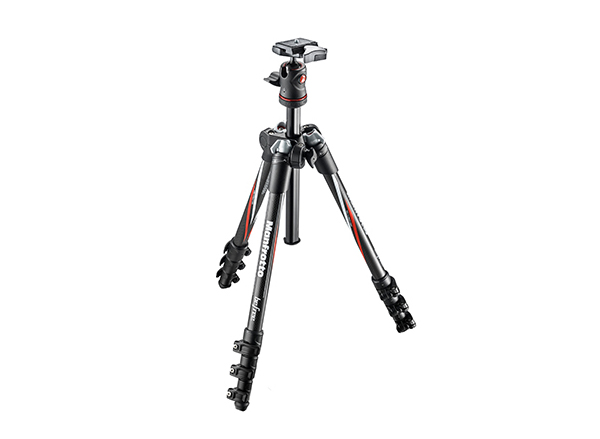 2. Give a Tripod a Leg to Stand On
Everyone has a three-legged friend somewhere—usually in the closet or under a bed. If you don’t use your tripod, it’s probably because you think it’s too much hassle to set up and adjust, too heavy to carry around, or both. Spend a little quality time with your Manfrotto and you’ll be making friends with what just might be the most important photo accessory you own.
3. Build that Website You’ve Been Planning
I have only two words to say on this topic. Wix. Weebly.
4. Try a Little Macro
Potted flowers are inexpensive and make excellent targets when you want to sharpen your close-up chops. Fresh flowers are okay, too. If you don’t have a true Macro lens you might want to invest in a less expensive set of extension rings or even a close-up filter that screws into the front of your lens. Be sure to use that tripod mentioned above.
 5. Finally Get Around to Backing Up Those Images
No one should wait for a rainy or snowy day to backup their image files, but if that’s what it takes, so be it. Online cloud storage is cheap and easy to use. External hard drives are incredibly inexpensive—have you priced one lately? My favorite is the LaCie 2TB Rugged Mini portable in safety orange. It’s USB 3.0, works with Mac or PC and sells for about $140.

6. Read a Book – An Owner’s Manual, to be Specific
The myth that Americans never read owner’s manuals is only 99% true. Do yourself a favor and dig out the OM that came with your camera and study these three sections: White Balance, ISO Setting and Index. Mastery of White Balance and ISO are skills that will serve you well. Can’t find the manual? Look for it online—you’ll find it on the manufacturer’s website and you can download the PDF.
7. Bounce a Flash – Gently
If you own an external flash—and sometimes even if you don’t—you can improve flash shots, particularly portraits, by bouncing the light off the ceiling or a nearby wall. If your flash has a pivot head, the process is a piece of cake. If you’re limited to just the popup flash that is built into your camera, create a mini-reflector from a business card and tape it into position to funnel the light away from the front and toward a nearby flat surface.
If none of these appeal to you, browse the Shutterbug website until you find true inspiration. Be sure to leave a comment in the box below and tell other readers what you do to beat the doldrums.
—Jon Sienkiewicz


![]()
Get the Latest Photo Tips, News & Reviews from Shutterbug!
| Camera Reviews Other Reviews | Mobile Reviews Photography Reviews Columns | News | Features | How-To | Resources |
 © 2025 Shutterbug
AVTech Media Americas Inc., USA
All rights reserved