Auto FX Software’s DreamSuite Series One Pro; A Plug-In Set Of Photoshop Enhancers
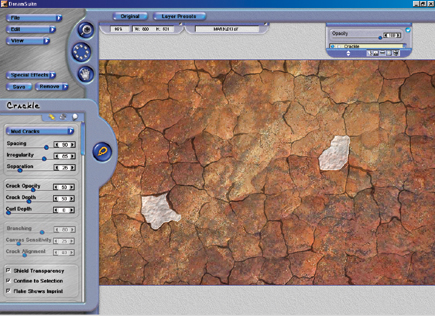
Auto FX Software's DreamSuite Series One Pro is a set of plug-ins designed to enhance the capabilities of Adobe's Photoshop. DreamSuite contains a total of 18 filters designed for photographers and other digital art professionals. All of the filters in the DreamSuite package use a common interface. As you select different filters from the "Special Effects" button, the tab on the far left side of the interface updates so that it contains the controls for the filter currently being used (#1). In addition to using the online PDF manual, you can get help for any control in any of the filters by hovering your mouse over the control for a couple of seconds.
 |
|
 |
|
|
The DreamSuite Focus Filter
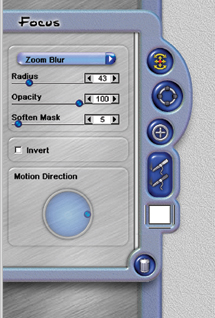
DreamSuite's Focus filter efficiently combines five different types of
blur into a single convenient tool. The five blur types (Soft, Zoom, Rotation,
Directional, and Speckle) are accessed by clicking on the long oval button at
the top of the Focus tab (#2). Controls are also available to set the effect's
Radius (overall strength), Opacity, Mask Blending, and (when using the directional
blur) Angle of Motion.
 |
|
|
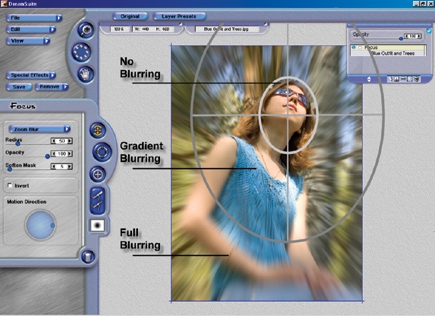
Perhaps the most unique of DreamSuite's focus tools are its "focus
ellipses," which enable adjusting and controlling blur by moving the ellipses
over your photo. As you move and make adjustments to the ellipses, the image
updates to provide immediate feedback on your changes.
Although this process achieves the same results as Photoshop's blur tools,
the DreamSuite process is significantly more productive, since there's
no need to constantly adjust the filter, click okay, click undo, reopen the
filter, etc.--until the results are exactly what you have in mind. In DreamSuite,
you make as many adjustments as are needed, get an instantaneous look at how
each change affects your photo, and then click okay when you really are done
working with the filter.
Each focus ellipse contains an inner ellipse, in which no blurring effect is
applied, and an outer ellipse, where the blurring effect is applied using a
gradient, starting at 0 percent blur and ending at 100 percent blur. Outside
of the outer ellipse, blurring is applied at 100 percent (#3). You can drag
the ellipse to center it at any position on the screen, re-size the ellipse
by clicking and dragging on its edges, and even add additional ellipses to create
multiple focal points.
 |
|
|
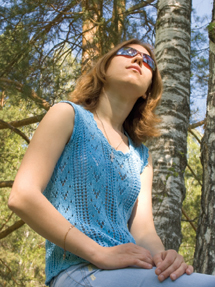
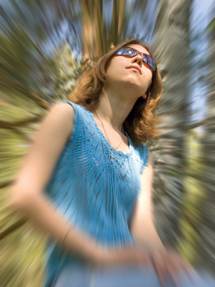
Another unique set of tools are the add and remove brushes. Using these brushes, you can draw areas on your image to increase or decrease the blur effect. Anything you brush on to the screen overrides ellipse settings, so you can use the brushes to fine-tune the blur effect until the results are just right (#4 and #5).
 |
 |
||
|
|
||
|
|||


