- REVIEWS
Camera Reviews 
More Reviews Mobile Reviews Photography Reviews - GALLERIES
- VIDEOS
- BUYER'S GUIDES
Want Eye-Catching Nature & Wildlife Photos? Master Lens Blur in Lightroom (VIDEO)
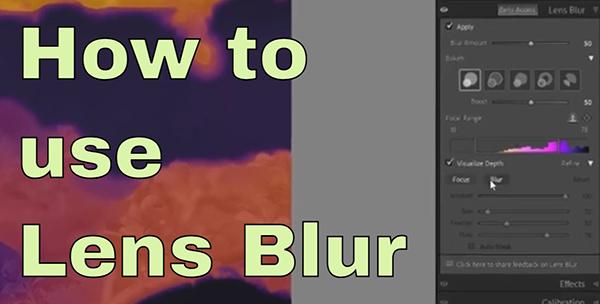
A firm understanding of how to blur portions of an image is essential if you want to create nature photos with maximum impact in which the key subject really stands out from other areas within the frame. This seven-minute tutorial from the Birdman Photography YouTube channel explains an easy Lightroom technique for getting the job done.
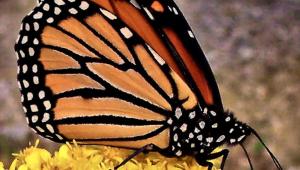
Instructor Sean Leahy is an accomplished pro based in North Carolina whose shooting and editing videos involve simple techniques for creating stunning images of our feathered friends. But many of his lessons, including this one, also work wonders for other form of wildlife photos, and even when environmental portraiture is the name of the game.
Like most serious shooters Leahy isn't afraid to switch things up when a better methods comes along, and in this episode he explains why "it's a lot easier to blur images in Lightroom than with Photoshop." Today you'll learn the step-by-step Lightroom process he developed after giving up on Photoshop for this particular task.

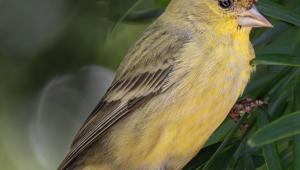
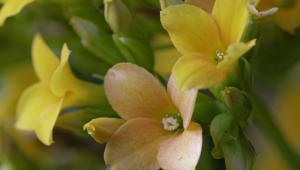
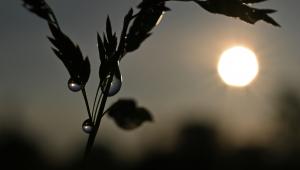
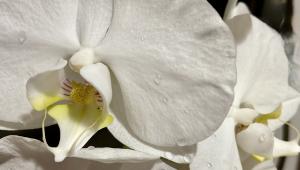
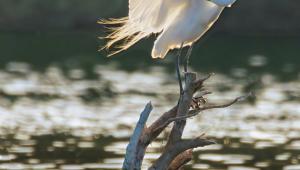
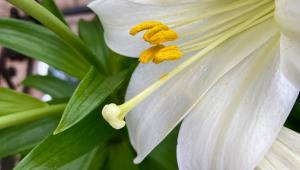
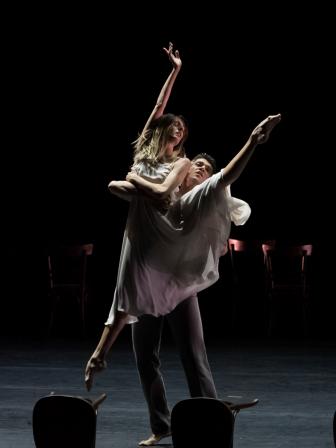
Leahy's sample image is a nice photo of a White Crowned Sparrow near the middle of the frame that he greatly improves by blurring sharply focused branches and foliage surrounding the bird. He also deals with other distracting areas that are neither what you'd call sharp or acceptably blurred. The idea, just like when photographing flowers, macro subjects, or people, is to accentuate the main subject while making other areas recede into the background.
The first step is clicking on the Develop tab atop the Lightroom workspace, and then selecting the Lens Blur option in the panel—making sure to click the box that says Apply." Then turn your attention to the Blur Amount Slider that's directly beneath the box you just checked. This becomes super important once you've identified the areas you want to blur.
As you'll see, there are a couple more easy-to-use sliders for perfecting the effect, and Leahy explains how they work for selectively blurring various types of images. You'll also learn how to add an overly to the image when using Lightroom's Focus Range slider to help you determine specific areas that need to be pulled out of focus.

Then you can use a simple brush to paint over the portions of your shot that require softening. There's a cool trick for using the wheel on a mouse to quickly modify brush size—either smaller or larger—as you move around the frame. Leahy illustrates how the technique works by saying this: "When you take areas out of focus it literally makes them look further back in the scene."
Be sure to visit Leahy's instructional YouTube channel, especially if you love photographing birds, where there are many more straightforward shooting and editing tips to help you out.
We also recommend watching the recent tutorial we posted with a South African pro who reveals "the best" camera settings for beginning wildlife photographers.
- Log in or register to post comments


![]()
Get the Latest Photo Tips, News & Reviews from Shutterbug!
| Camera Reviews Other Reviews | Mobile Reviews Photography Reviews Columns | News | Features | How-To | Resources |
 © 2025 Shutterbug
AVTech Media Americas Inc., USA
All rights reserved