- REVIEWS
Camera Reviews 
More Reviews Mobile Reviews Photography Reviews - GALLERIES
- VIDEOS
- BUYER'S GUIDES
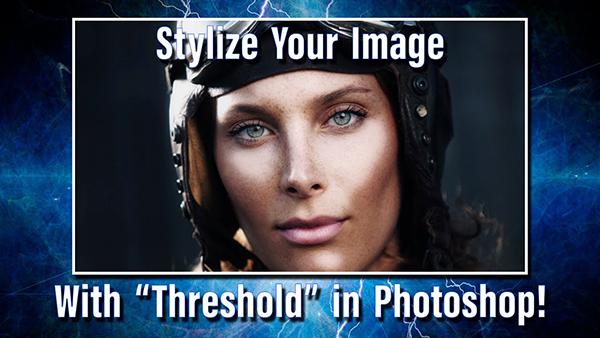
STYLIZE Photos with Photoshop's THRESHOLD Tool: Portraits, Landscapes & More (VIDEO)
Many photographers edit their images using the latest and greatest processing tools that tend to grab all the headlines, which is why you may be unfamiliar with Photoshop's Threshold feature that's been around forever. Today you'll learn how to create photos with a unique look with this powerful and oft-ignored technique.
This eye-opening episode come to us from a photo artist named Stephen who specializes in processing tutorials for photographers who want to boost their creativity by "thinking outside the box." In barely minute minutes he demonstrates the power of Photoshop's Threshold feature for creative enhancements to just about any photos you shoot.
In fact, while Stephen uses a fashion portrait to demonstrate how this works, he says he's employed the method to stylize wildlife photos, landscapes, and boudoir imagery. The fun part of this approach is that the adjustments are subjective, thereby enabling you to unleash your creative vision in a variety of ways.

Another benefit is that Stephen's approach is non-destructive so you can always go back for a do-over if need be. He begins by creating a duplicate layer of the portrait and changing it to a Smart Object Layer. This important step is the key to proceeding in non-destructive way.
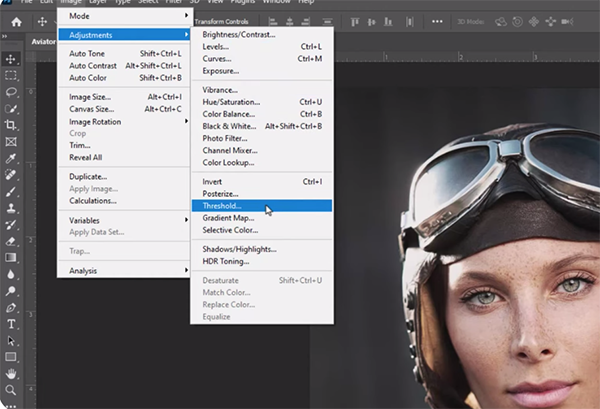
Now it's time to find Photoshop's Threshold tool by clicking on the Image tab atop the screen, selecting Adjustments, and then choosing the Threshold option from a dropdown menu that appears. Once you do this everything is converted to b&w pixels with no shades of gray. You'll then see how to use a slider to modify Threshold levels to begin the interesting method that follows.
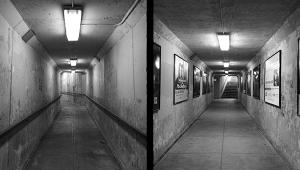
Stephen chooses a setting of 177 for the "Rembrandt effect" he wants to create, with just the right balance of whites and blacks. He then applies a Soft Light Blend mode. You'll notice some jagged edges until Stephen adds a Gaussian Blur filter with a setting of 30 to eliminate the unwanted artifacts. Like previous adjustments, this step is non-destructive so it's easy to move back and modify the Radius of this effect.
At this point the transformation is quite impressive, as you'll see by viewing the before/after images. Stephen then demonstrates a few simple tricks for refining and modifying the look, based upon your chosen image, until you're totally pleased with the results.
One of the many available options is to employ Photoshop's Color Balance tool to change the tonal range of an image. For this particular shot he adds a bit of cyan and blue. This provides a somewhat cooler appearance and you can modify Vibrance and Saturation to accentuate the enhancement.
Stephen's instructional YouTube channel contains other straightforward lessons that will jumpstart your creativity, so be sure to take a look. And don't miss the tutorial we posted recently from another image-editing expert who explains a quick and easy technique for removing unwanted objects in Photoshop.


![]()
Get the Latest Photo Tips, News & Reviews from Shutterbug!
| Camera Reviews Other Reviews | Mobile Reviews Photography Reviews Columns | News | Features | How-To | Resources |
 © 2025 Shutterbug
AVTech Media Americas Inc., USA
All rights reserved