Photographic SuperCourse: Composition
|
|
Real-world tips for the "artistically challenged"
Great artists are probably born, not made. But there are a lot of things 'most anyone can do to make better photos. One biggie is thinking about composition when you shoot. Here are some easy ways to jump-start your creative eye. Put It Where It Works Probably the first consideration when setting up a shot is where to put the subject. The simple answer is, put it where it works. Conventional compositional wisdom says don't put the subject dead-center; instead put it at a "rule of thirds" intersection (divide the frame into thirds vertically and horizontally like a tic-tac-toe grid, then put the subject at one of the intersections created by the grid lines). But ultimately, it depends on the particular situation and your own tastes. Sometimes dead-centered is the best place for the subject...but always putting every subject dead-center in the frame will result in a boring portfolio. Likewise, a rule-of-thirds intersection is often a good place for a subject...but not always. Compositional rules are just guides to give you somewhere to start. Don't feel that you have to use one for every shot. Do what looks right to you. Examining photos (and paintings) by the masters will help you develop a feel for what works. But you get good at shooting photos by going out and shooting photos. |
|
So What About That Horizon?
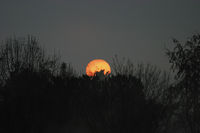
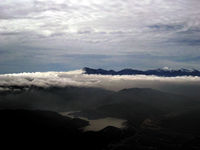
One big decision for the landscape photographer is where to put the horizon—high, low, or right across the center of the frame. Conventional wisdom holds that across the center is the worst place for it, and generally that is the case. But not always. You have to think about your specific subject and scene. But the basic guidelines are really simple: If the sky is the most important thing in the scene, put the horizon low, so you can include a lot of sky. If the most important stuff is the land, put the horizon high in the frame., to include the important land subject matter. If the sky and what's below it are equally important, that might be a good time to put the horizon across the center of the frame. Again, just do what works for your particular situation. It's important to keep the horizon horizontal, even if it doesn't appear in the frame (as is often the case in oblique-angle aerial photography). Once you've established your basic composition and height of the horizon, check that the horizon is level before you shoot, or the shot will probably make the viewer uncomfortable (and if the horizon doesn't appear in the shot, the viewer might not even know why it makes him/her uneasy). |
|
Format
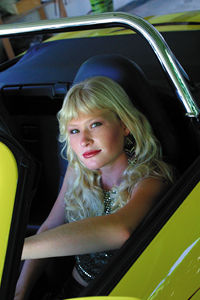
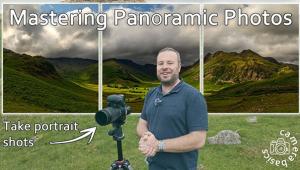
Most people shoot most of their shots in the horizontal format, because that's how it's easiest to hold their cameras. But consider rotating the camera 90° and shooting vertical-format images as well. At first, you probably should examine a potential subject/scene both horizontally and vertically, but as you gain experience, you'll "see" which format will work best before you bring the camera up to your eye. By the way, just because your camera shoots images of a certain aspect ratio (3:2 for 35mm cameras, and 4:3 for many digicams, for example) doesn't mean you have to fit everything you see into that format. You can crop the image into any shape that works when you print it in the darkroom, or using your image-editing software with digital images. At first, you'll discover your cropping as a way to improve images in the darkroom or at the computer, but you'll soon develop the ability to spot unusual-format images while shooting and shoot with later cropping in mind. (Remember that cropping an image means you're blowing up a smaller portion of the image to a given final print size, which makes for grainier, less-sharp images, especially with lower-resolution digicams.) |
|
Fill That Frame
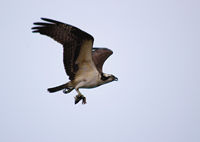
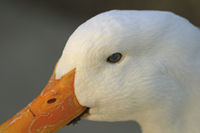
One good way to add impact and minimize background problems is to fill the frame with the subject. You can do this by using a long lens, zooming in with a zoom, or physically moving closer (actually moving closer will expand perspective as well as increase the subject's size in the image, while merely increasing the focal length from a given spot will increase the size of everything in the frame an equal amount). |
