Master Class
From Russia With Love... Part 1
| It's something that
I would never have dreamed of...visiting Moscow and getting paid
to do it! But that's what happened. And I still feel as if I'm
living the dream. How did it all come about? Just by my deciding long
ago that "good enough" wasn't! I went about my career
always trying to be the very best that I could be. No matter what the
cost, I would never settle for less. Then, one day I found that by always
seeking the best I had become a teacher in the industry, one who used
the latest technology. |
|||
As I always do, I began with the finished portrait in mind, so all I had to do was to mold my subjects into what I wanted. It's a technique that I developed and refined by studying for over 10 years with my mentor, Joe Zeltsman. I have practiced those techniques relentlessly for the past three decades. I first determine the facial angle and pose that I want to record of my subject. Then, I place my main light approximately where it would have to be for that facial angle. Next, I determine the shoulder position necessary to support that angle of the face...and the rest just falls into place. The audience was amazed at how easily it was all accomplished. Of course, I had had years of practicing this technique. There was no guesswork involved. For this first picture I placed the main light at a 135Þ angle to the camera, knowing that I was going to light his profile and split-light her face. Then I positioned my reflector on the same side, so that it would both reflect light onto the shadowed side of her face, while at the same time block the main light from flaring into my lens. When I began working with my models I seated her with her shoulders facing directly into the camera. I leaned her forward toward the lens and slightly to her left. (In the Feminine Pose, when the face turns to one side, the body leans to the other.) I then seated the groom so that his face would be slightly higher than hers. I turned her face so that I would see the Two-Thirds view of her face through my lens, placed his profile over her face and it was there! The background is Zuga Green, created by Denny's Backgrounds. My primary background is green because it compliments everyone's skin tones and recedes in photographs, making it secondary to my subjects. |
|||
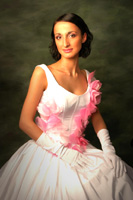
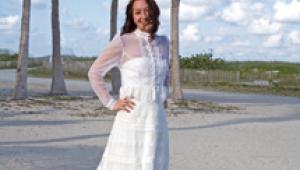
My second model that day had
such a unique look about her, I felt as if I were in the company of a
princess. She was breathtakingly gorgeous in her gown of pink and white.
I photographed a whole series of portraits of her, beginning with my favorite
3/4 length seated bride. |
|||
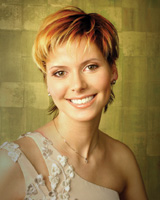
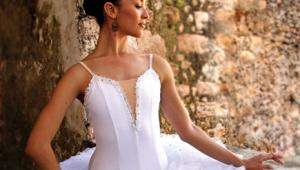
On the second day of my classes
I photographed my third model. By this time I had acquired a third light
that I used to glaze over the edge of her right cheek and to light the
background for better separation than I was able to achieve the first
day. My "gold leaf" background was something that I had retained
from my studio days in Maryland. It was painted for me by The Backgrounders. |
|||
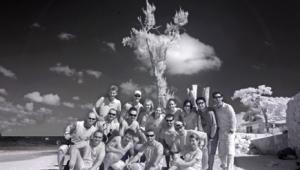
My two-day program went especially
well. I could tell that everyone was pleased by their reactions throughout
both of my presentations and by the fact that afterward they all wanted
my autograph and to be photographed together with me. It was my pleasure.
I had to literally be pulled from the room, so that the room could be
prepared for the next speaker. |
|||
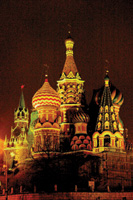
The next day the weather broke
for a short time (the rain and snow had lightened up, not disappeared)
so one of my new Russian friends, Roustam, offered to take me shopping
for souvenirs and to show me some of the local highlights that I could
photograph. |

