- REVIEWS
Camera Reviews 
More Reviews Mobile Reviews Photography Reviews - GALLERIES
- VIDEOS
- BUYER'S GUIDES
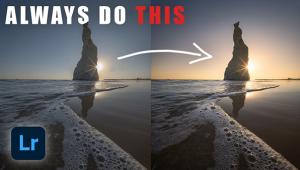
Lightroom's New HDR Optimization: Photos with More Realism & Depth (VIDEO)

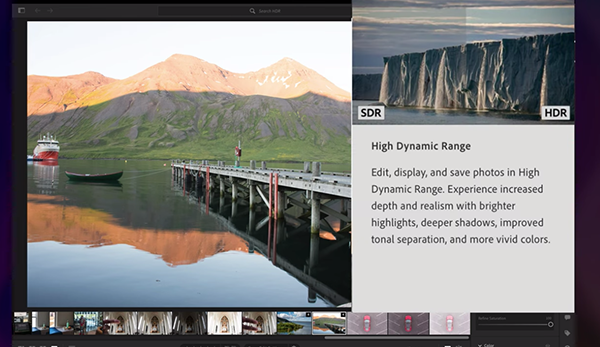
Today were looking at another powerful new feature in the latest Lightroom update—one that delivers improved edits and a better workflow when working with compatible HDR displays. High Dynamic Range (HDR) displays provide greater brightness and contrast than their more common Standard Dynamic Range (SDR) counterparts.
As you probably know, previous versions of Lightroom include HDR capabilities, like Merge to HDR for blending multiple images to create an HDR photo. But that technique was limited to SDR monitors, and the on-screen results were restricted to 8-pixel values and the standard brightness range of the user interface.
Lightroom's sophisticated new HDR Optimization feature not only enables you to view and edit HDR photos on compatible displays, but you now have the ability to save HDR photos and open them in Photoshop. And the resulting enhancements you make will be far impactful than ever before.
Instructor Terry White has been with Adobe for over 20 years, so he's always up to speed on the latest software developments. He's also a very accomplished landscape photographer, known for an impeccable use of color, and he puts his expertise to work in the four-minute explainer below.
As White explains, HDR is a technique whereby you shoot and merge multiple images in a way that provides a balanced exposure with enhanced details in both shadows and highlights. But here's the rub: "Until now, you've been able to create HDR photos in Lightroom, you've been able to view and edit them, but you've been looking at them and editing them in SDR."
That all changes today as White explains how the new feature works. His demonstration image is a pretty lake-side scene captured in Iceland, with an interesting pier in the foreground and imposing peaks further back. The problem is that the sky and mountains are overexposed, but fortunately the details are still there.
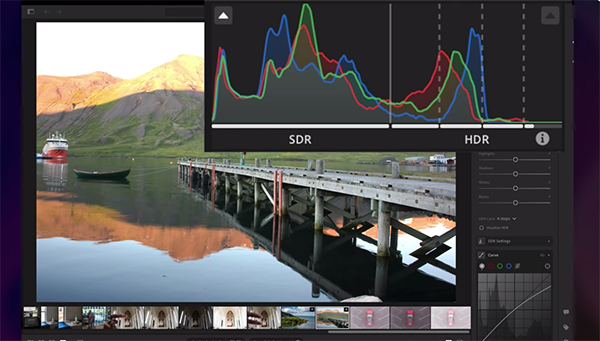
As you'll see, "by clicking on the new HDR button to edit and view the file in HDR, you'll see increased depth and realism, improved highlights, deeper shadows, and enganced tonal separation"—as long as you own the right monitor. You can output the image to HDR as well.
You're likely watching the lesson on an SDR monitor, but White smartly recorded the entire process on his HDR screen so you can see the dramatic difference this new tool makes on whatever monitor you own. He turns the effect on and off, and you'll agree that his results are impressive.
You may even be inspired to replace your monitor with one that’s compatible with Adobe's groundbreaking HDR Optimization—especially if your current screen is getting long in the tooth. There's much more to learn about all things Adobe on White's instructional YouTube channel.
And be sure to check out the tutorial we posted recently from another post-processing expert, explaining how to use Lightroom's new Point Color Tool to clean up ugly tones and achieve photos with perfect, natural looking color.


![]()
Get the Latest Photo Tips, News & Reviews from Shutterbug!
| Camera Reviews Other Reviews | Mobile Reviews Photography Reviews Columns | News | Features | How-To | Resources |
 © 2025 Shutterbug
AVTech Media Americas Inc., USA
All rights reserved