- REVIEWS
Camera Reviews 
More Reviews Mobile Reviews Photography Reviews - GALLERIES
- VIDEOS
- BUYER'S GUIDES
Lightroom Masks: 5-MINUTE Fix for Poorly Exposed Photos (VIDEO)

Lightroom masks are very effective for quickly fixing photos that are improperly exposed, like when some areas in the scene are too dark or too bright, or perhaps even both when shooting in mixed light.
Unfortunately, this technique is often overlooked because of the misconception that it’s overly complicated and difficult to employ. As you’ll see in the quick video below, nothing could be further from the truth.
While the tutorial deals with a portrait image shot outdoors, this powerful technique works wonders for all types of photos from nature and wildlife shots to landscapes captured under difficult lighting conditions.
Anita Sadowska is a pro based in Bali, Indonesia who specializes in fashion, boudoir, and other forms of portraiture. In barely five minutes you’ll watch her transform what looks like a throwaway shot into an impressively balanced image.
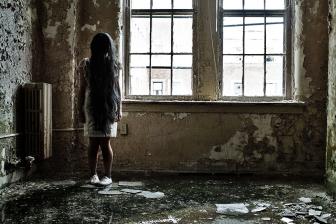
Sadowska captured the late-day photo using a bit of fill flash on her model. Her setting was a bit too strong, resulting in an overly dark background devoid of detail, and an overexposed model.
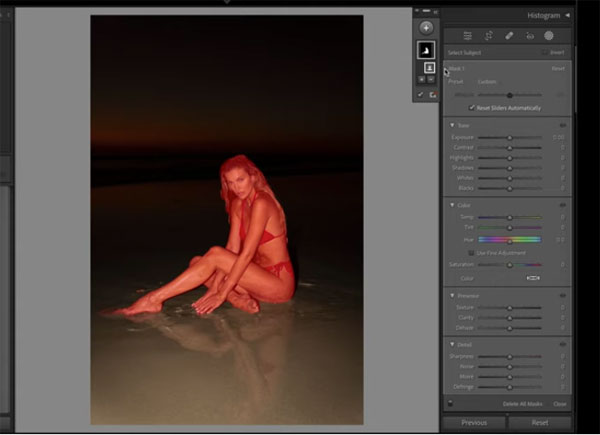
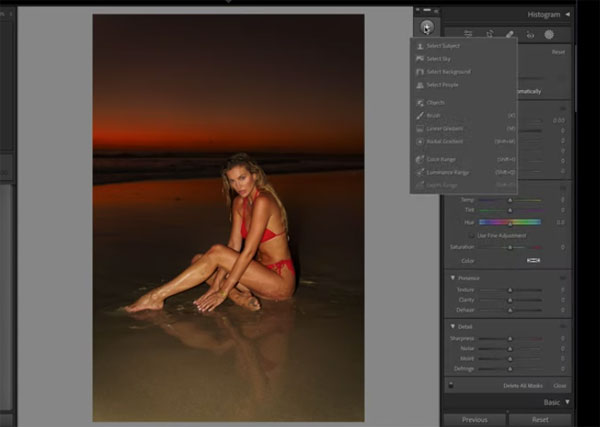
The first step is opening the Masking panel and choosing Select Subject from among the options (for other photos you can select the sky or the background). Once the model is selected you can refine the subject mask by selecting the entire person, face skin, body skin, eyes, eyebrows and even the teeth.
For this particular image Sadowska selects the entire model and gets to work. She then lowers exposure “quite drastically” to almost match it to the dark background. Sounds crazy? As Sadowska says, keep watch and “trust the process.”
Now at least the image looks fairly balanced, and, as you’ll see, the remaining adjustments are just as straightforward and easy to accomplish. All you need to do to be convinced after Sadowska completes the edit, is compare her before/after images and view the dramatic transformation.
Sadowska’s popular YouTube channel is full of great advice on all forms of portraiture, so be sure to take a look.
And for another simple Lightroom explainer. check out our earlier tutorial discussing the basics of color grading.
- Log in or register to post comments


![]()
Get the Latest Photo Tips, News & Reviews from Shutterbug!
| Camera Reviews Other Reviews | Mobile Reviews Photography Reviews Columns | News | Features | How-To | Resources |
 © 2025 Shutterbug
AVTech Media Americas Inc., USA
All rights reserved