- REVIEWS
Camera Reviews 
More Reviews Mobile Reviews Photography Reviews - GALLERIES
- VIDEOS
- BUYER'S GUIDES
How to Use Polarizing Filters Properly for Better Landscape Photos (VIDEO)
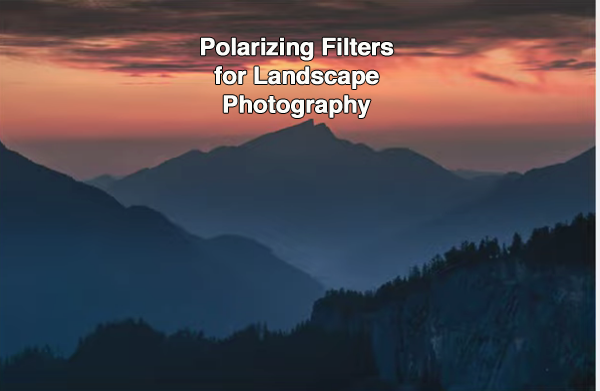
Ask any experienced landscape photographer to name their favorite accessories, and the polarizing filter will be near the top of the list. Used properly, this simple tool adds impact to outdoor photos, but a heavy-handed approach will spoil an otherwise great shot.
Polarizing filters improve images in a variety of ways. They minimize glare on water and other non-metallic surfaces, reduce distracting reflections, darken pale skies, and increase saturation. In the video below, you’ll learn how to employ this important lens filter for maximum effect.
When using a polarizer you can increase or decrease the effect by rotating the ring on the front of the filter. And it’s important to remember that the results you achieve are affected by your position relative to the sun.
In this episode Austrian photographer Christian Irmler demonstrates how a polarizing filter works, and how much polarization you need for different types of images. He begins with this warning: Don’t screw too much, this will ruin your photo.”
As you’ll see, it’s all about using the polarizer in moderation. For example, while you can improve an image by minimizing reflections and glare, if you eliminate these elements altogether the result may be a flat lifeless photograph. Similarly, you can add impact by pumping up pale blue skies. But if you go too far, the image won’t appear realistic.
To explain how to do things right, Irmler demonstrates four different ways to employ a polarizer. And in each case he explains how far you should rotate the filter ring to get the optimum effect. His approach is both simple and very effective.
For more landscape photography tips and tricks, take a look at Irmler’s YouTube channel. And check out another tutorial we posted, explaining how to choose the proper focus point for every image you shoot.


![]()
Get the Latest Photo Tips, News & Reviews from Shutterbug!
| Camera Reviews Other Reviews | Mobile Reviews Photography Reviews Columns | News | Features | How-To | Resources |
 © 2025 Shutterbug
AVTech Media Americas Inc., USA
All rights reserved