- REVIEWS
Camera Reviews 
More Reviews Mobile Reviews Photography Reviews - GALLERIES
- VIDEOS
- BUYER'S GUIDES
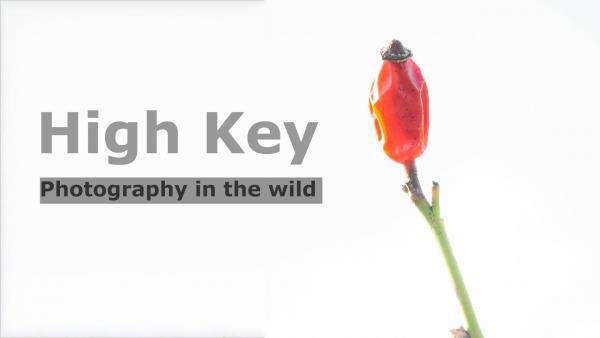
How to Shoot Stunning HIGH-KEY Photos in the Great Outdoors (VIDEO)
We regularly encourage Shutterbug readers to step outside their comfort zone and experiment with unfamiliar techniques to capture attention-grabbing photos that stand out from the crowd. If you're willing to try something different, this quick tutorial from the My Photo Journey YouTube channel is a great place to start.
The technique known as "high key photography" is an evocative style that accentuates bright white tones and sometimes colors for a very dramatic look. It's a method that's accessible to shooters of all skill levels who understand how it's done, and the goal of this tutorial is guiding you through the straightforward process.
This approach is often accomplished in the studio where a photographer has ultimate control over lighting. But today's unnamed instructor explains everything you need to know for mimicking this unique style when shooting outdoors when available light is far less predictable and often changes by the minute.
While watching the lesson keep in mind that there's a big difference between high key and overexposed. Throughout the lesson you'll learn the key exposure settings, how to choose an appropriate subject, and the best way to employ natural light to achieve the luminous dreamy effect that makes high-key images so powerful.
You'll quickly discover that this is a versatile technique for a wide variety of genres; namely, everything from capturing unique environmental portraits and striking flowers to macro photography, wildlife life subjects, and much more.
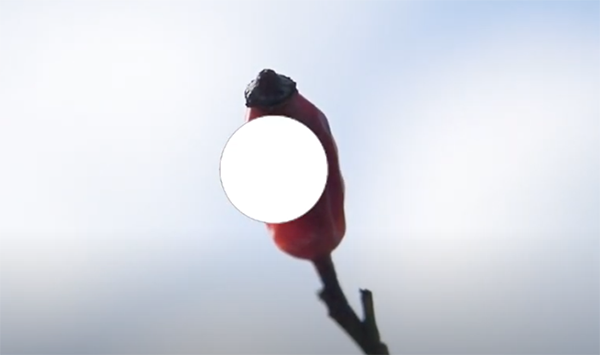
Some photographers think high key images must be in monochrome, but that's hardly the case. In fact today's demonstration shot is a vibrant red berry on a bramble bush that was photographed on a bright, sunny day. In any case, you'll want to deemphasize any shadows in the scene, even though they "can be very important for adding drama to the shot and help tell a story."
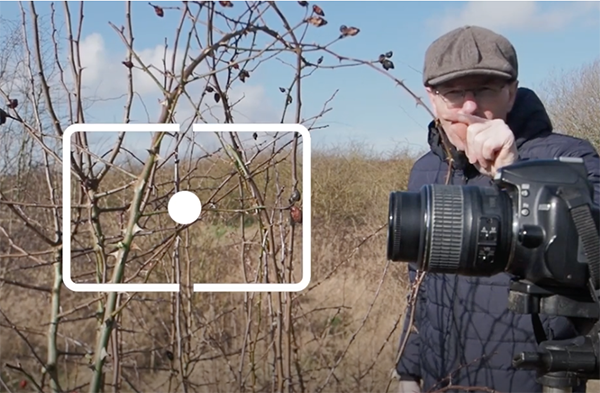
The instructor moves in close with a standard 50mm lens (not a macro) and shoots at maximum aperture to isolate his lone subject from the surrounding twigs. Then he waits patiently for a group of white fluffy clouds to float by, because these will become the background for his shot.
The instructor is shooting almost directly into the sun so he uses spot metering on the berry as the clouds become a super-bright backdrop. The portion of the berry facing the camera is in shadow, but that's an easy exposure problem to solve by following the step-by-step instructions in this lesson.
Quite easy, right? And there are many more tips and tricks to be found on the My Photo Journey YouTube channel. Be sure to check out another helpful tutorial we posted recently, explaining how to control highlights for better nature and landscape photographs.


![]()
Get the Latest Photo Tips, News & Reviews from Shutterbug!
| Camera Reviews Other Reviews | Mobile Reviews Photography Reviews Columns | News | Features | How-To | Resources |
 © 2025 Shutterbug
AVTech Media Americas Inc., USA
All rights reserved