- REVIEWS
Camera Reviews 
More Reviews Mobile Reviews Photography Reviews - GALLERIES
- VIDEOS
- BUYER'S GUIDES
How to Sharpen Photos With Photoshop's High Pass Filter (VIDEO)
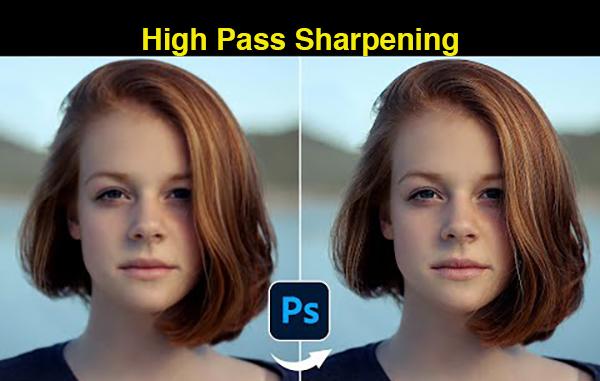
There are several ways to sharpen soft images and some are more effective than others. The straightforward tutorial below demonstrates how to get the job done quickly and effectively by employing Photoshop's easy-to-use High Pass Filter.
This lesson comes to us from the folks at LAYRS—a new instructional YouTube channel designed to make learning fun while exploring creative ideas. In case you're unfamiliar with this helpful tool, today's unnamed instructor describes it like this: "a High Pass filter pays attention to changes in brightness and texture in your image by finding the edges and highlighting them."
By doing so it enables you to achieve a clean and realistic sharpening effect. This method works in a similar way to Photoshop's more commonly used Unsharp Mask technique. But with certain types of images Photoshop's High Pass filter delivers preferable results.
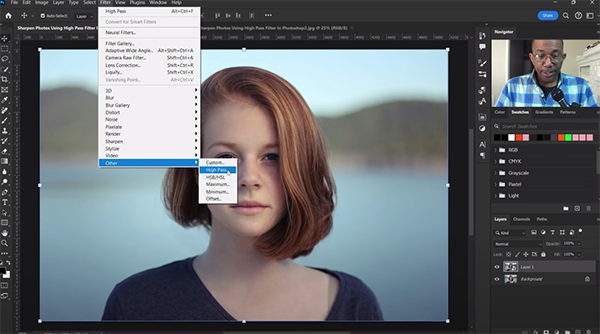
The process begins by pulling up a layer and hitting Control J to make a copy. Then click on the Filter tab atop the workspace and select the Convert for Smart Filters option from the dropdown menu that appears. Then click on Filters again, choose Other and Select High Pass from the choices.
Now you'll see a window with a slider that lets you proceed (by default, the slider is set to a value of 0). The trick is to slowly move the slider to the right until edges begin to appear, then simply hit OK. As you'll see, a value of 2.6 seems to work best for the demonstration photo at hand.
Don't be confused when you see nothing but gray, because now Photoshop's Blend modes cone into play. The instructor explains why he selects the Linear Light blending mode for this particular task. Essentially, Linear Light is a Dodge or Burn that increases or decreases the brightness in a photo. Thus, "if your light source is more than 50% gray, Linear Light mode increases the brightness."
Conversely, "if your colors are less than 50% gray, brightness will be decreased." All this makes a bit more sense while watching the video because you'll see examples a of how these simple adjustments affect the sharpness and visible details in the image. Paying attention to the subject's hair and eyelashes makes it easier to evaluate the effects.
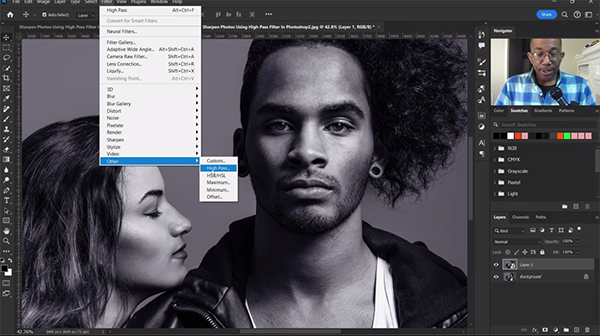
The key to this transformation is that the image is significantly improved but doesn't look overdone. The same procedure is applied to a second portrait photo, this one in b&w, just to reinforce how this technique works.
There's much more of interest on the LAYRS instructional YouTube channel, so be sure to pay a visit and explore what's available. We also suggest watching the tutorial we posted recently from a post-processing expert who demonstrates how to use Lightroom's simple Dehaze slider to find and eliminate dust spots in your photographs.
- Log in or register to post comments


![]()
Get the Latest Photo Tips, News & Reviews from Shutterbug!
| Camera Reviews Other Reviews | Mobile Reviews Photography Reviews Columns | News | Features | How-To | Resources |
 © 2025 Shutterbug
AVTech Media Americas Inc., USA
All rights reserved