How to give Photos a Moody & Realistic Fog Effect in Lightroom (VIDEO)

We typically strive for photos with precise sharpness, vibrance, and impressive color balance when shooting outdoors. But in this tutorial from one of our favorite instructors you'll learn why and how a subdued foggy effect can draw attention by conveying an ethereal, atmospheric mood.
The point of this episode from Anthony Morganti isn't to sit on your heels until fog rolls in and covers the landscape, but rather understanding how to create the engaging effect yourself during post-processing in Lightroom. It's a straightforward technique that only takes eight minutes to explain, and even less time to achieve.
Morganti is a globally popular educator, photo retoucher and post-processing impresario based in Buffalo, NY. As you'll see, the goal isn't just to introduce fog into a scene, but to do so in a believable, natural-looking way that could have been created by Mother Nature herself.

Morganti demonstrates the step-by-step process with Lightroom Classic, but the workflow you'll learn works equally well with the Cloud version of Lightroom. He says this effect is particularly effective when editing nighttime images, you'll also see how effective it can be when shooting landscape or wildlife photographs during the day.
Here's an important consideration before delving into the specifics adjustments: "When you add fog to an image to make it appear realistic you'll often have to take the fog off the main subject of the scene." That's because fog is typically most apparent further back in the frame.
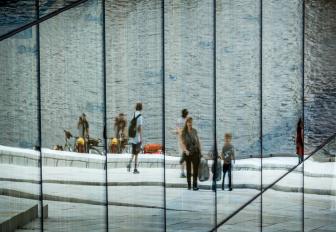
He illustrates this point with a shot of a deer standing on a forest path, and photos of pedestrians in a cityscape shots. For this particular task the editing sequence is very important, and Morganti recommends completing other enhancements before using masking to introduce the fog.

One benefit to this interesting approach is that it doesn't require that you shoot any new images before giving the technique a try. All you have to do is select a couple bright, vibrant photos from your library and employ Morganti's tips to create a totally different look. Then a quick comparison will reveal the version you like most.
Morganti's instructional YouTube channel is a valuable resource for post-processing tips, tricks, and techniques, so be sure to pay a visit and explore what's available.
We also recommend watching a tutorial we featured with another Adobe specialist who demonstrates how to give photographs an awe-inspiring Split-Tone effect when processing images in Lightroom and Photoshop.


