Floral Fusions: A Simple Set-Up For Creative Effects
All Photos © Stacey G. Lloyd
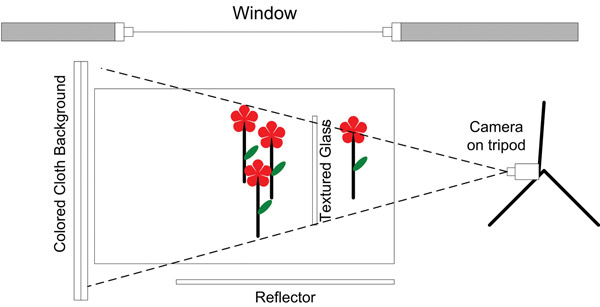
You can create these images indoors or outdoors. One possible indoor set-up is show here: (#2) a small table near a window, a colored cloth backdrop, a reflector opposite the window to provide fill, sheets of textured glass, vases of flowers and your camera mounted on a tripod (with cable release).
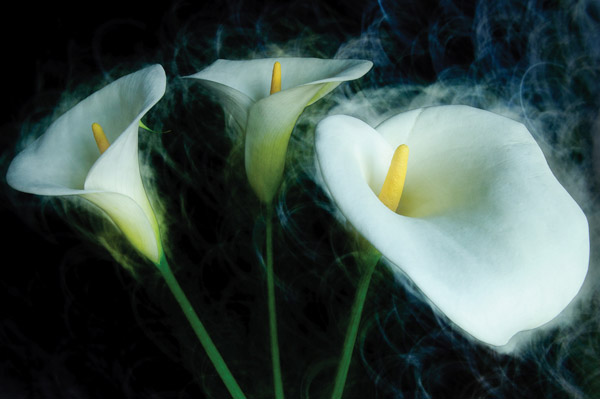
Diffused window light results in the most pleasing floral images (#3). Use reflectors to fill in the shadows as needed. Over time you can experiment with different light sources and colors.
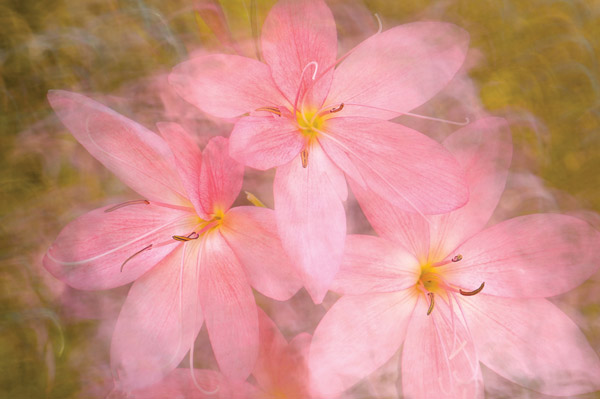
The backdrop can be any color that works with the flowers you have selected. In fact, you may want to have a variety of real or faux flowers to use in the background. The key is finding colors that all work together, especially as they are blended by the moving sheet of glass.
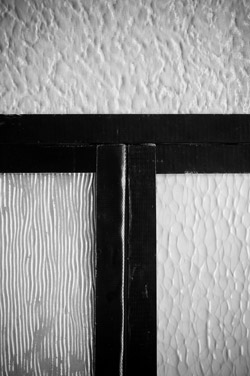
Textured glass can be obtained from a local glass shop. Purchase a few different types and experiment. Pieces 12x14” are easy to handle and can fill the frame (#4).
Your flowers should be in pristine condition and composed into visually pleasing arrangements. I have found that lighter colored flowers work best with this technique.
You will need to set your camera shutter speed in the range of 1/8 to 1 sec to create the strokes in the images. The best setting will vary with your personal handling of the textured glass and the motion you choose (#5).
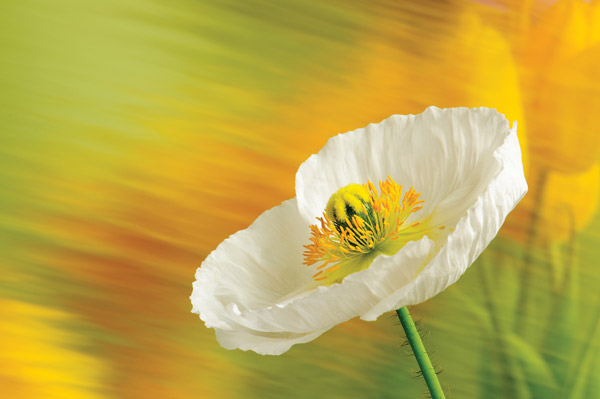
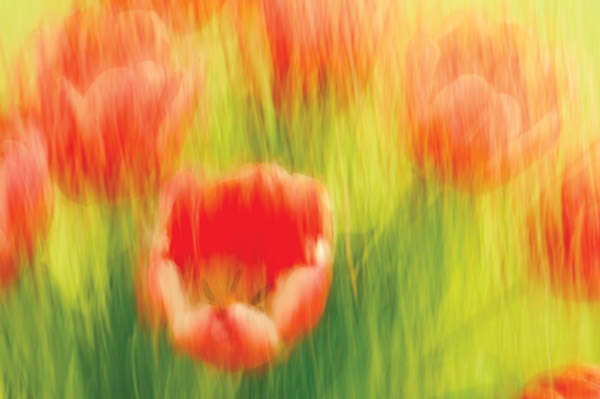
With this set-up you capture your images by holding the textured glass between the camera and all of the flowers, between the front flower and the others, or anywhere in between. While moving the glass click the shutter and evaluate the image. Be careful to keep the edges of the glass out of the image and check for unintended blur in the flowers due to air movement. Try moving the glass up and down, on the diagonal or in various size circles. Strokes that compliment the shapes and lines in the subject work best (#6).
Without changing your arrangement, capture several images with and without the glass, in focus and out of focus and with different apertures to alter depth of field. Once you have a set of images you can choose to blend them in camera (I use the Nikon image overlay feature) or with a software package like Photoshop (www.adobe.com) that supports layers. Blending locally with masks and a brush in Photoshop adds another dimension of creativity (#7, #8, #9, #10 and #11).
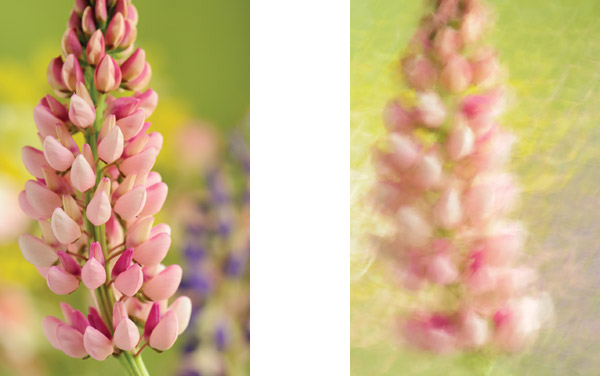
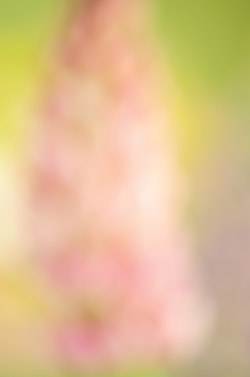
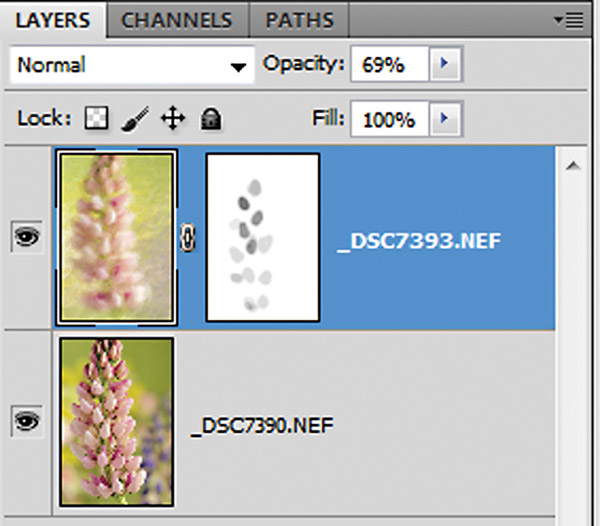
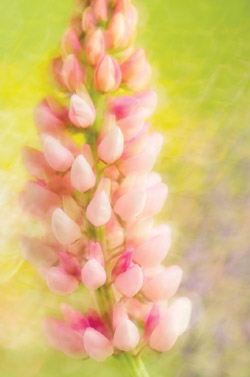
This is just the starting point. There are many variables you can play with to create your own unique images. Try different subjects and different lenses. Focus on or through the glass. Angle the glass relative to the focal plane. Above all, have fun and let your creativity flow.
Lloyd regularly writes “Photography Along The Way”, a blog that focuses on seeing and capturing creative images wherever you work and live (www.staceyglloyd.blogspot.com). Additional images can be found on his website (www.staceyglloyd.com).
- Log in or register to post comments


