- REVIEWS
Camera Reviews 
More Reviews Mobile Reviews Photography Reviews - GALLERIES
- VIDEOS
- BUYER'S GUIDES
Editing Photos With Curves Made Easy: 5 Basic Tips in 3 Minutes (VIDEO)

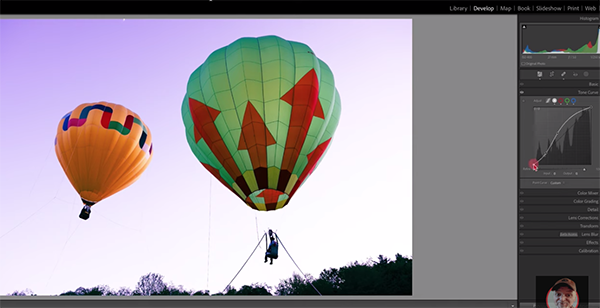
If you're a Lightroom novice and think using Lightroom's powerful Curves tool is beyond your skills, the quick tutorial below will quickly change your mind. That’s because you'll learn a handful of techniques in just three minutes to make your outdoor images stand out from the crowd.
Instructor Mike Rogala is a long-time landscape pro who explains the importance of today's episode like this: "Curves are a powerful Lightroom tool that can dramatically transform your photos." He demonstrates five "essential" tips to help you master this tool and take your post-processing skills to the next level.
Tip #1 demonstrates how to fine-tune the contrast in your photos by creating what's know as an S-Curve. To do this you'll pull the lower part of the Curve downward slightly to darken shadows, and then raise the upper part to brighten highlights. This classic adjustment is a simple and effective method for enhancing the depth and dimension of an image.

Next on Rogala's list is an explanation of how to employ Curves within Masks to selectively adjust specific areas with the frame without affecting the entire shot. This is easily accomplished by creating a Mask over your target area and then employing Curves adjustments to enhance attributes that need work. This trick works great for accentuating focal points, modifying exposure, and much more.
Color correction is another area in which Curves gets the job done with precision. Not only can you adjust the brightness of colors, but this trick enables you to modify color balance and achieve a compelling, natural looking result. Rogala puts it like this: "By switching to the red, green, or blue channel in the Curves panel you can fine-tune colors individually, eliminate unwanted color casts, and enhance the mood of an image.
Adjusting Mid-tone Contrast is the fourth topic of conversation, and this Curves adjustment provides another means of increasing the depth of photos that appear flat and uninspiring. Simply move the middle part of the Curve to add or reduce Contrast to introduce a softer look or add a dynamic look.
There's one more technique to go, and you'll have to watch the video to learn how it works. Let's just say it's just as effective and simple to achieve as the four tips mentioned above. We're pretty sure that once you're done watching, Lightroom's Curves tools will become a big part of your workflow.
And for another straightforward primer that pays big dividends, be sure to watch the tutorial we posted earlier from another image-editing expert who demonstrates how to use a unique "focal-length blending" technique to create spectacular landscape photographs.


![]()
Get the Latest Photo Tips, News & Reviews from Shutterbug!
| Camera Reviews Other Reviews | Mobile Reviews Photography Reviews Columns | News | Features | How-To | Resources |
 © 2025 Shutterbug
AVTech Media Americas Inc., USA
All rights reserved